RAISING AND LOWERING
THE FEED TABLE
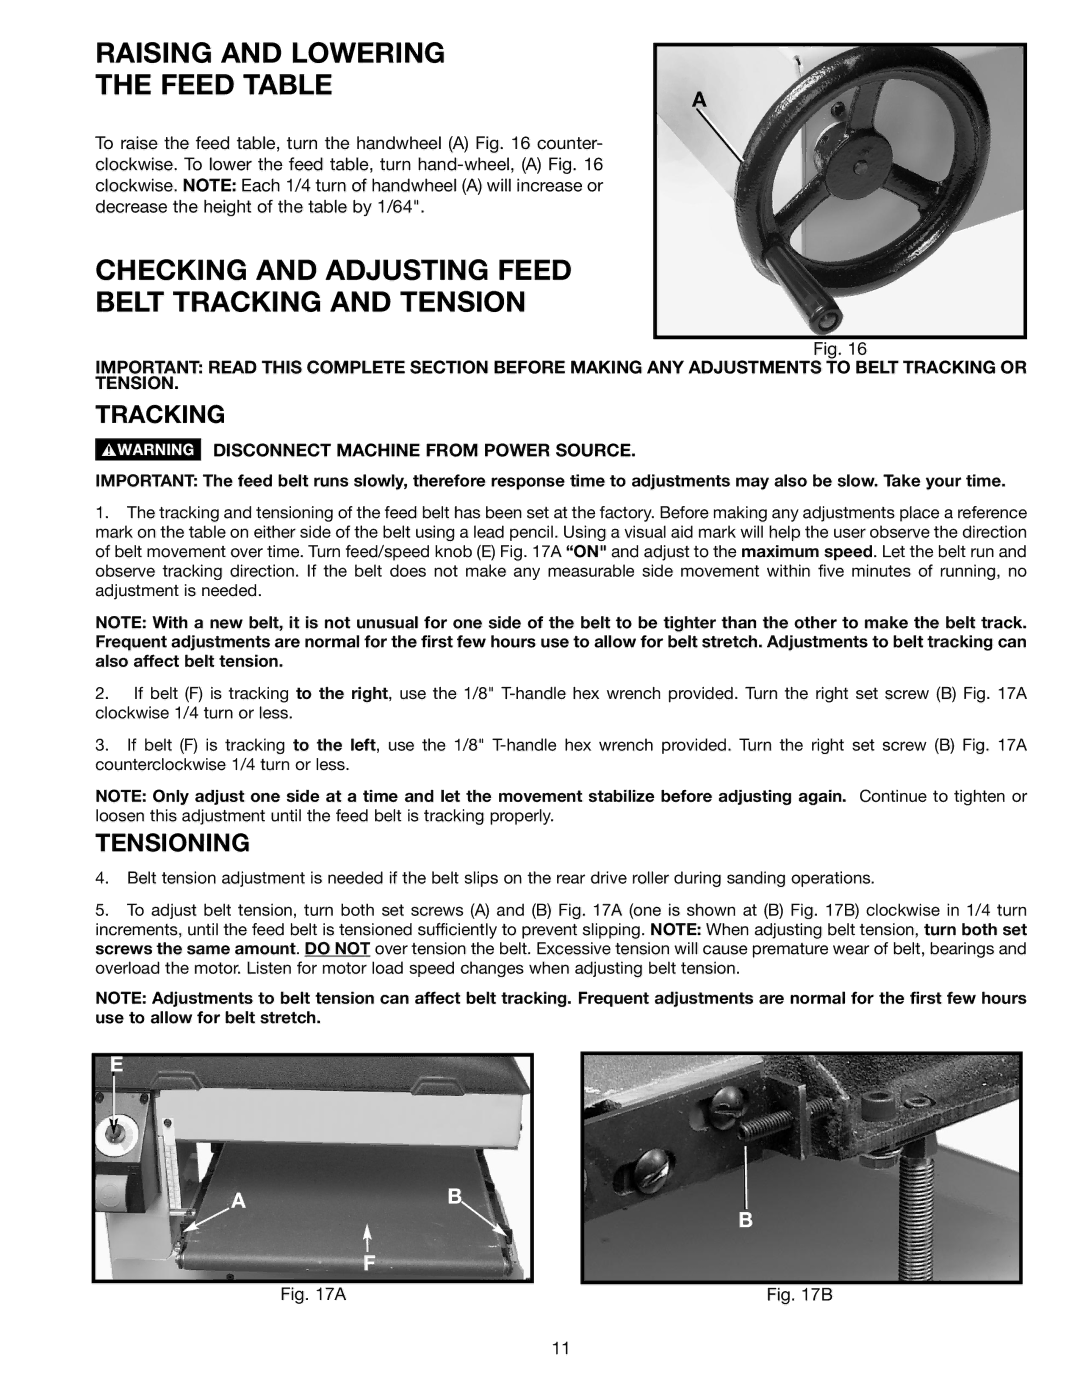
To raise the feed table, turn the handwheel (A) Fig. 16 counter- clockwise. To lower the feed table, turn
CHECKING AND ADJUSTING FEED BELT TRACKING AND TENSION
A
Fig. 16
IMPORTANT: READ THIS COMPLETE SECTION BEFORE MAKING ANY ADJUSTMENTS TO BELT TRACKING OR TENSION.
TRACKING
DISCONNECT MACHINE FROM POWER SOURCE.
IMPORTANT: The feed belt runs slowly, therefore response time to adjustments may also be slow. Take your time.
1.The tracking and tensioning of the feed belt has been set at the factory. Before making any adjustments place a reference mark on the table on either side of the belt using a lead pencil. Using a visual aid mark will help the user observe the direction of belt movement over time. Turn feed/speed knob (E) Fig. 17A “ON" and adjust to the maximum speed. Let the belt run and observe tracking direction. If the belt does not make any measurable side movement within five minutes of running, no adjustment is needed.
NOTE: With a new belt, it is not unusual for one side of the belt to be tighter than the other to make the belt track. Frequent adjustments are normal for the first few hours use to allow for belt stretch. Adjustments to belt tracking can also affect belt tension.
2.If belt (F) is tracking to the right, use the 1/8"
3.If belt (F) is tracking to the left, use the 1/8"
NOTE: Only adjust one side at a time and let the movement stabilize before adjusting again. Continue to tighten or loosen this adjustment until the feed belt is tracking properly.
TENSIONING
4.Belt tension adjustment is needed if the belt slips on the rear drive roller during sanding operations.
5.To adjust belt tension, turn both set screws (A) and (B) Fig. 17A (one is shown at (B) Fig. 17B) clockwise in 1/4 turn increments, until the feed belt is tensioned sufficiently to prevent slipping. NOTE: When adjusting belt tension, turn both set screws the same amount. DO NOT over tension the belt. Excessive tension will cause premature wear of belt, bearings and overload the motor. Listen for motor load speed changes when adjusting belt tension.
NOTE: Adjustments to belt tension can affect belt tracking. Frequent adjustments are normal for the first few hours use to allow for belt stretch.
E
AB
F
Fig. 17A
B
Fig. 17B
11