Making Labels
5On the Margins tab, enter the margin values for the top, bottom, left, and right margins based on the labels you have loaded in the printer.
Refer to Table 1 for the correct settings.
6Click the Paper Size tab.
7Select the label size you have loaded in the printer from the Paper size
8Select Landscape under Orientation and click OK.
9Click![]() to print the label.
to print the label.
Print Settings
This section discusses several printer settings that may optimize your printing with
LabelMANAGER PC.
Tape Cassette Color Setting
The LabelMANAGER PC adjusts its print settings based on the color of the label tape. To optimize the print quality, make sure you set the tape cassette color setting to match the color of the tape in the printer.
To set the tape cassette color
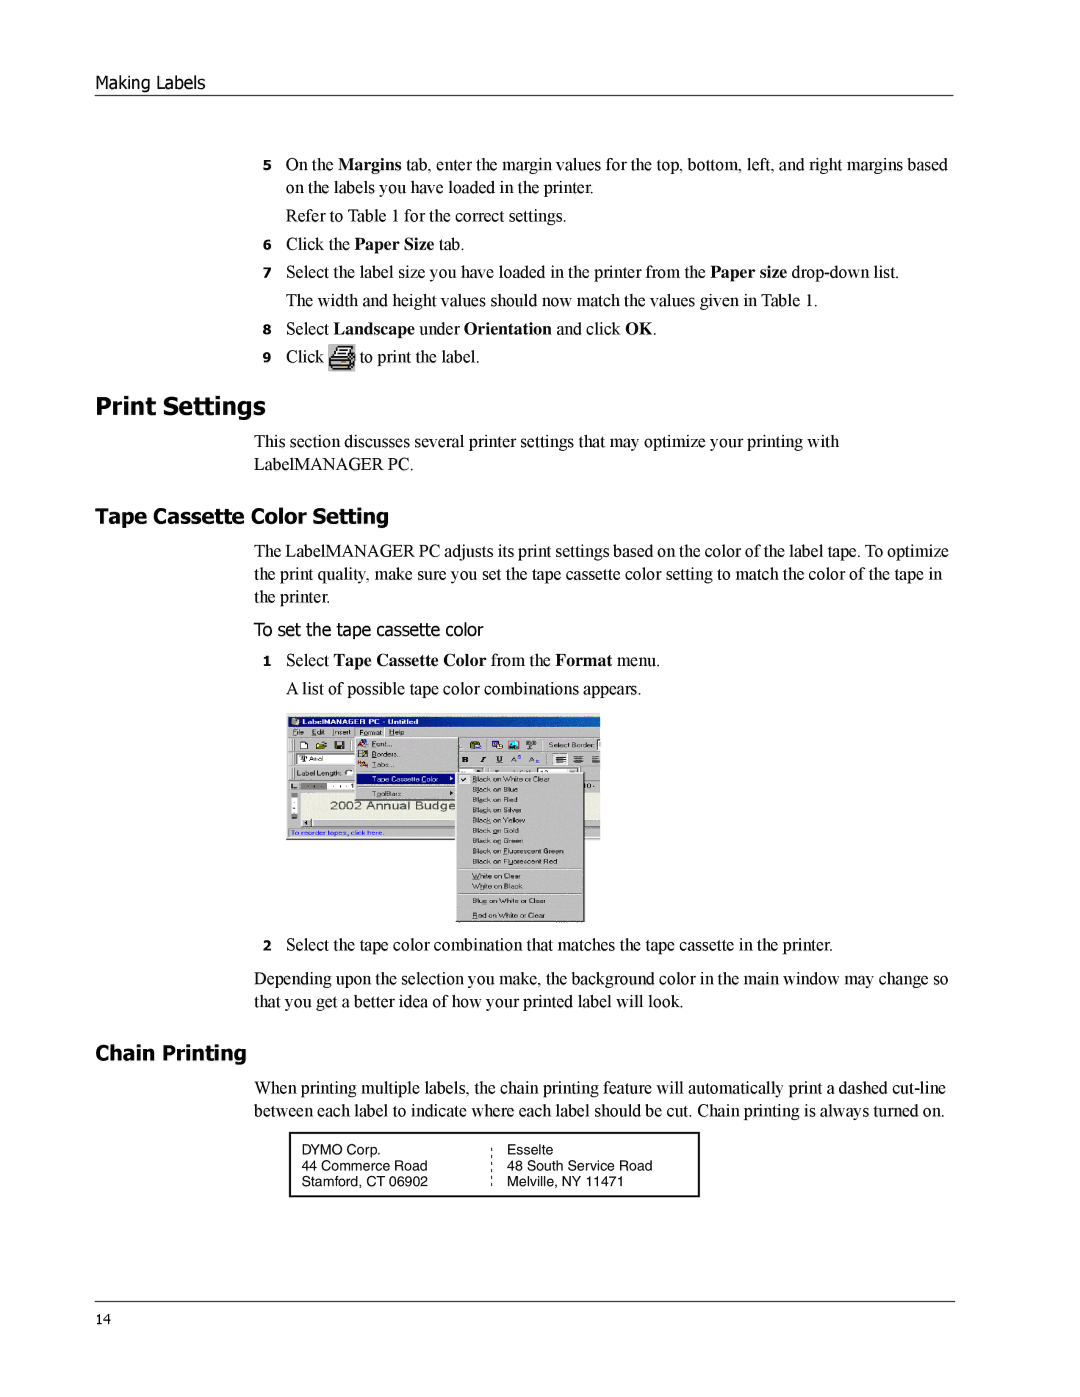
1Select Tape Cassette Color from the Format menu. A list of possible tape color combinations appears.
2Select the tape color combination that matches the tape cassette in the printer.
Depending upon the selection you make, the background color in the main window may change so that you get a better idea of how your printed label will look.
Chain Printing
When printing multiple labels, the chain printing feature will automatically print a dashed
DYMO Corp.
44 Commerce Road
Stamford, CT 06902
Esselte
48 South Service Road
Melville, NY 11471
14
