SETTING
1Press the MENU button and the
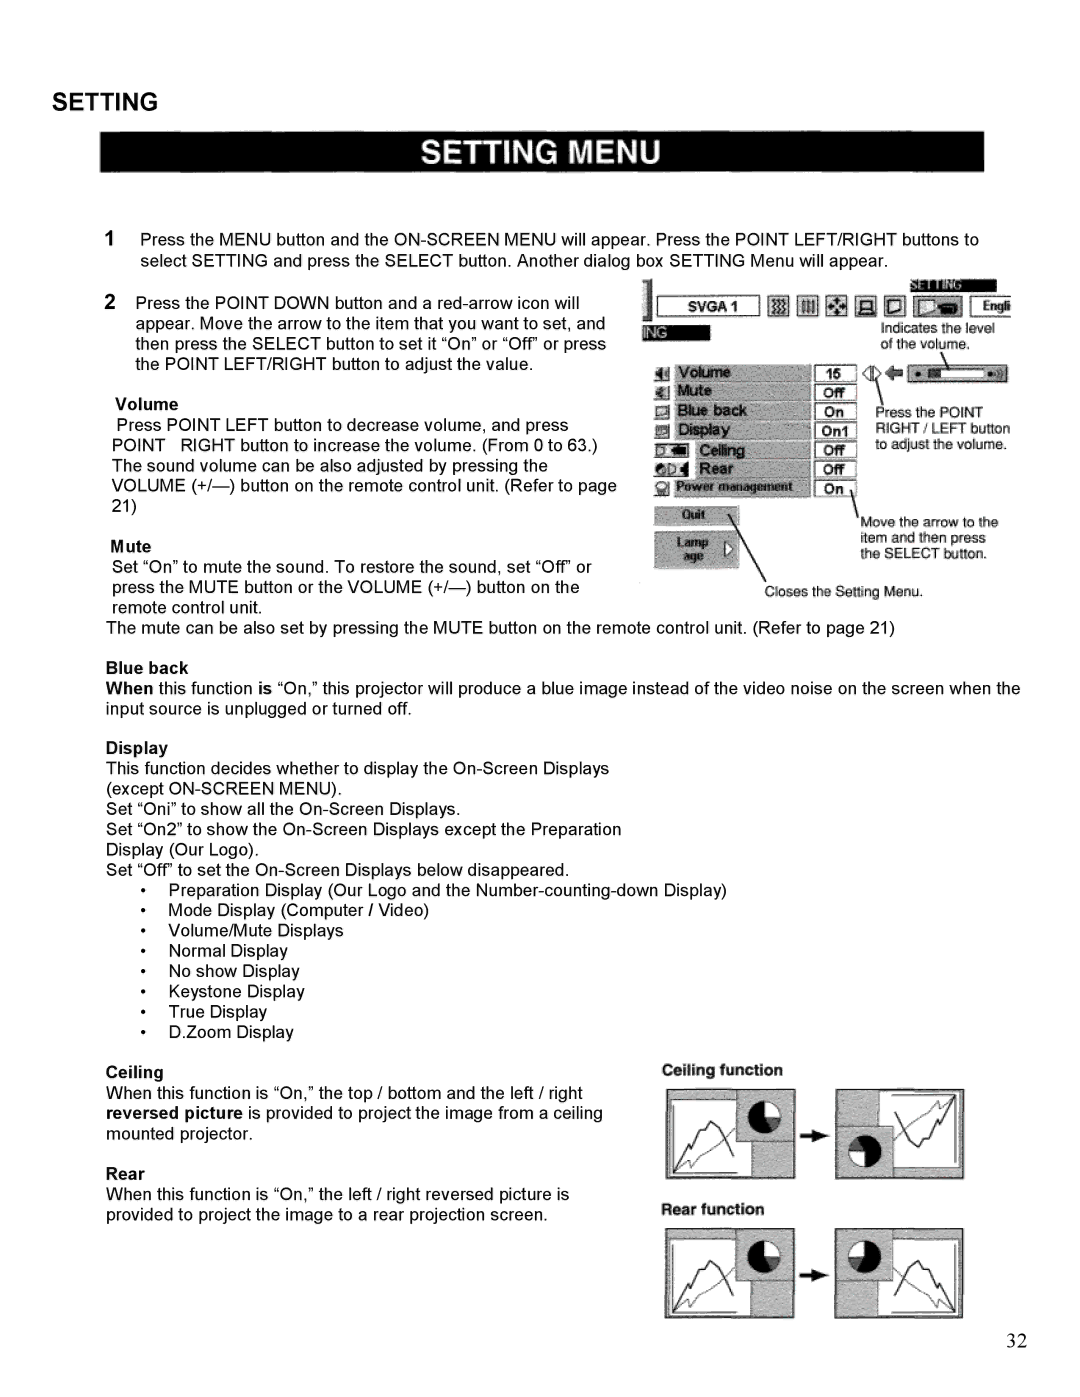
2Press the POINT DOWN button and a
Volume
Press POINT LEFT button to decrease volume, and press POINT RIGHT button to increase the volume. (From 0 to 63.) The sound volume can be also adjusted by pressing the VOLUME
Mute
Set “On” to mute the sound. To restore the sound, set “Off” or press the MUTE button or the VOLUME
The mute can be also set by pressing the MUTE button on the remote control unit. (Refer to page 21)
Blue back
When this function is “On,” this projector will produce a blue image instead of the video noise on the screen when the input source is unplugged or turned off.
Display
This function decides whether to display the
Set “Oni” to show all the
Set “On2” to show the
Set “Off” to set the
•Preparation Display (Our Logo and the
•Mode Display (Computer / Video)
•Volume/Mute Displays
•Normal Display
•No show Display
•Keystone Display
•True Display
•D.Zoom Display
Ceiling
When this function is “On,” the top / bottom and the left / right reversed picture is provided to project the image from a ceiling mounted projector.
Rear
When this function is “On,” the left / right reversed picture is provided to project the image to a rear projection screen.
32