INSTALLATION INSTRUCTIONS

4.GAS CONNECTION

The installation of the gas connection, as well as the laying of the customer's gas line, is only to be carried out by an author- ised specialist subject to the relevant national and local regula- tions.

NOTE

The gas appliance may only be installed in an adequately ventilated location.

Appliances are set up for natural gas. The type of gas, gas pressure and gas category are entered on the specification plate. Prior to connection, check that the appliance is set up for the type of gas available on site. To do this, compare the details on the specification plate with the existing gas data.

If this is not the case, the appliance must be converted or adapted by the service personnel responsible to suit local conditions. The following points should be noted:

-Has the appliance been tested for the new gas data?

-Conversion in accordance with the Service Manual.

-A new specification plate or a durable marking with the new gas data must be affixed to the appliance.

4.1CONNECTION

Gas-only appliances as well as combination electric and gas appliances require a gas connection.

The gas connection is located under the appliance on the right hand side. For all types the gas connection is NPT 3/4“.

The installation of a dirt trap in the gas supply line by the owner is recommended.

After connection, all lines carrying gas must be tested for leaks at operating pressure by painting with non-corrosive foam- forming media, (e.g. soapy water or leak spray).

4.2GAS PRESSURE

The current gas pressure should be measured at the Mertik regulator with a liquid U-tube manometer (scale at least 0.1 mbar = 1 mm water column).

DRemove the control panel. The measuring nipple is located in downwards direction at the gas supply pipe before the two gas valves.

DClose off the mains gas leading to the appliance.

DThe measuring nipple is provided at the left side of the reg- ulator. The incoming pressure is measured in front, the out- going pressure behind.

DLoosen the slotted screw (1 turn) in the measuring nipple. Then connect the pressure gauge by attaching a flexible tube to the nipple (out-side diameter 8 mm).

DOpen the main gas leading to the appliance.

DRun all burners on the appliance at full output.

DCheck whether the connection pressure is in permitted tol- erance.

DTurn off the appliance again.

DClose the main gas valve.

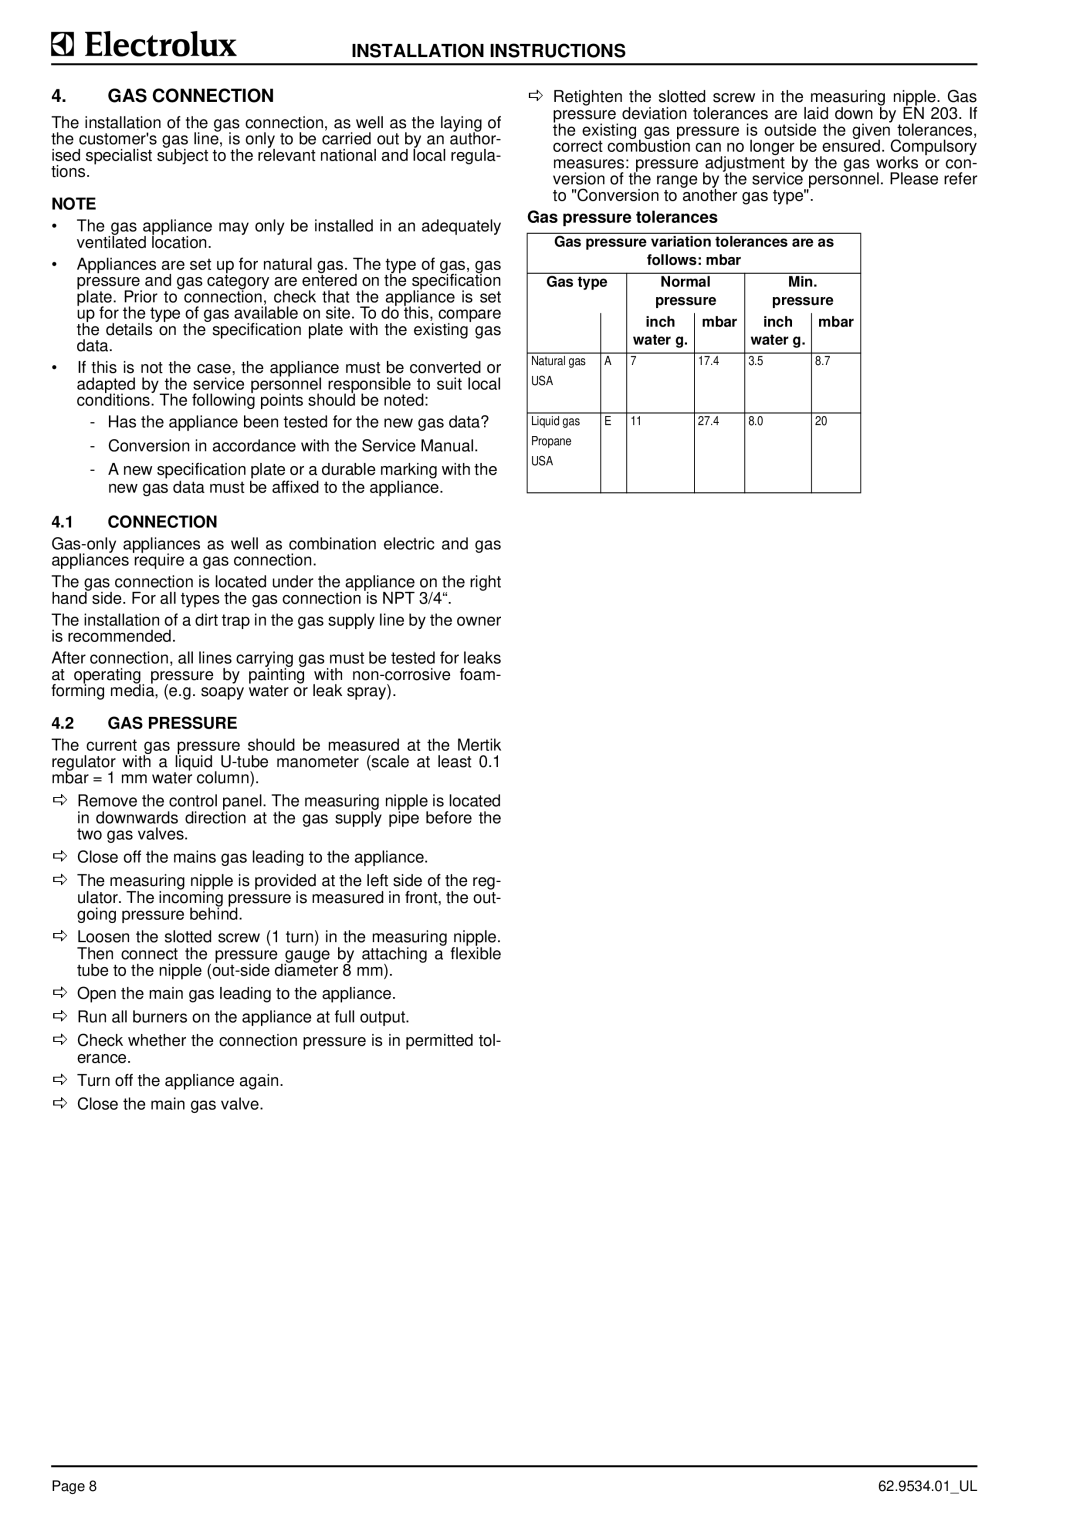
DRetighten the slotted screw in the measuring nipple. Gas pressure deviation tolerances are laid down by EN 203. If the existing gas pressure is outside the given tolerances, correct combustion can no longer be ensured. Compulsory measures: pressure adjustment by the gas works or con- version of the range by the service personnel. Please refer to "Conversion to another gas type".

Gas pressure tolerances

Gas pressure variation tolerances are as

follows: mbar

Gas type

Normal

Min.


pressure

pressure


inch

mbar

inch

mbar


water g.


water g.


Natural gas

A

7

17.4

3.5

8.7

USA


Liquid gas

E

11

27.4

8.0

20

Propane


USA


Page 8

62.9534.01_UL

Page 12
Image 12
Electrolux 9CHG584160, WLGWAAOOOO, 584166 Installation Instructions GAS Connection, GAS Pressure, Gas pressure tolerances

9CHG584160, 9CHG584163, 584166, 9CHG584161, 9CHG584159 specifications

Electrolux, a leading global appliance manufacturer, has long been synonymous with innovation and quality in the home appliance industry. Among its impressive roster of appliances, models like the WLGWAFOOOO, WLGWACOOOO, 9CHG584160, 9CHG584161, and 9CHG584163 stand out for their advanced features, technologies, and user-friendly characteristics.

The WLGWAFOOOO washing machine is designed for efficiency and ease of use. It boasts a high energy efficiency rating, helping users save on electricity bills while minimizing environmental impact. Featuring multiple wash programs, it accommodates a variety of fabrics, ensuring optimal washing cycles for everything from delicate garments to heavily soiled items. The Direct Drive motor technology offers a quieter operation while reducing vibrations, enhancing the overall user experience.

The WLGWACOOOO model is a testament to Electrolux's commitment to smart home technology. This model features built-in Wi-Fi connectivity, enabling users to control and monitor their laundry remotely via smartphone apps. Additionally, it comes equipped with a steam function that helps remove wrinkles and sanitize clothes effectively, allowing for fresher results without excessive ironing.

Electrolux also provides compact yet powerful options with models like the 9CHG584160, 9CHG584161, and 9CHG584163. These appliances are designed for smaller spaces without compromising performance. They offer flexible installation options, making them ideal for apartments or homes with limited laundry areas. The dual-purpose functionalities of these models allow users to wash and dry clothes efficiently, saving time and space.

All these models feature intuitive touch control panels that simplify operation, along with child lock features for safety. Their sleek designs fit seamlessly into modern homes, while their robust build quality ensures long-lasting performance.

With a strong focus on reducing water use, many of these Electrolux models include sensor-driven load detection, which adjusts water levels and energy consumption based on the size and type of the load. Additionally, they are designed with eco-friendly materials, reinforcing Electrolux's commitment to sustainability.

In summary, Electrolux's WLGWAFOOOO, WLGWACOOOO, 9CHG584160, 9CHG584161, and 9CHG584163 models reflect a perfect blend of cutting-edge technology, user-centric designs, and environmental responsibility, making them an excellent choice for modern households.