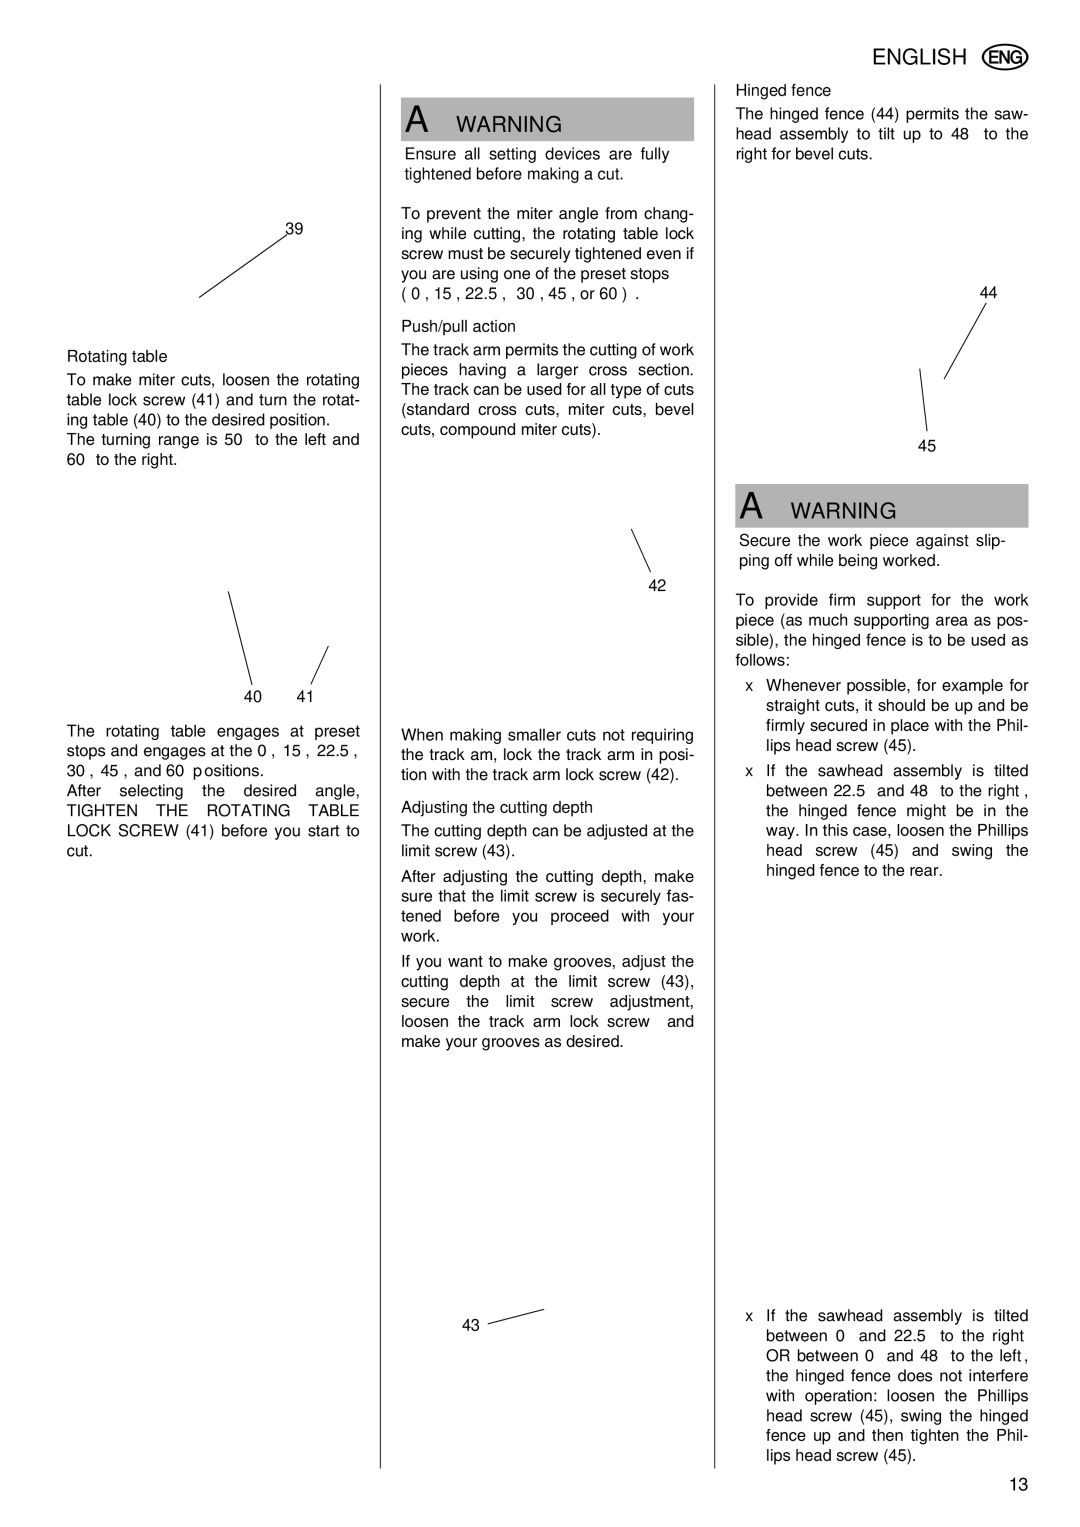
39
Rotating table
To make miter cuts, loosen the rotating table lock screw (41) and turn the rotat- ing table (40) to the desired position.
The turning range is 50° to the left and 60° to the right.
40 41
The rotating table engages at preset stops and engages at the 0°, 15°, 22.5°, 30°, 45°, and 60° positions.
After selecting the desired angle,
TIGHTEN THE ROTATING TABLE LOCK SCREW (41) before you start to cut.
AWARNING
Ensure all setting devices are fully tightened before making a cut.
To prevent the miter angle from chang- ing while cutting, the rotating table lock screw must be securely tightened even if you are using one of the preset stops
( 0°, 15°, 22.5°, 30°, 45°, or 60°).
Push/pull action
The track arm permits the cutting of work pieces having a larger cross section. The track can be used for all type of cuts (standard cross cuts, miter cuts, bevel cuts, compound miter cuts).
42
When making smaller cuts not requiring the track am, lock the track arm in posi- tion with the track arm lock screw (42).
Adjusting the cutting depth
The cutting depth can be adjusted at the limit screw (43).
After adjusting the cutting depth, make sure that the limit screw is securely fas- tened before you proceed with your work.
If you want to make grooves, adjust the cutting depth at the limit screw (43), secure the limit screw adjustment, loosen the track arm lock screw and make your grooves as desired.
43 ![]()
ENGLISH
Hinged fence
The hinged fence (44) permits the saw- head assembly to tilt up to 48° to the right for bevel cuts.
44
45
AWARNING
Secure the work piece against slip- ping off while being worked.
To provide firm support for the work piece (as much supporting area as pos- sible), the hinged fence is to be used as follows:
ξWhenever possible, for example for straight cuts, it should be up and be firmly secured in place with the Phil- lips head screw (45).
ξIf the sawhead assembly is tilted between 22.5° and 48° to the right, the hinged fence might be in the way. In this case, loosen the Phillips head screw (45) and swing the hinged fence to the rear.
ξIf the sawhead assembly is tilted between 0° and 22.5° to the right OR between 0° and 48° to the left, the hinged fence does not interfere with operation: loosen the Phillips head screw (45), swing the hinged fence up and then tighten the Phil- lips head screw (45).
13