Glass Fusing & Slumping
You will probably fire mostly stained glass, but you can also fire standard float (window) glass. Some types of float glass devitrify (form a dull, frosty surface) when fired.
Caution: Never fire tempered glass. It could ex- plode if heated inside a kiln.
Basic Glass Tools
Reservoir Glass Cutter uses a reservoir of oil to lu- bricate the cutter wheel.
Running Pliers are for cutting large pieces of glass. Breaking Pliers are for cutting small strips.
Grozing Pliers shape the glass by chipping away the edges. They are often used when the score line doesn’t break cleanly. Note that rough edges will become smooth when fired to fusing temperature.
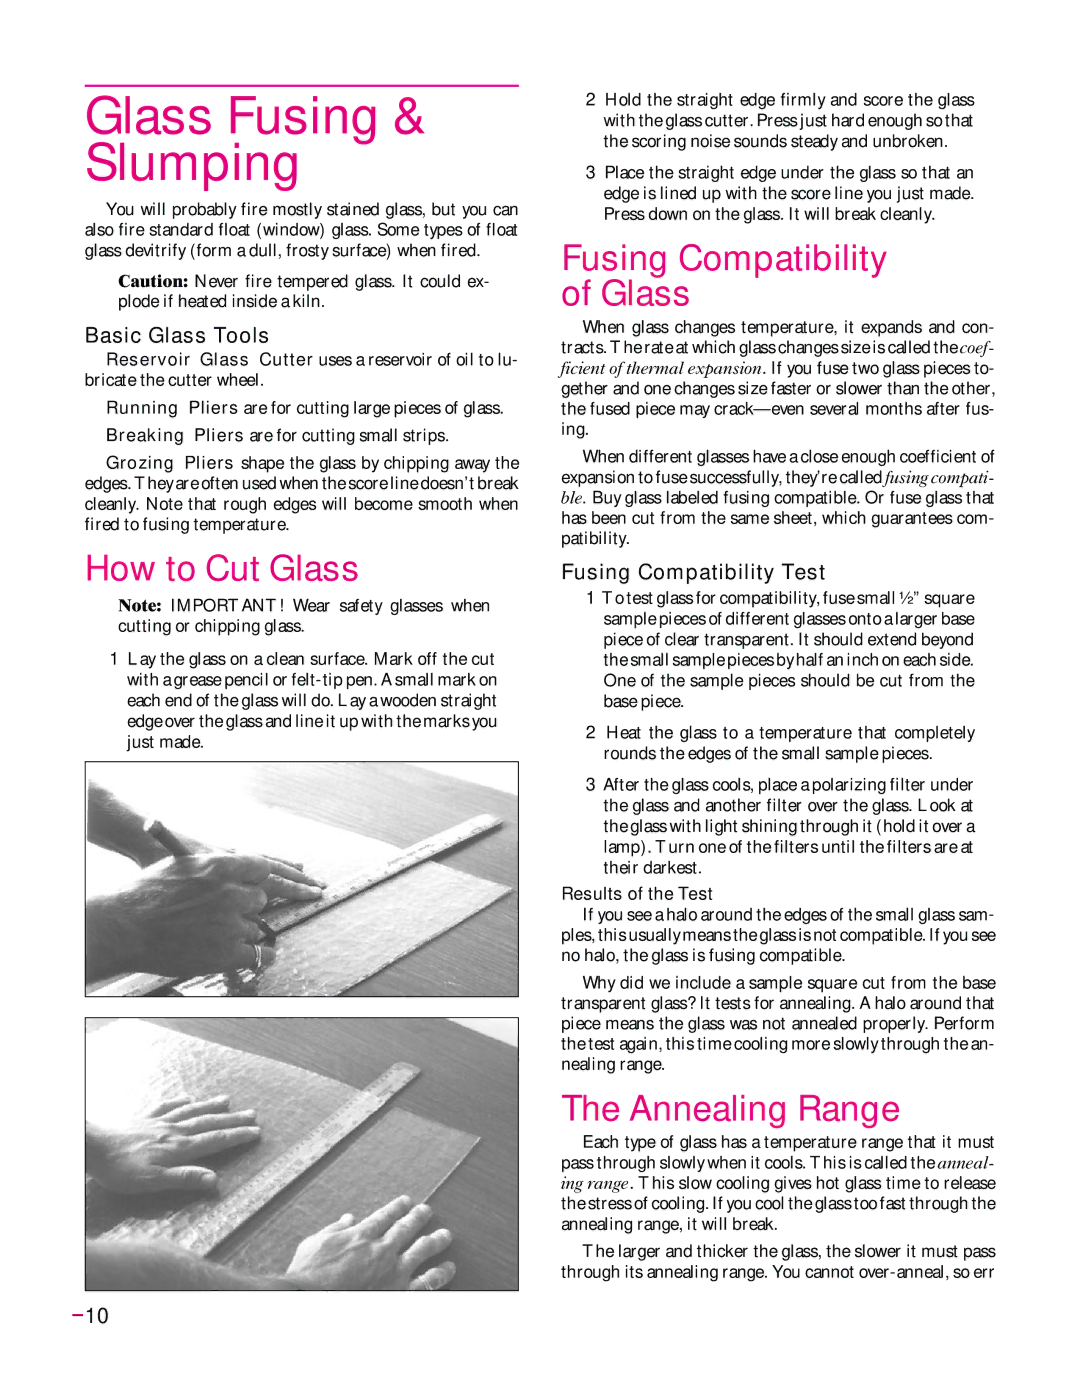
How to Cut Glass
Note: IMPORTANT! Wear safety glasses when cutting or chipping glass.
1Lay the glass on a clean surface. Mark off the cut with a grease pencil or
2Hold the straight edge firmly and score the glass with the glass cutter. Press just hard enough so that the scoring noise sounds steady and unbroken.
3Place the straight edge under the glass so that an edge is lined up with the score line you just made. Press down on the glass. It will break cleanly.
Fusing Compatibility of Glass
When glass changes temperature, it expands and con- tracts. The rate at which glass changes size is called the coef- ficient of thermal expansion. If you fuse two glass pieces to- gether and one changes size faster or slower than the other, the fused piece may
When different glasses have a close enough coefficient of expansion to fuse successfully, they’re called fusing compati- ble. Buy glass labeled fusing compatible. Or fuse glass that has been cut from the same sheet, which guarantees com- patibility.
Fusing Compatibility Test
1To test glass for compatibility, fuse small ½” square sample pieces of different glasses onto a larger base piece of clear transparent. It should extend beyond the small sample pieces by half an inch on each side. One of the sample pieces should be cut from the base piece.
2Heat the glass to a temperature that completely rounds the edges of the small sample pieces.
3After the glass cools, place a polarizing filter under the glass and another filter over the glass. Look at the glass with light shining through it (hold it over a lamp). Turn one of the filters until the filters are at their darkest.
Results of the Test
If you see a halo around the edges of the small glass sam- ples, this usually means the glass is not compatible. If you see no halo, the glass is fusing compatible.
Why did we include a sample square cut from the base transparent glass? It tests for annealing. A halo around that piece means the glass was not annealed properly. Perform the test again, this time cooling more slowly through the an- nealing range.
The Annealing Range
Each type of glass has a temperature range that it must pass through slowly when it cools. This is called the anneal- ing range. This slow cooling gives hot glass time to release the stress of cooling. If you cool the glass too fast through the annealing range, it will break.
The larger and thicker the glass, the slower it must pass through its annealing range. You cannot
10