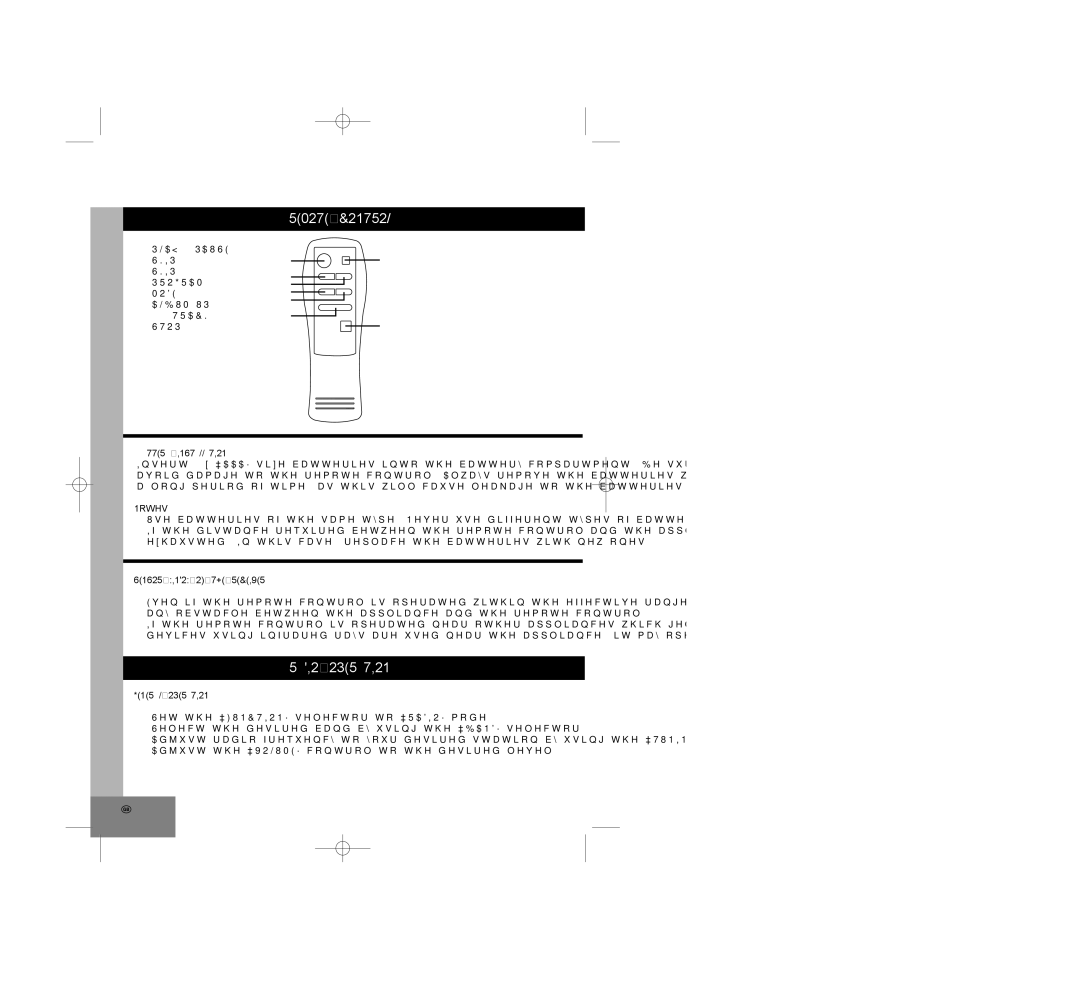
REMOTE CONTROL
1. PLAY / PAUSE |
|
| |
2. | SKIP - | 1 | 8 |
3. | SKIP + | 2 |
|
4. PROGRAM |
| ||
3 |
| ||
5. MODE | 4 |
| |
6. ALBUM UP | 5 |
| |
|
| ||
7. | +10 TRACK | 6 | 7 |
8. STOP |
| ||
BATTERY INSTALLATION
Insert 2 x “AAA” size batteries into the battery compartment. Be sure that the batteries are inserted correctly to avoid damage to the remote control. Always remove the batteries when the remote control will not be used for a long period of time, as this will cause leakage to the batteries and subsequently damage to your set.
Notes:
-Use batteries of the same type. Never use different types of batteries together.
-If the distance required between the remote control and the appliance decreases, the batteries are exhausted. In this case, replace the batteries with new ones.
SENSOR WINDOW OF THE RECEIVER
-Even if the remote control is operated within the effective range, its operation may be impossible if there are any obstacle between the appliance and the remote control.
-If the remote control is operated near other appliances which generate infrared rays, or if other remote control devices using infrared rays are used near the appliance, it may operate improperly.
RADIO OPERATION
GENERAL OPERATION
1.Set the “FUNCTION” selector to “RADIO” mode.
2.Select the desired band by using the “BAND” selector.
3.Adjust radio frequency to your desired station by using the “TUNING” control.
4.Adjust the “VOLUME” control to the desired level.
![]() 13.
13.
