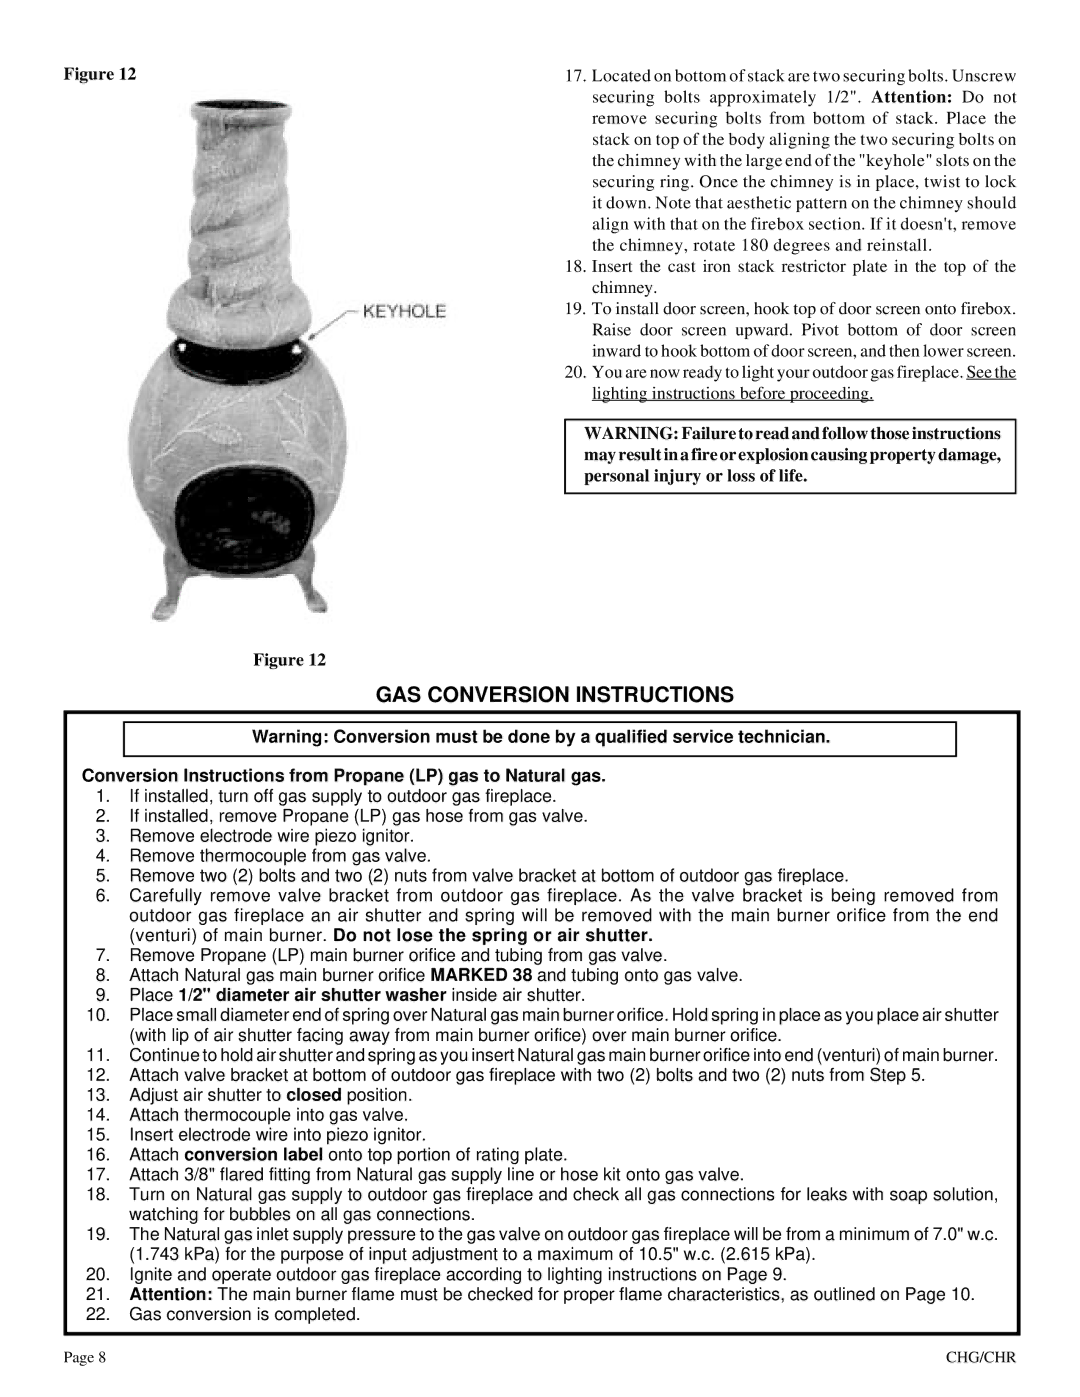
Figure 12
Figure 12
17.Located on bottom of stack are two securing bolts. Unscrew securing bolts approximately 1/2". Attention: Do not remove securing bolts from bottom of stack. Place the stack on top of the body aligning the two securing bolts on the chimney with the large end of the "keyhole" slots on the securing ring. Once the chimney is in place, twist to lock it down. Note that aesthetic pattern on the chimney should align with that on the firebox section. If it doesn't, remove the chimney, rotate 180 degrees and reinstall.
18.Insert the cast iron stack restrictor plate in the top of the chimney.
19.To install door screen, hook top of door screen onto firebox. Raise door screen upward. Pivot bottom of door screen inward to hook bottom of door screen, and then lower screen.
20.You are now ready to light your outdoor gas fireplace. See the lighting instructions before proceeding.
WARNING: Failure to read and follow those instructions may result in a fire or explosion causing property damage, personal injury or loss of life.
GAS CONVERSION INSTRUCTIONS
Warning: Conversion must be done by a qualified service technician.
Conversion Instructions from Propane (LP) gas to Natural gas.
1.If installed, turn off gas supply to outdoor gas fireplace.
2.If installed, remove Propane (LP) gas hose from gas valve.
3.Remove electrode wire piezo ignitor.
4.Remove thermocouple from gas valve.
5.Remove two (2) bolts and two (2) nuts from valve bracket at bottom of outdoor gas fireplace.
6.Carefully remove valve bracket from outdoor gas fireplace. As the valve bracket is being removed from outdoor gas fireplace an air shutter and spring will be removed with the main burner orifice from the end (venturi) of main burner. Do not lose the spring or air shutter.
7.Remove Propane (LP) main burner orifice and tubing from gas valve.
8.Attach Natural gas main burner orifice MARKED 38 and tubing onto gas valve.
9.Place 1/2" diameter air shutter washer inside air shutter.
10.Place small diameter end of spring over Natural gas main burner orifice. Hold spring in place as you place air shutter (with lip of air shutter facing away from main burner orifice) over main burner orifice.
11.Continue to hold air shutter and spring as you insert Natural gas main burner orifice into end (venturi) of main burner.
12.Attach valve bracket at bottom of outdoor gas fireplace with two (2) bolts and two (2) nuts from Step 5.
13.Adjust air shutter to closed position.
14.Attach thermocouple into gas valve.
15.Insert electrode wire into piezo ignitor.
16.Attach conversion label onto top portion of rating plate.
17.Attach 3/8" flared fitting from Natural gas supply line or hose kit onto gas valve.
18.Turn on Natural gas supply to outdoor gas fireplace and check all gas connections for leaks with soap solution, watching for bubbles on all gas connections.
19.The Natural gas inlet supply pressure to the gas valve on outdoor gas fireplace will be from a minimum of 7.0" w.c. (1.743 kPa) for the purpose of input adjustment to a maximum of 10.5" w.c. (2.615 kPa).
20.Ignite and operate outdoor gas fireplace according to lighting instructions on Page 9.
21.Attention: The main burner flame must be checked for proper flame characteristics, as outlined on Page 10.
22.Gas conversion is completed.
Page 8 | CHG/CHR |
