LIGHTING INSTRUCTIONS

FOR YOUR SAFETY READ BEFORE LIGHTING

WARNING: If you do not follow these instructions exactly, a fire or explosion may result caus-

ing property damage, personal injury or loss of life.

A.This appliance has a pilot which must be lighted by hand. When lighting the pilot, follow these instructions exactly.

B.BEFORE LIGHTING smell all around the appliance area for gas. Be sure to smell next to the floor because some gas is heavier than air and will settle on the floor.

WHAT TO DO IF YOU SMELL GAS

Do not try to light any appliance.

Do not touch any electrical switch; do not use any phone in your building.

Immediately call your gas supplier from a neighbor’s phone. Follow the gas supplier’s instructions.

If you cannot reach your gas supplier, call the fire depart-

ment.

C.Use only your hand to push in or turn the gas control knob. Never use tools. If the knob will not push in or turn by hand, don’t try to repair it; call a qualified service technician. Force or attempted repair may result in a fire or explosion.

D.Do not use this appliance if any part has been under water. Immediately call a qualified service technician to inspect the appliance and to replace any part of the control system and any gas control which has been under water.

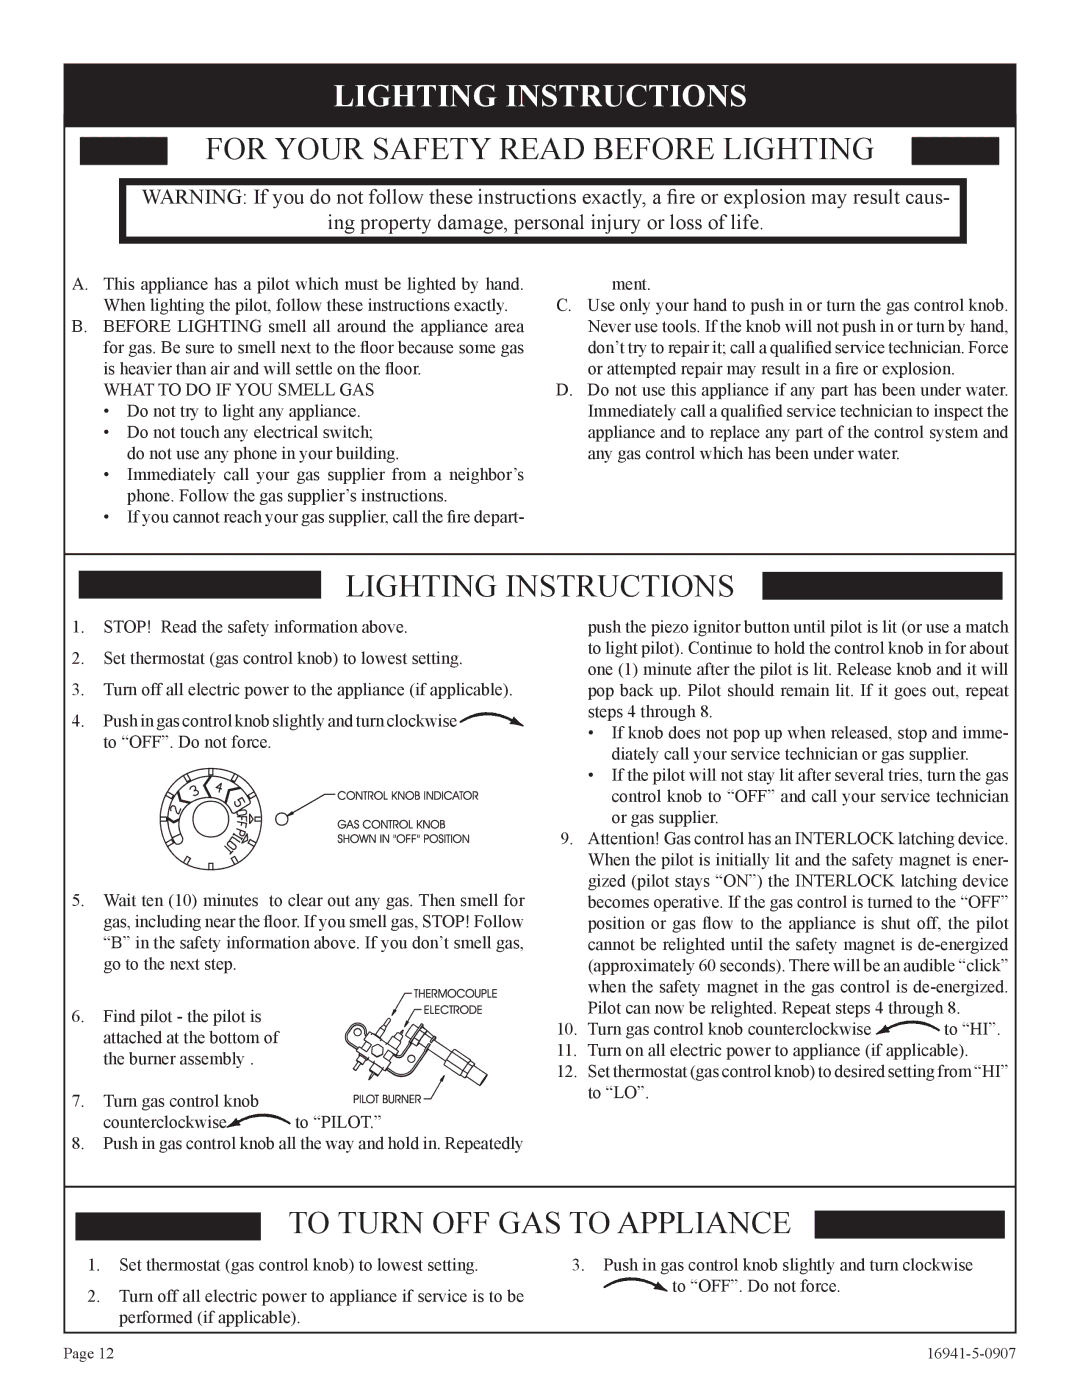
LIGHTING INSTRUCTIONS

1.STOP! Read the safety information above.

2.Set thermostat (gas control knob) to lowest setting.

3.Turn off all electric power to the appliance (if applicable).

4.Push in gas control knob slightly and turn clockwise to “OFF”. Do not force.

5.Wait ten (10) minutes to clear out any gas. Then smell for gas, including near the floor. If you smell gas, STOP! Follow “B” in the safety information above. If you don’t smell gas, go to the next step.

6. Find pilot - the pilot is attached at the bottom of the burner assembly .

7. Turn gas control knob


counterclockwise

to “PILOT.”

8.Push in gas control knob all the way and hold in. Repeatedly

push the piezo ignitor button until pilot is lit (or use a match to light pilot). Continue to hold the control knob in for about one (1) minute after the pilot is lit. Release knob and it will pop back up. Pilot should remain lit. If it goes out, repeat steps 4 through 8.

If knob does not pop up when released, stop and imme- diately call your service technician or gas supplier.

If the pilot will not stay lit after several tries, turn the gas control knob to “OFF” and call your service technician or gas supplier.

9.Attention! Gas control has an INTERLOCK latching device. When the pilot is initially lit and the safety magnet is ener- gized (pilot stays “ON”) the INTERLOCK latching device becomes operative. If the gas control is turned to the “OFF” position or gas flow to the appliance is shut off, the pilot cannot be relighted until the safety magnet is de-energized (approximately 60 seconds). There will be an audible “click” when the safety magnet in the gas control is de-energized. Pilot can now be relighted. Repeat steps 4 through 8.

10.Turn gas control knob counterclockwise to “HI”.

11.Turn on all electric power to appliance (if applicable).

12.Set thermostat (gas control knob) to desired setting from “HI” to “LO”.

TO TURN OFF GAS TO APPLIANCE

1.Set thermostat (gas control knob) to lowest setting.

2.Turn off all electric power to appliance if service is to be performed (if applicable).

3.Push in gas control knob slightly and turn clockwise to “OFF”. Do not force.

Page 12

16941-5-0907

Page 12
Image 12
Empire Comfort Systems SR-10T-3 installation instructions Lighting Instructions, For Your Safety Read Before Lighting

SR-10T-3 specifications

The Empire Comfort Systems SR-10T-3 is a highly efficient, innovative heating solution designed to meet the demands of modern living. This product exemplifies a commitment to quality, reliability, and user-friendly operation, making it an ideal choice for both residential and commercial spaces.

One of the standout features of the SR-10T-3 is its advanced infrared heating technology. This innovation allows the heater to warm objects and people directly rather than just heating the surrounding air, resulting in quick and efficient heat distribution. This means users can enjoy a comfortable environment almost immediately after turning the unit on, reducing wait times that are typically associated with conventional heating methods.

The design of the SR-10T-3 is another highlight. It boasts a compact and sleek profile that can seamlessly integrate into various settings without taking up excessive space. Moreover, this model is available in multiple finishes to complement any décor, ensuring it not only functions effectively but also enhances the aesthetic of the room.

The SR-10T-3 is equipped with an adjustable thermostat, allowing users to customize their heating experience according to their specific needs. This feature promotes energy efficiency, as it helps prevent unnecessary energy consumption by automatically regulating the temperature. In addition, the heater is designed with convenience in mind, incorporating a safety shut-off feature that activates if the unit overheats or tips over, ensuring peace of mind during use.

Durability is another defining characteristic of the Empire Comfort Systems SR-10T-3. Made with high-quality materials, this heater is built to withstand the rigors of daily use while maintaining optimal performance. Its user-friendly controls and straightforward installation process also contribute to its appeal, making it accessible for anyone looking to enhance their heating solutions.

In conclusion, the Empire Comfort Systems SR-10T-3 is an exceptional choice for those seeking an efficient and stylish heating solution. With its infrared heating technology, adjustable thermostat, and durable construction, it stands out in its category, promising reliability and comfort for years to come. Its thoughtful design and commitment to efficiency make it a noteworthy investment for any heating needs.