| L E L |
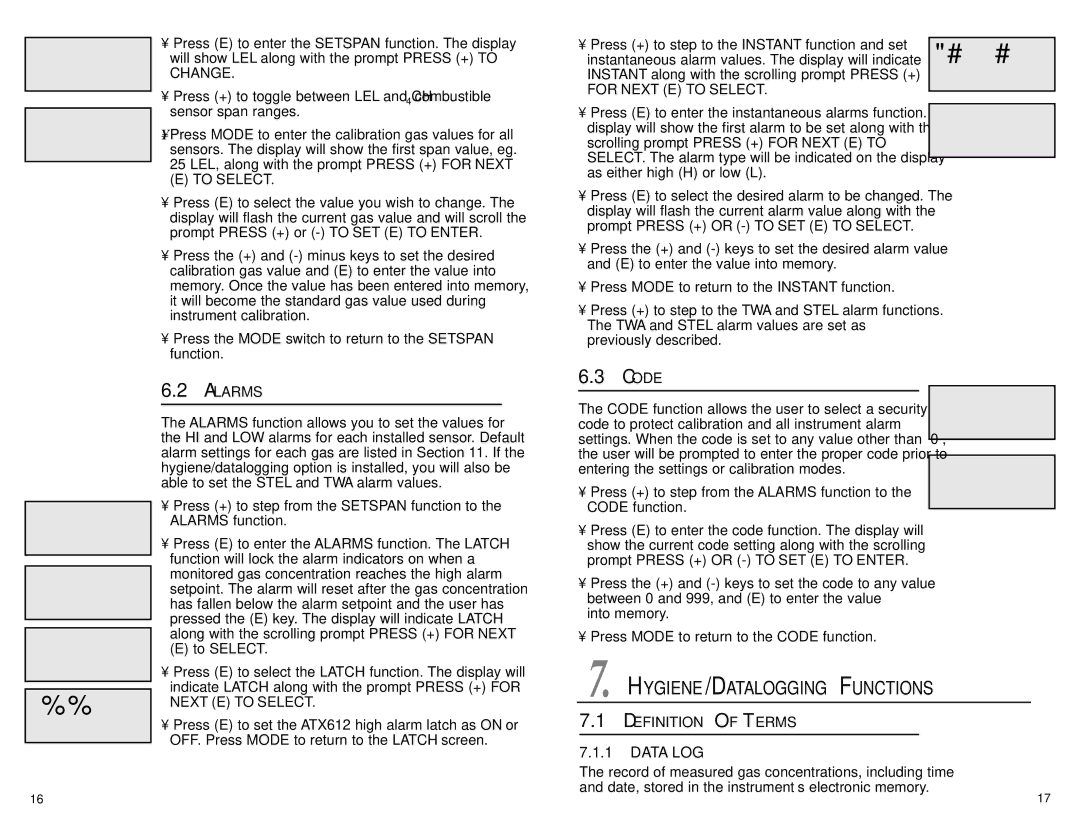
| • Press (E) to enter the SETSPAN function. The display | |
|
| will show LEL along with the prompt PRESS (+) TO | ||
| P R E S S |
| CHANGE. | |
|
|
| ||
|
|
| • Press (+) to toggle between LEL and CH4 combustible | |
|
| |||
|
|
| sensor span ranges. | |
25 | LEL | |||
| • Press MODE to enter the calibration gas values for all | |||
| PRESS |
| sensors. The display will show the first span value, eg. | |
|
|
| 25 LEL, along with the prompt PRESS (+) FOR NEXT | |
|
|
| (E) TO SELECT. | |
|
|
| • Press (E) to select the value you wish to change. The | |
|
|
| display will flash the current gas value and will scroll the | |
|
|
| prompt PRESS (+) or | |
|
|
| • Press the (+) and | |
|
|
| calibration gas value and (E) to enter the value into | |
|
|
| memory. Once the value has been entered into memory, | |
|
|
| it will become the standard gas value used during | |
|
|
| instrument calibration. | |
|
|
| • Press the MODE switch to return to the SETSPAN | |
|
|
| function. | |
|
|
| 6.2 ALARMS | |
|
|
|
| |
|
|
| The ALARMS function allows you to set the values for | |
|
|
| the HI and LOW alarms for each installed sensor. Default | |
|
|
| alarm settings for each gas are listed in Section 11. If the | |
|
|
| hygiene/datalogging option is installed, you will also be | |
|
|
| able to set the STEL and TWA alarm values. | |
|
|
| • Press (+) to step from the SETSPAN function to the | |
LATCH | ||||
| ALARMS function. | |||
|
|
| • Press (E) to enter the ALARMS function. The LATCH | |
|
|
| function will lock the alarm indicators on when a | |
ALARMS |
| monitored gas concentration reaches the high alarm | ||
| setpoint. The alarm will reset after the gas concentration | |||
| PRESS |
| has fallen below the alarm setpoint and the user has | |
|
|
| ||
|
|
| pressed the (E) key. The display will indicate LATCH | |
|
| |||
LATCH |
| along with the scrolling prompt PRESS (+) FOR NEXT | ||
| (E) to SELECT. | |||
| PRESS |
| • Press (E) to select the LATCH function. The display will | |
|
|
| indicate LATCH along with the prompt PRESS (+) FOR | |
OFF |
| |||
PRESS |
| NEXT (E) TO SELECT. | ||
|
| |||
|
| OFF. Press MODE to return to the LATCH screen. | ||
|
|
| • Press (E) to set the ATX612 high alarm latch as ON or | |
• Press (+) to step to the INSTANT function and set | INSTANT | |||
instantaneous alarm values. The display will indicate | ||||
INSTANT along with the scrolling prompt PRESS (+) | PRESS | |||
|
| |||
FOR NEXT (E) TO SELECT. |
|
| ||
|
| |||
|
|
| ||
• Press (E) to enter the instantaneous alarms function. The | 10L | LEL | ||
display will show the first alarm to be set along with the | ||||
scrolling prompt PRESS (+) FOR NEXT (E) TO | PRESS | |||
|
| |||
SELECT. The alarm type will be indicated on the display |
|
| ||
|
| |||
as either high (H) or low (L). |
|
| ||
• Press (E) to select the desired alarm to be changed. The |
|
| ||
display will flash the current alarm value along with the |
|
| ||
prompt PRESS (+) OR |
|
| ||
• Press the (+) and |
|
| ||
and (E) to enter the value into memory. |
|
| ||
• Press MODE to return to the INSTANT function. |
|
| ||
• Press (+) to step to the TWA and STEL alarm functions. |
|
| ||
The TWA and STEL alarm values are set as |
|
| ||
previously described. |
|
| ||
6.3 CODE |
|
| ||
|
| C O D E |
| |
The CODE function allows the user to select a security |
| |||
code to protect calibration and all instrument alarm | P R E S S | |||
|
| |||
settings. When the code is set to any value other than “0”, |
|
| ||
|
| |||
the user will be prompted to enter the proper code prior to |
|
| ||
C O D E | 1 2 3 | |||
entering the settings or calibration modes. | ||||
P R E S S | ||||
• Press (+) to step from the ALARMS function to the | ||||
|
| |||
CODE function. |
|
| ||
|
| |||
•Press (E) to enter the code function. The display will show the current code setting along with the scrolling prompt PRESS (+) OR
•Press the (+) and
into memory.
•Press MODE to return to the CODE function.
7.HYGIENE/DATALOGGING FUNCTIONS
7.1DEFINITION OF TERMS
7.1.1DATA LOG
The record of measured gas concentrations, including time and date, stored in the instrument’s electronic memory.
16 | 17 |
