Page 11
the unit and become proficient riding it.
7.Gradually apply the throttle until the desired speed is achieved. Once again, we recommend that you do not venture to full speed operation until you have become proficient with the scooter and only if you are certain that there are no obstacles in site on an open field.
8.Make sure to slow down your speed while turning and balance your weight to the opposite side of the turns to ensure the unit’s stability.
IMPORTANT NOTICE: The Stand N Ride’s microcomputer (controller) automatically cuts off power to the motor whenever the brake is applied. the motor regains power after a short pause after releasing of the brake. Likewise, if the brake is set to the lock position, drive is disabled. Make sure to release the brake before you apply the throttle.
If you are using the seat option, we strongly recommend that you do not use the FAST speed setting.
Battery system and Charger
Warning: Only use the battery charging unit that was supplied with your Stand N Ride scooter. Use of any other battery charging unit or equipment voids your warranty and may result in severe damage to the battery pack and the scooter and may cause a fire hazard. Always wait until the battery gauge shows at least half
charge to recharge the batteries. Overcharging may result in decreased battery life.
The battery pack can be recharged either while in the Stand N
Ride or when removed. To charge the battery pack:
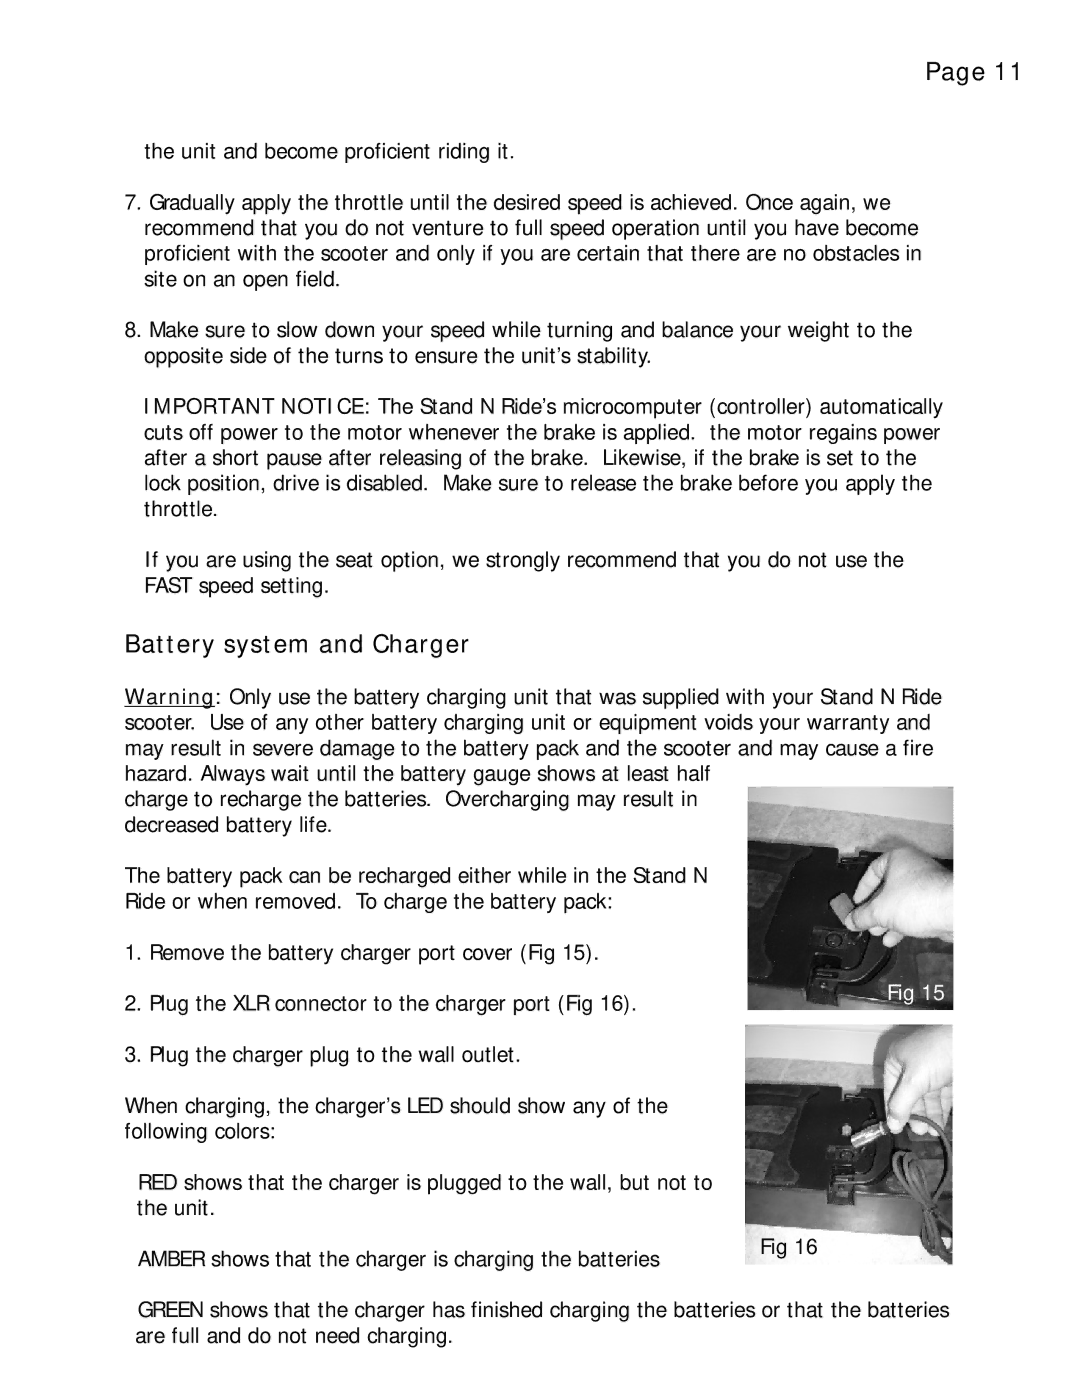
1. | Remove the battery charger port cover (Fig 15). |
|
2. | Plug the XLR connector to the charger port (Fig 16). | Fig 15 |
| ||
3. | Plug the charger plug to the wall outlet. |
|
When charging, the charger’s LED should show any of the following colors:
RED shows that the charger is plugged to the wall, but not to the unit.
AMBER shows that the charger is charging the batteries
Fig 16
GREEN shows that the charger has finished charging the batteries or that the batteries are full and do not need charging.