1Installing the tape drive
This section provides instructions for the following tasks:
■Unpacking and handling the tape drive (page 8)
■Setting the SCSI ID (page 9)
■Preparing the tape drive for the SCSI bus (page 11)
■Installing the tape drive in a computer (page 13)
■Performing the initial power on (page 18)
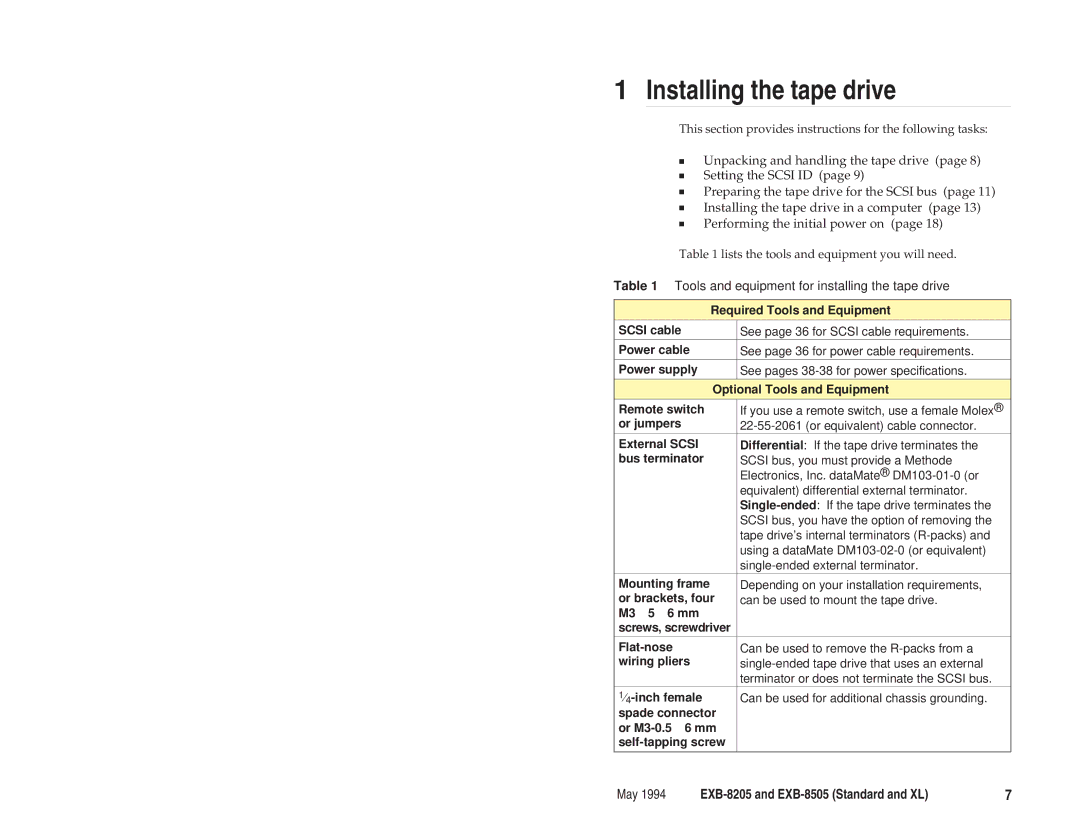
Table 1 lists the tools and equipment you will need.
Table 1 Tools and equipment for installing the tape drive
Required Tools and Equipment | |
SCSI cable | See page 36 for SCSI cable requirements. |
Power cable | See page 36 for power cable requirements. |
Power supply | See pages |
Optional Tools and Equipment | |
Remote switch | If you use a remote switch, use a female Molex® |
or jumpers | |
External SCSI | Differential: If the tape drive terminates the |
bus terminator | SCSI bus, you must provide a Methode |
| Electronics, Inc. |
| equivalent) differential external terminator. |
| |
| SCSI bus, you have the option of removing the |
| tape drive’s internal terminators |
| using a dataMate |
| |
Mounting frame | Depending on your installation requirements, |
or brackets, four | can be used to mount the tape drive. |
M3 5 6 mm |
|
screws, screwdriver |
|
|
|
Can be used to remove the | |
wiring pliers | |
| terminator or does not terminate the SCSI bus. |
Can be used for additional chassis grounding. | |
spade connector |
|
or |
|
| |
|
|
May 1994 | 7 |
