Maintenance
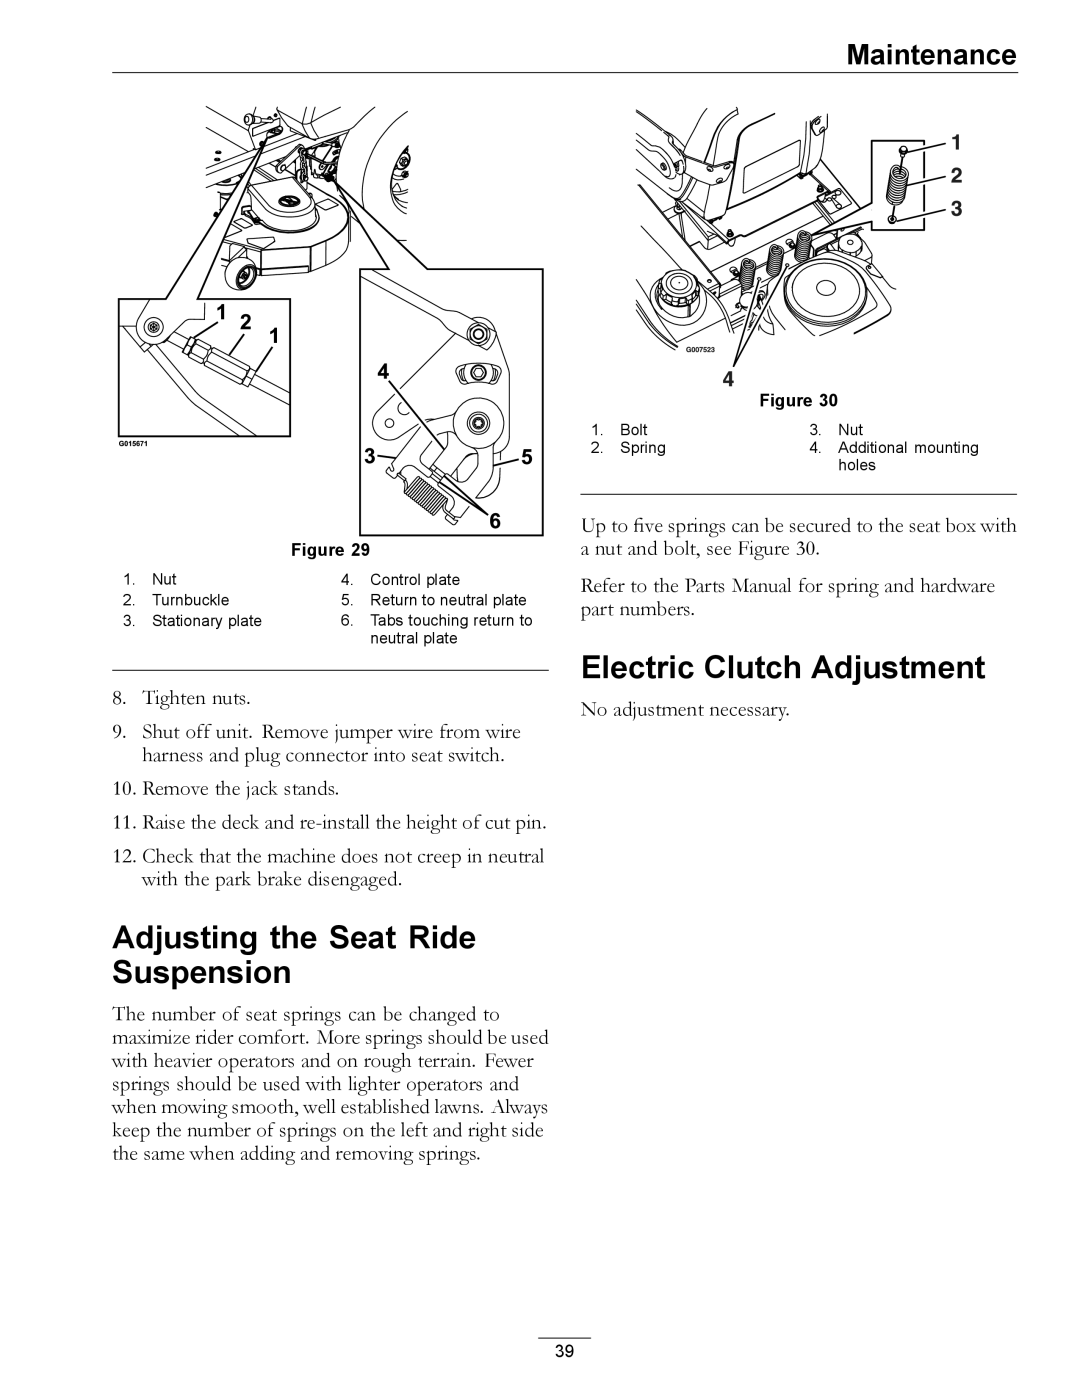
Figure 29
1. | Nut | 4. | Control plate |
2. | Turnbuckle | 5. | Return to neutral plate |
3. | Stationary plate | 6. | Tabs touching return to |
|
|
| neutral plate |
8.Tighten nuts.
9.Shut off unit. Remove jumper wire from wire harness and plug connector into seat switch.
10.Remove the jack stands.
11.Raise the deck and
12.Check that the machine does not creep in neutral with the park brake disengaged.
Adjusting the Seat Ride Suspension
The number of seat springs can be changed to maximize rider comfort. More springs should be used with heavier operators and on rough terrain. Fewer springs should be used with lighter operators and when mowing smooth, well established lawns. Always keep the number of springs on the left and right side the same when adding and removing springs.
Figure 30
1. | Bolt | 3. | Nut |
2. | Spring | 4. | Additional mounting |
|
|
| holes |
|
|
|
|
Up to five springs can be secured to the seat box with a nut and bolt, see Figure 30.
Refer to the Parts Manual for spring and hardware part numbers.
Electric Clutch Adjustment
No adjustment necessary.
39