M216KASPC specifications
The Exmark M216KASPC is a high-performance, commercial-grade zero-turn mower designed to meet the rigorous demands of lawn maintenance professionals as well as discerning homeowners. This model is part of Exmark's innovative lineup, renowned for its durability, efficiency, and cutting-edge technology.At the heart of the M216KASPC is its powerful Kohler EFI engine, offering robust performance with impressive fuel efficiency. The engine's electronic fuel injection system ensures optimal fuel delivery, which not only enhances performance but also reduces emissions and maintenance requirements. This engine is paired with a heavy-duty hydrostatic transmission that provides seamless power transfer and allows the mower to easily navigate various terrains.
One of the standout features of the Exmark M216KASPC is its 60-inch UltraCut Series 6 deck. With a design that promotes efficient airflow and a precise cutting height, this mower guarantees an exceptional cut quality and even grass distribution. The deck's dual-blade system is engineered to tackle dense turf with ease, ensuring that each pass leaves the lawn looking pristine.
The M216KASPC is equipped with Exmark’s proprietary seat and control system, which significantly enhances operator comfort and control. The ergonomically designed seat provides ample support during extended mowing sessions, while the intuitive control levers allow for precise maneuverability. This combination minimizes operator fatigue, enabling lawn care tasks to be completed more efficiently.
In addition to its impressive performance features, the Exmark M216KASPC boasts a range of technologies aimed at improving the mowing experience. With Smart Control technology, operators can easily adjust speed settings on the fly, allowing for tailored speed control based on specific mowing conditions. Furthermore, the mower's built-in hour meter and service reminders ensure that maintenance is kept on schedule, prolonging the life of the machine.
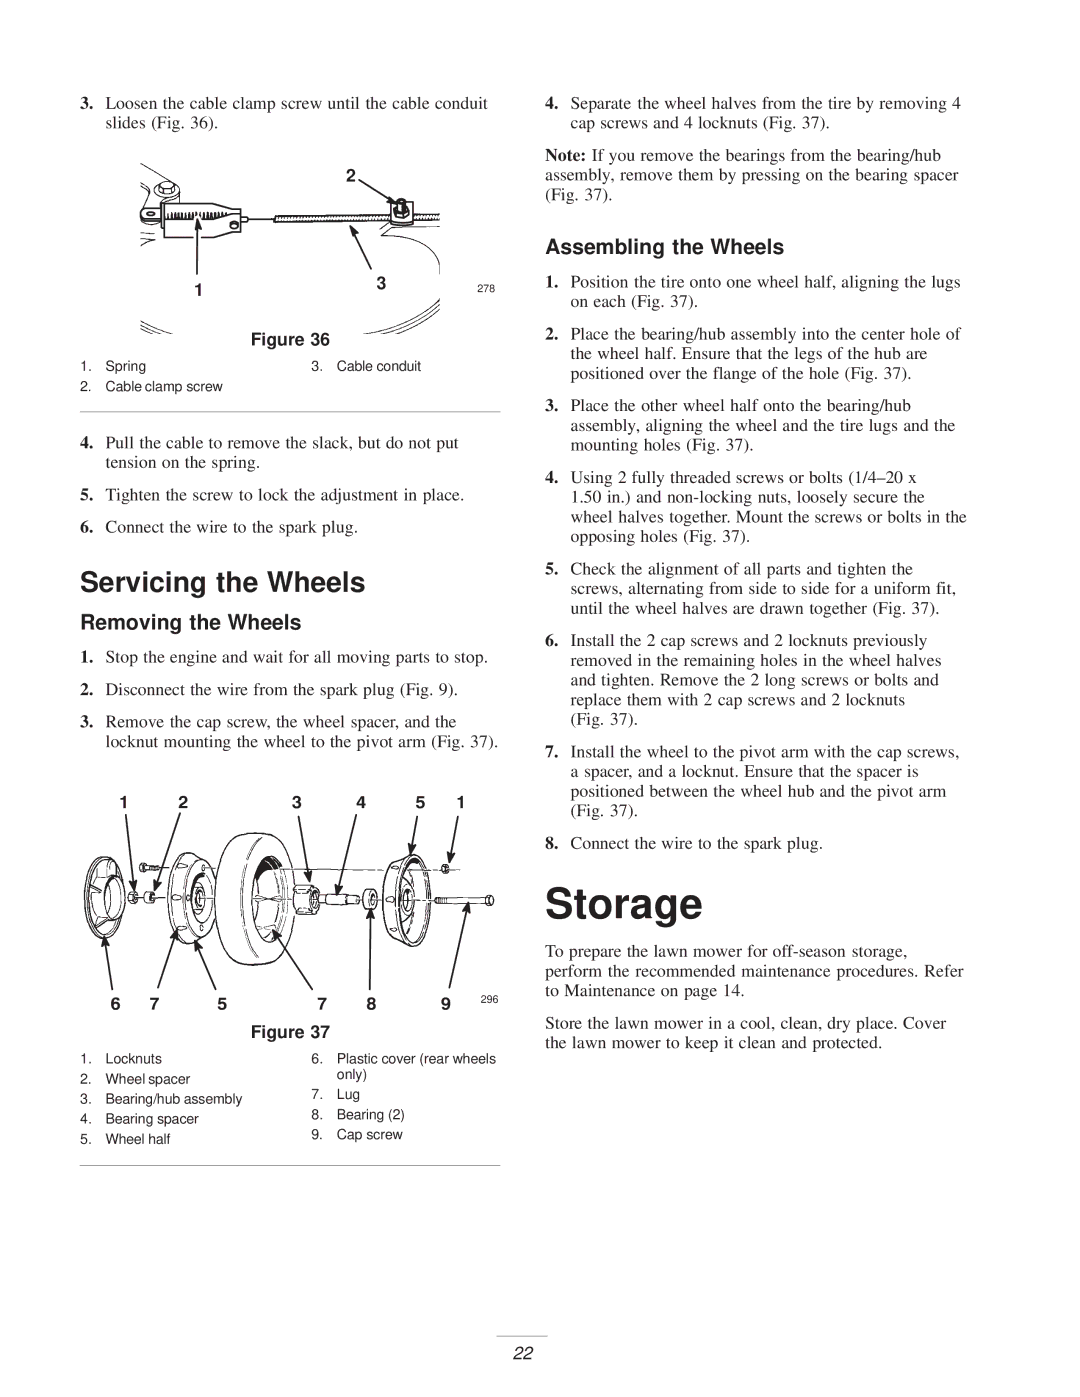
Durability is another hallmark of the M216KASPC, with a reinforced steel frame and high-quality components designed to withstand the rigors of commercial use. The tires are designed for superior traction and stability, ensuring that the mower can handle steep inclines and varied terrain without compromising performance.
In summary, the Exmark M216KASPC combines powerful performance, advanced technology, and operator comfort into one exceptional package. Whether for commercial landscaping businesses or dedicated homeowners, this zero-turn mower stands out as an ideal choice for achieving a beautifully maintained lawn. Its features reflect Exmark’s commitment to quality, making it a reliable workhorse in any yard care arsenal.

