MCP 1000 specifications
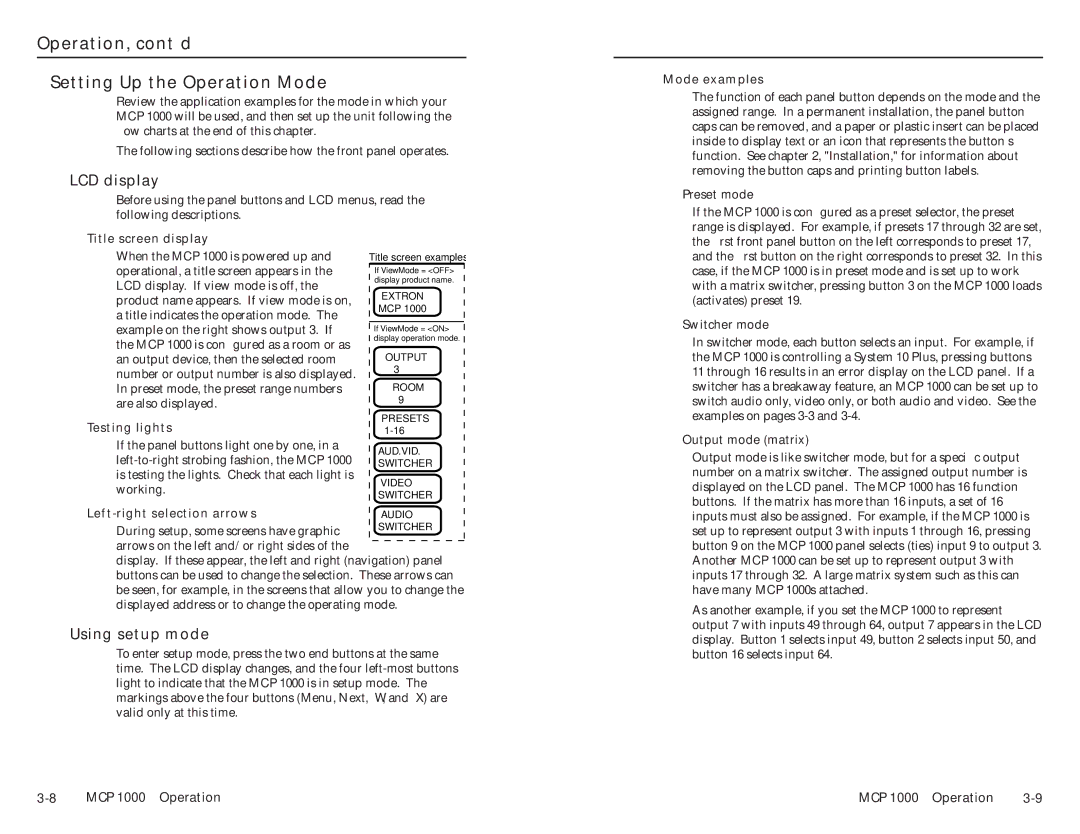
The Extron Electronics MCP 1000 is a versatile control processor designed to simplify audiovisual (AV) system management in various environments, such as conference rooms, classrooms, and auditoriums. With its compact design and intuitive interface, the MCP 1000 offers seamless operation while enhancing the user experience in AV system control.One of the main features of the MCP 1000 is its ability to support a variety of control protocols, making it compatible with a wide range of AV equipment. The device is equipped with multiple input and output options, including RS-232, Ethernet, and IR control, allowing it to communicate with different devices effortlessly. This flexibility ensures that users can easily integrate the processor into existing AV setups without extensive modifications.
The MCP 1000 is designed to work with Extron's GlobalViewer Enterprise software, offering advanced monitoring and management capabilities for AV systems. This software provides a user-friendly interface that enables administrators to configure, control, and monitor their AV devices from any web-enabled device. The integration with GlobalViewer allows for real-time feedback, system health monitoring, and customized dashboard creation tailored to specific user needs.
In terms of user interface, the MCP 1000 is designed with ease of use in mind. The device supports customizable control interfaces, such as touchpanel layouts and web-based controls. Users can create tailored control environments, ensuring that the interface is user-friendly and intuitive for both technical staff and end-users. The capability to adapt the interface based on user requirements enhances overall productivity during AV presentations and meetings.
Moreover, the MCP 1000 features advanced security protocols, safeguarding sensitive AV control systems from unauthorized access. With its robust security measures, including user authentication and encryption options, organizations can ensure the integrity and confidentiality of their AV setups.
Additionally, the MCP 1000 supports modular architecture, allowing for expansion and integration of additional control capabilities as needs grow. This flexibility makes it a future-proof investment for organizations aiming to maintain cutting-edge AV systems without frequently upgrading their equipment.
In summary, the Extron Electronics MCP 1000 is an exemplary control processor that features extensive compatibility, user-friendly interfaces, robust security features, and modular design, making it an ideal choice for diverse audiovisual environments. Its ability to streamline AV operations while enhancing user experience positions it as a leading solution in contemporary AV system management.

