CT250 plus specifications
The Flymo CT250 Plus is a versatile and efficient garden maintenance tool designed to simplify the process of lawn care. Lightweight and easy to handle, this corded electric grass trimmer is perfect for homeowners seeking an effective way to maintain their lawns, edges, and flower beds. With a powerful motor and innovative design, the CT250 Plus excels in delivering precise cutting.One of the standout features of the Flymo CT250 Plus is its 25cm cutting width, which allows for rapid trimming of grass in medium-sized gardens. The trimmer's adjustable cutting height provides users with the flexibility to customize their trim, ensuring that they can achieve the desired look for their lawn. This feature is especially beneficial for those who prefer a manicured appearance or want to maintain longer grass areas.
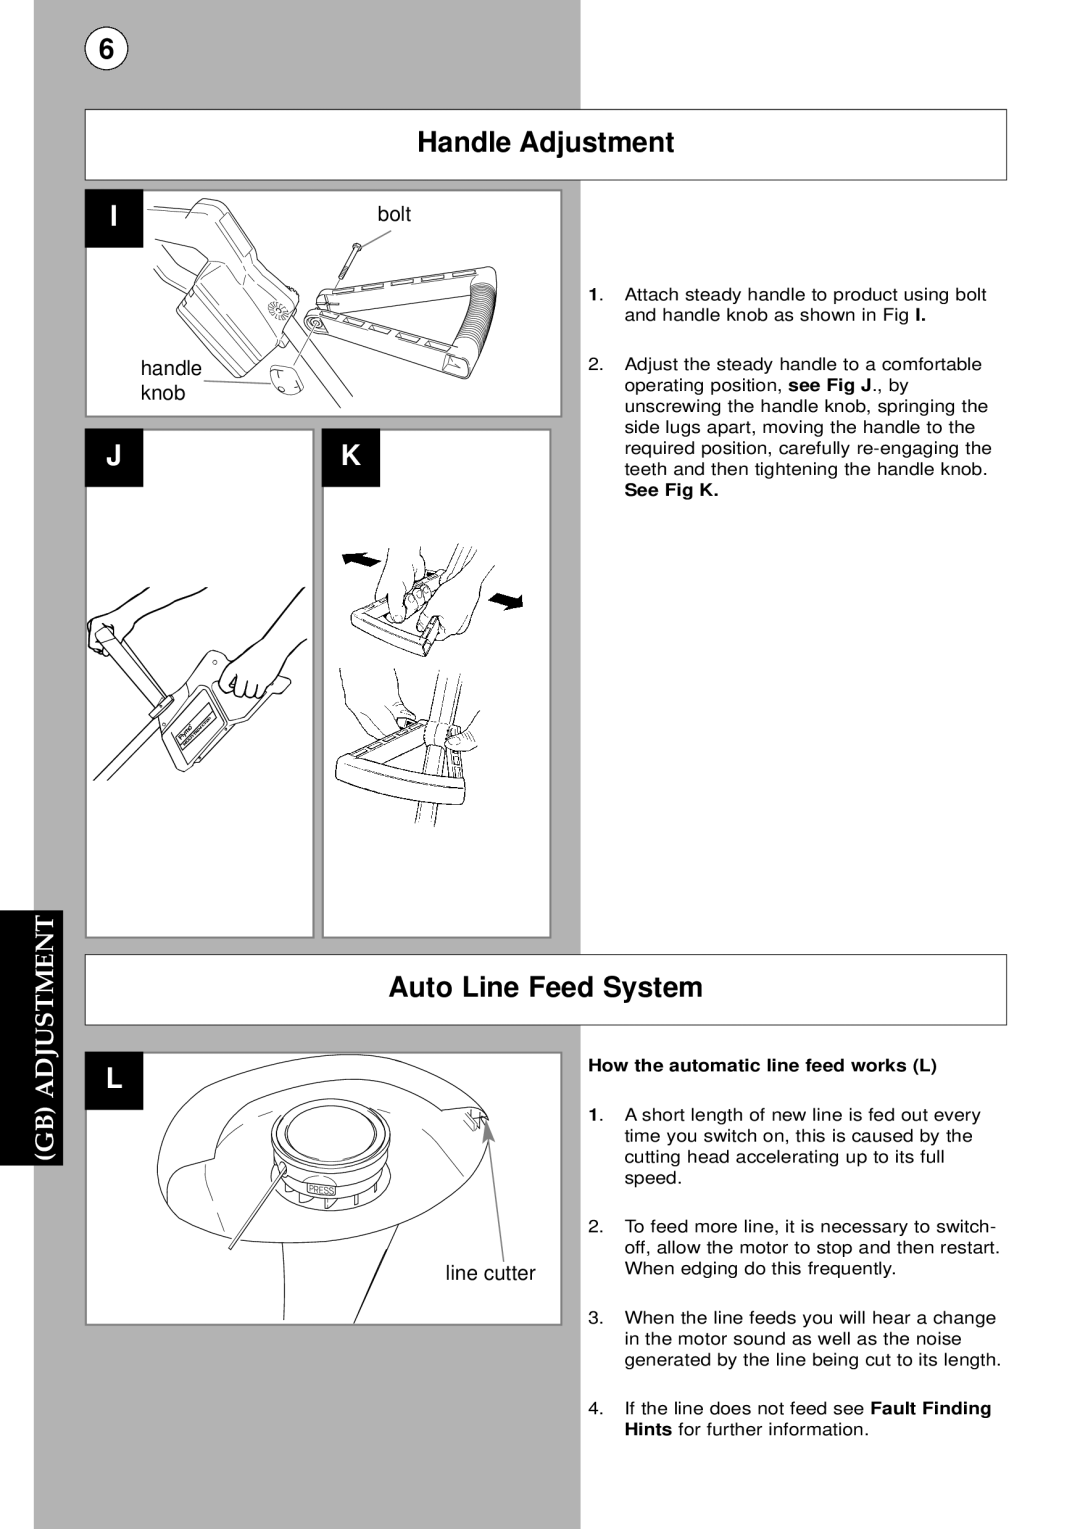
The CT250 Plus is equipped with a unique 'Lift and Trim' technology, which enables the user to lift the cutting head above the ground for easy edging. This feature enhances the precision of the trimmer, allowing for cleaner lines along pathways and flower beds. The automatic spool system also ensures that the cutting line is fed smoothly, reducing downtime for reloading and allowing users to focus more on their gardening tasks.
Weight is another significant advantage of the Flymo CT250 Plus. Weighing in at just 2.8 kg, the trimmer is designed for user comfort, minimizing fatigue during extended use. The ergonomic handle further enhances the user experience, providing a comfortable grip and added control, making it easier to navigate around garden features.
Furthermore, the Flymo CT250 Plus boasts a robust build, ensuring durability for various weather conditions. The powerful 250W motor drives the trimmer's performance, allowing it to tackle tough grass and weeds with ease. Its lightweight design and electric operation also contribute to an eco-friendly approach to lawn care, producing no harmful emissions and reducing noise pollution.
In conclusion, with its combination of lightweight design, adjustable features, and innovative technologies, the Flymo CT250 Plus reaches an excellent balance between performance and ease of use. Whether trimming, edging, or maintaining borders, it is a valuable addition to any gardener's toolkit, making lawn maintenance less of a chore and more of an enjoyable task.

