
FFMV152CLW, FFMV152CLB, FFMV154CLS specifications
The Frigidaire FFMV154CLS is a versatile and stylish 1.6 cu. ft. over-the-range microwave that blends functionality with modern design. This model is designed to enhance kitchen efficiency while maintaining an elegant appearance that complements any countertop space.One of the standout features of the FFMV154CLS is its powerful 1,000-watt cooking power, which ensures that meals are heated quickly and evenly. This microwave is equipped with a variety of cooking options, allowing users to easily prepare a wide range of dishes. The integrated sensor cooking technology detects humidity levels in the food and automatically adjusts cooking times for optimal results. This means you can achieve perfectly cooked meals with minimal effort.
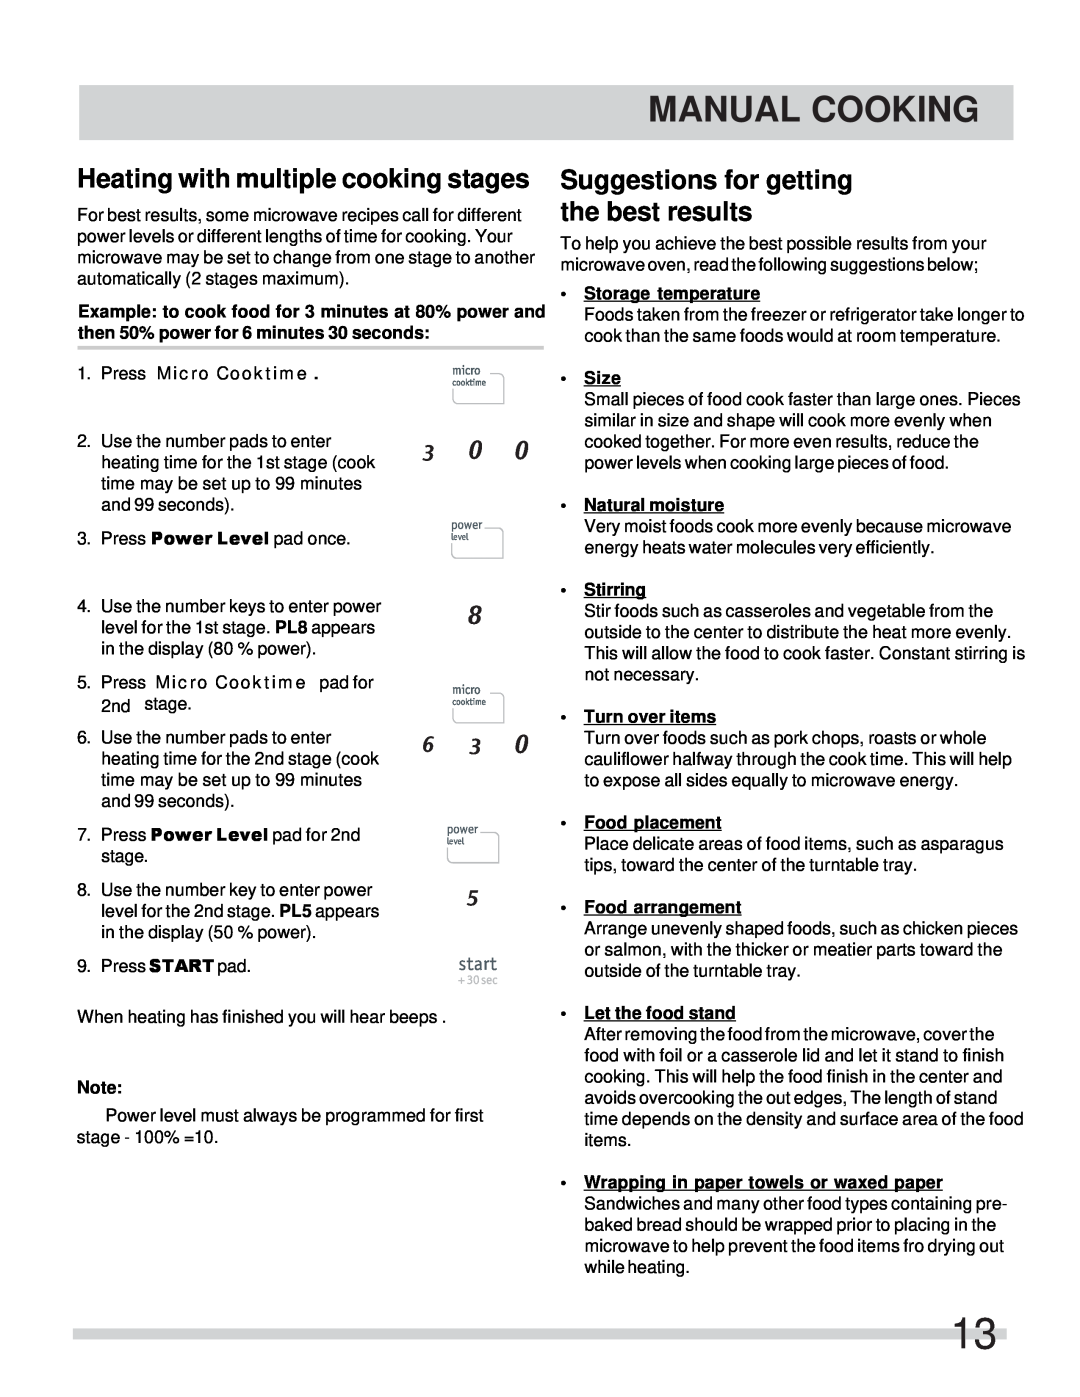
The Frigidaire FFMV154CLS also boasts a user-friendly control panel, making it accessible for all skill levels. With convenient pre-programmed settings, users can quickly select options for popcorn, reheating leftovers, and defrosting frozen meals. The microwave's one-touch buttons simplify operation, allowing for a seamless cooking experience.
In terms of design, this model features a sleek stainless steel finish that not only looks great but is also easy to clean. The interior is designed with a smooth surface, making it simple to wipe down after use. The microwave includes a two-speed venting system that efficiently removes smoke, steam, and odors from the kitchen, ensuring a clean and comfortable cooking environment.
Another notable characteristic of the FFMV154CLS is its bright internal LED lighting, which illuminates the cooking space and provides clear visibility when placing or removing dishes. The microwave is also equipped with a kitchen timer and a programmable child lock feature, providing added convenience and safety for families with children.
With its combination of advanced technology and practical design, the Frigidaire FFMV154CLS over-the-range microwave is an ideal choice for families and home chefs looking for a reliable and efficient cooking appliance. Whether you're reheating a meal, defrosting ingredients, or preparing a quick snack, this microwave offers the features and performance necessary to make cooking easier and more enjoyable.