1.12 A-scope Display
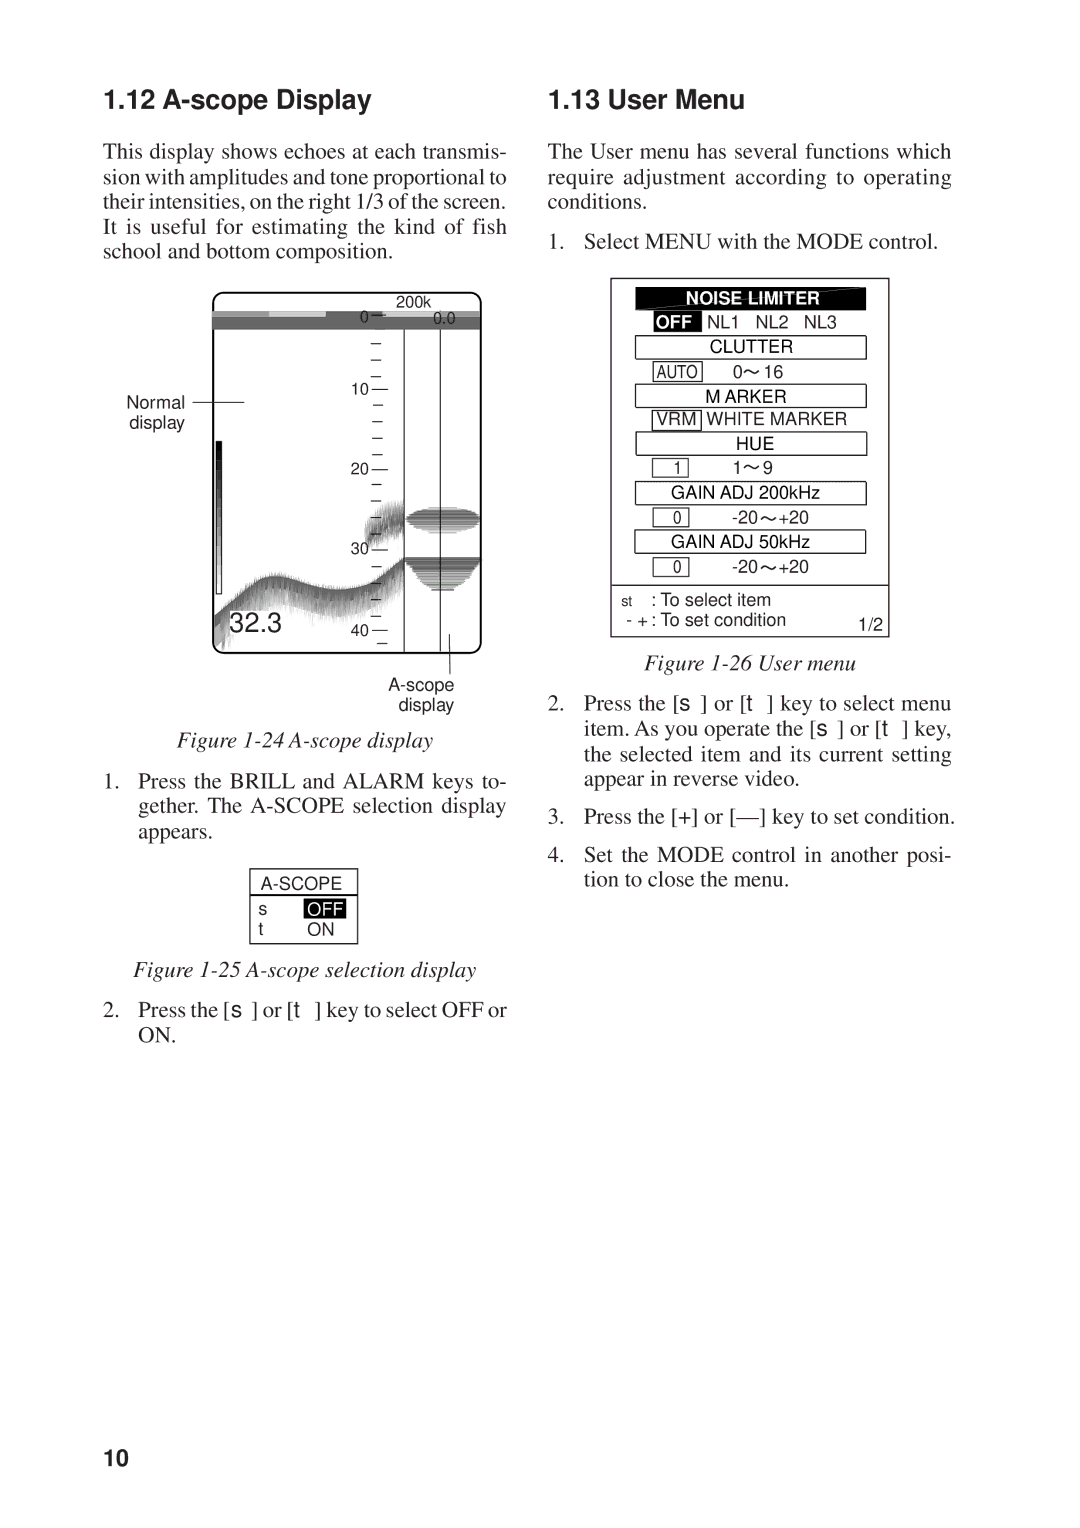
This display shows echoes at each transmis- sion with amplitudes and tone proportional to their intensities, on the right 1/3 of the screen. It is useful for estimating the kind of fish school and bottom composition.
200k
0 0.0
10
Normal display
20
30![]()
![]()
![]()
![]()
![]()
![]()

 32.3
32.3


 40
40
Figure 1-24 A-scope display
1.Press the BRILL and ALARM keys to- gether. The
▲OFF
▼ ON
Figure 1-25 A-scope selection display
2.Press the [▲] or [▼] key to select OFF or ON.
1.13 User Menu
The User menu has several functions which require adjustment according to operating conditions.
1. Select MENU with the MODE control.
OFF | NL1 NL2 | NL3 | |
| CLUTTER |
| |
AUTO | 0 | 16 |
|
| M ARKER |
| |
VRM WHITE MARKER | |||
| HUE |
| |
1 | 1 | 9 |
|
GAIN ADJ 200kHz | |||
0 | +20 | ||
GAIN ADJ 50kHz | |||
0 | +20 | ||
▲▼ : To select item |
| ||
- + : To set condition | 1/2 | ||
Figure 1-26 User menu
2.Press the [▲] or [▼] key to select menu item. As you operate the [▲] or [▼] key, the selected item and its current setting appear in reverse video.
3.Press the [+] or
4.Set the MODE control in another posi- tion to close the menu.
10