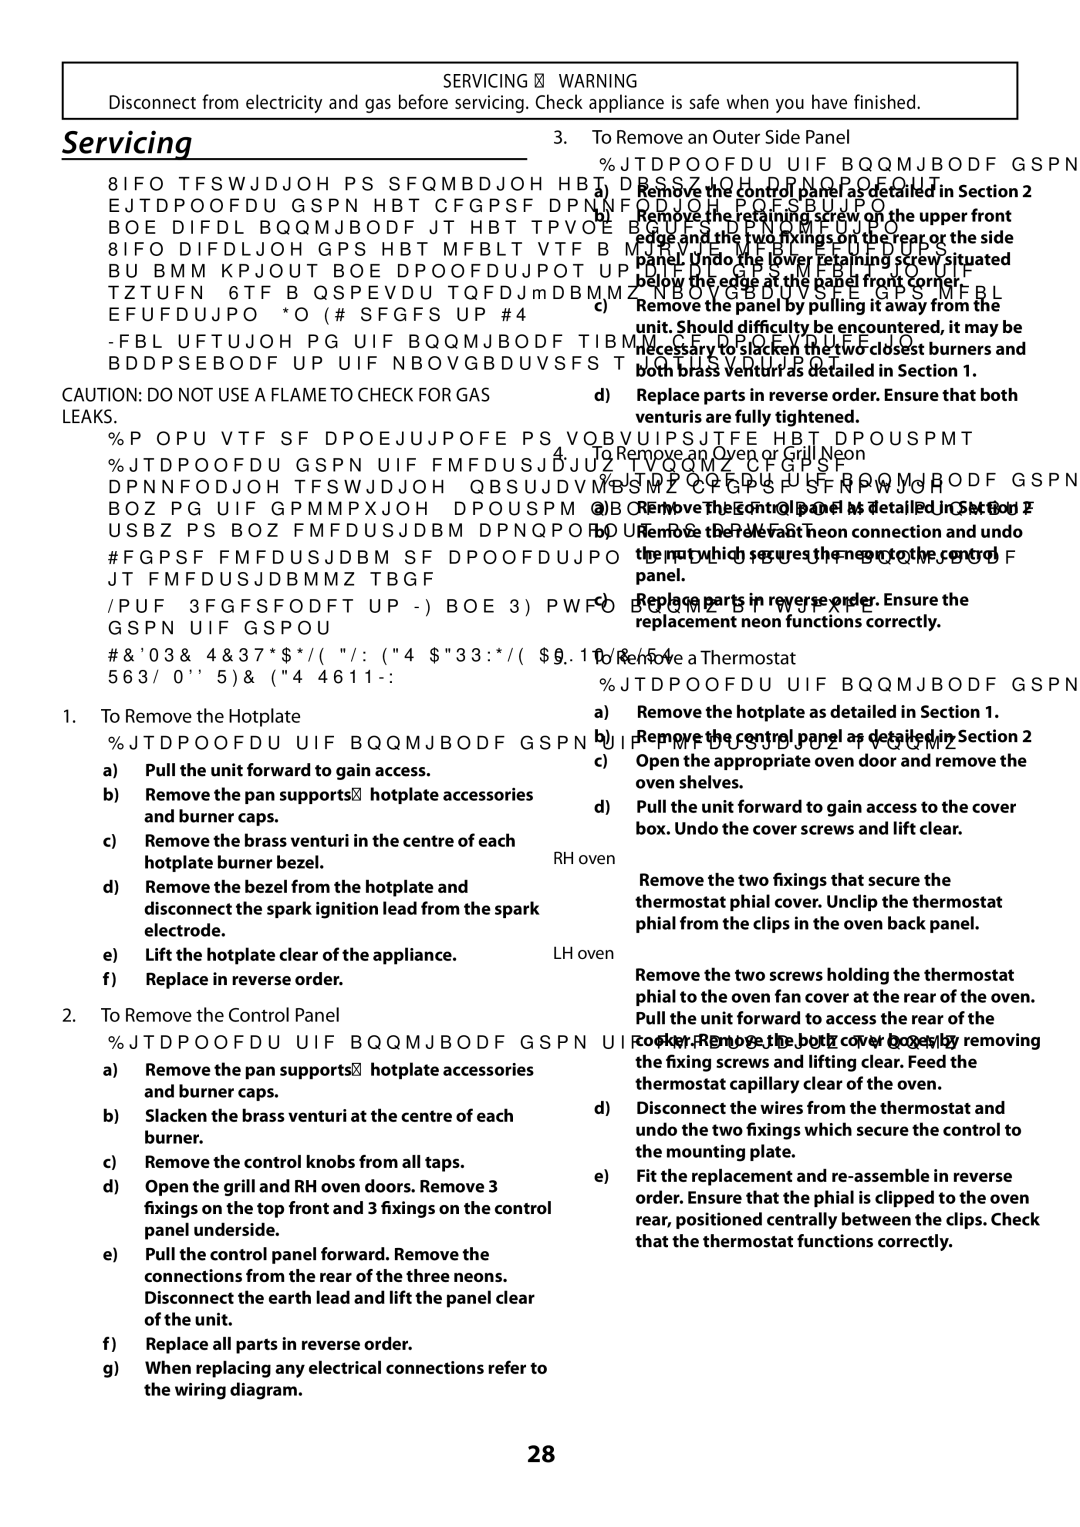
SERVICING - WARNING

Disconnect from electricity and gas before servicing. Check appliance is safe when you have finished.

Servicing

When servicing or replacing gas carrying components disconnect from gas before commencing operation and check appliance is gas sound after completion. When checking for gas leaks use a liquid leak detector at all joints and connections to check for leaks in the system. Use a product specifically manufactured for leak detection. In GB refer to BS 6891.

Leak testing of the appliance shall be conducted in accordance to the manufacturer’s instructions.

CAUTION: DO NOT USE A FLAME TO CHECK FOR GAS LEAKS.

Do not use re-conditioned or unauthorised gas controls.

Disconnect from the electricity supply before commencing servicing, particularly before removing any of the following: control panel, side panels, hotplate tray or any electrical components or covers.

Before electrical re-connection, check that the appliance is electrically safe.

Note: References to LH and RH oven apply as viewed from the front.

BEFORE SERVICING ANY GAS CARRYING COMPONENTS. TURN OFF THE GAS SUPPLY.

1.To Remove the Hotplate

Disconnect the appliance from the electricity supply.

a)Pull the unit forward to gain access.

b)Remove the pan supports/hotplate accessories and burner caps.

c)Remove the brass venturi in the centre of each hotplate burner bezel.

d)Remove the bezel from the hotplate and disconnect the spark ignition lead from the spark electrode.

e)Lift the hotplate clear of the appliance.

f)Replace in reverse order.

2.To Remove the Control Panel

Disconnect the appliance from the electricity supply.

a)Remove the pan supports/hotplate accessories and burner caps.

b)Slacken the brass venturi at the centre of each burner.

c)Remove the control knobs from all taps.

d)Open the grill and RH oven doors. Remove 3 fixings on the top front and 3 fixings on the control panel underside.

e)Pull the control panel forward. Remove the connections from the rear of the three neons. Disconnect the earth lead and lift the panel clear of the unit.

f)Replace all parts in reverse order.

g)When replacing any electrical connections refer to the wiring diagram.

3.To Remove an Outer Side Panel

Disconnect the appliance from the electricity supply.

a)Remove the control panel as detailed in Section 2

b)Remove the retaining screw on the upper front edge and the two fixings on the rear or the side panel. Undo the lower retaining screw situated below the edge at the panel front corner.

c)Remove the panel by pulling it away from the unit. Should difficulty be encountered, it may be necessary to slacken the two closest burners and both brass venturi as detailed in Section 1.

d)Replace parts in reverse order. Ensure that both venturis are fully tightened.

4.To Remove an Oven or Grill Neon

Disconnect the appliance from the electricity supply.

a)Remove the control panel as detailed in Section 2

b)Remove the relevant neon connection and undo the nut which secures the neon to the control panel.

c)Replace parts in reverse order. Ensure the replacement neon functions correctly.

5.To Remove a Thermostat

Disconnect the appliance from the electricity supply.

a)Remove the hotplate as detailed in Section 1.

b)Remove the control panel as detailed in Section 2

c)Open the appropriate oven door and remove the oven shelves.

d)Pull the unit forward to gain access to the cover box. Undo the cover screws and lift clear.

RH oven

Remove the two fixings that secure the thermostat phial cover. Unclip the thermostat phial from the clips in the oven back panel.

LH oven

Remove the two screws holding the thermostat phial to the oven fan cover at the rear of the oven. Pull the unit forward to access the rear of the cooker. Remove the both cover boxes by removing the fixing screws and lifting clear. Feed the thermostat capillary clear of the oven.

d)Disconnect the wires from the thermostat and undo the two fixings which secure the control to the mounting plate.

e)Fit the replacement and re-assemble in reverse order. Ensure that the phial is clipped to the oven rear, positioned centrally between the clips. Check that the thermostat functions correctly.

28

Page 28
Image 28
Garmin 210 GEO T DL user manual Servicing

210 GEO T DL specifications

The Garmin 210 GEO T DL is an advanced GPS device designed for outdoor enthusiasts, allowing users to navigate with precision and ease. It combines topographical mapping, sophisticated navigation features, and rugged durability, making it a favorite among hikers, campers, and adventurers.

One of the standout features of the Garmin 210 GEO T DL is its high-sensitivity GPS receiver. This technology ensures accurate tracking even in challenging environments, such as dense forests or mountainous terrains, where signal loss can often be an issue. The device quickly locks onto satellites, providing real-time location data and ensuring that users can follow their routes confidently.

The screen of the 210 GEO T DL is notably user-friendly, featuring a high-resolution display that is easy to read even in bright sunlight. This is particularly beneficial for outdoor use, where visibility can be a challenge. Users can view detailed maps, waypoints, and track information, making the navigation process intuitive and straightforward.

Another important aspect of the Garmin 210 GEO T DL is its extensive mapping capabilities. The device comes preloaded with topographic maps, enabling users to explore diverse terrains without the fear of getting lost. The mapping system also supports the addition of custom maps, allowing users to personalize their navigation experience based on their specific needs and interests.

Battery life is crucial for outdoor equipment, and the Garmin 210 GEO T DL excels in this area. It boasts a robust battery performance, allowing for hours of continuous use. This is essential for long hikes or camping trips, where access to power sources may be limited.

Additionally, this GPS device includes features such as waypoint marking and route planning. Users can easily save locations of interest, such as campsites or scenic overlooks, and navigate back to them later. The built-in compass and barometric altimeter further enhance the outdoor experience, providing users with real-time information on their elevation and direction.

Overall, the Garmin 210 GEO T DL is a reliable and feature-rich GPS device tailored for those who appreciate the great outdoors. Its combination of advanced navigation tools, robust mapping capabilities, and durable design makes it an essential companion for any adventure, ensuring that users can explore with confidence and safety.