Safety Instructions
Using the Sabbath Feature.
(Designed for use on the Jewish Sabbath and Holidays.) (on some models)
The Sabbath feature can be used for baking/roasting only. It cannot be used for broiling,
NOTE: The oven light comes on automatically (on some models) when the door is opened and goes off when the door is closed. The bulb may be removed. See the Oven Light Replacement section. On models with a light switch on the control panel, the oven light may be turned on and left on.
+
How to Set Sabbath Feature for Regular Baking/Roasting
Consumer Support Troubleshooting Tips Care and Cleaning Operating Instructions
or
(depending on model)
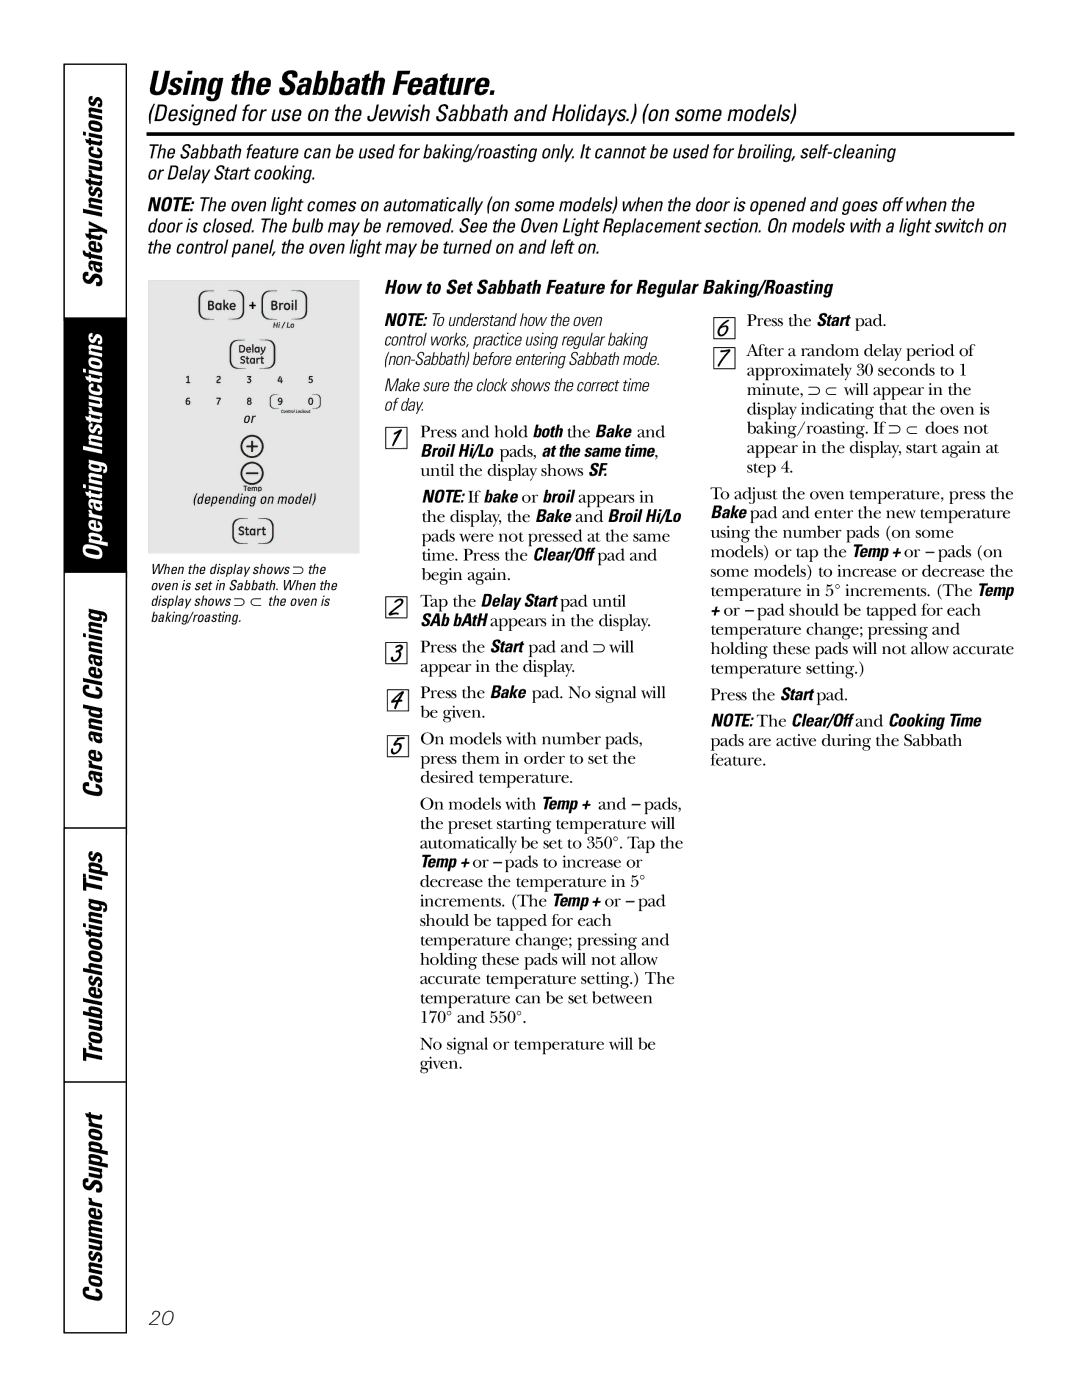
When the display shows ⊃ the oven is set in Sabbath. When the display shows ⊃ ⊃ the oven is baking/roasting.
NOTE: To understand how the oven control works, practice using regular baking
Make sure the clock shows the correct time of day.
Press and hold both the Bake and Broil Hi/Lo pads, at the same time, until the display shows SF.
NOTE: If bake or broil appears in the display, the Bake and Broil Hi/Lo pads were not pressed at the same time. Press the Clear/Off pad and begin again.
Tap the Delay Start pad until SAb bAtH appears in the display.
Press the Start pad and ⊃ will appear in the display.
Press the Bake pad. No signal will be given.
On models with number pads, press them in order to set the desired temperature.
On models with Temp + and – pads, the preset starting temperature will automatically be set to 350°. Tap the Temp + or – pads to increase or decrease the temperature in 5° increments. (The Temp + or – pad should be tapped for each temperature change; pressing and holding these pads will not allow accurate temperature setting.) The temperature can be set between 170° and 550°.
No signal or temperature will be given.
Press the Start pad.
After a random delay period of approximately 30 seconds to 1 minute, ⊃ ⊃ will appear in the display indicating that the oven is baking/roasting. If ⊃ ⊃ does not appear in the display, start again at step 4.
To adjust the oven temperature, press the Bake pad and enter the new temperature using the number pads (on some models) or tap the Temp + or – pads (on some models) to increase or decrease the temperature in 5° increments. (The Temp
+or – pad should be tapped for each temperature change; pressing and holding these pads will not allow accurate temperature setting.)
Press the Start pad.
NOTE: The Clear/Off and Cooking Time pads are active during the Sabbath feature.
20
