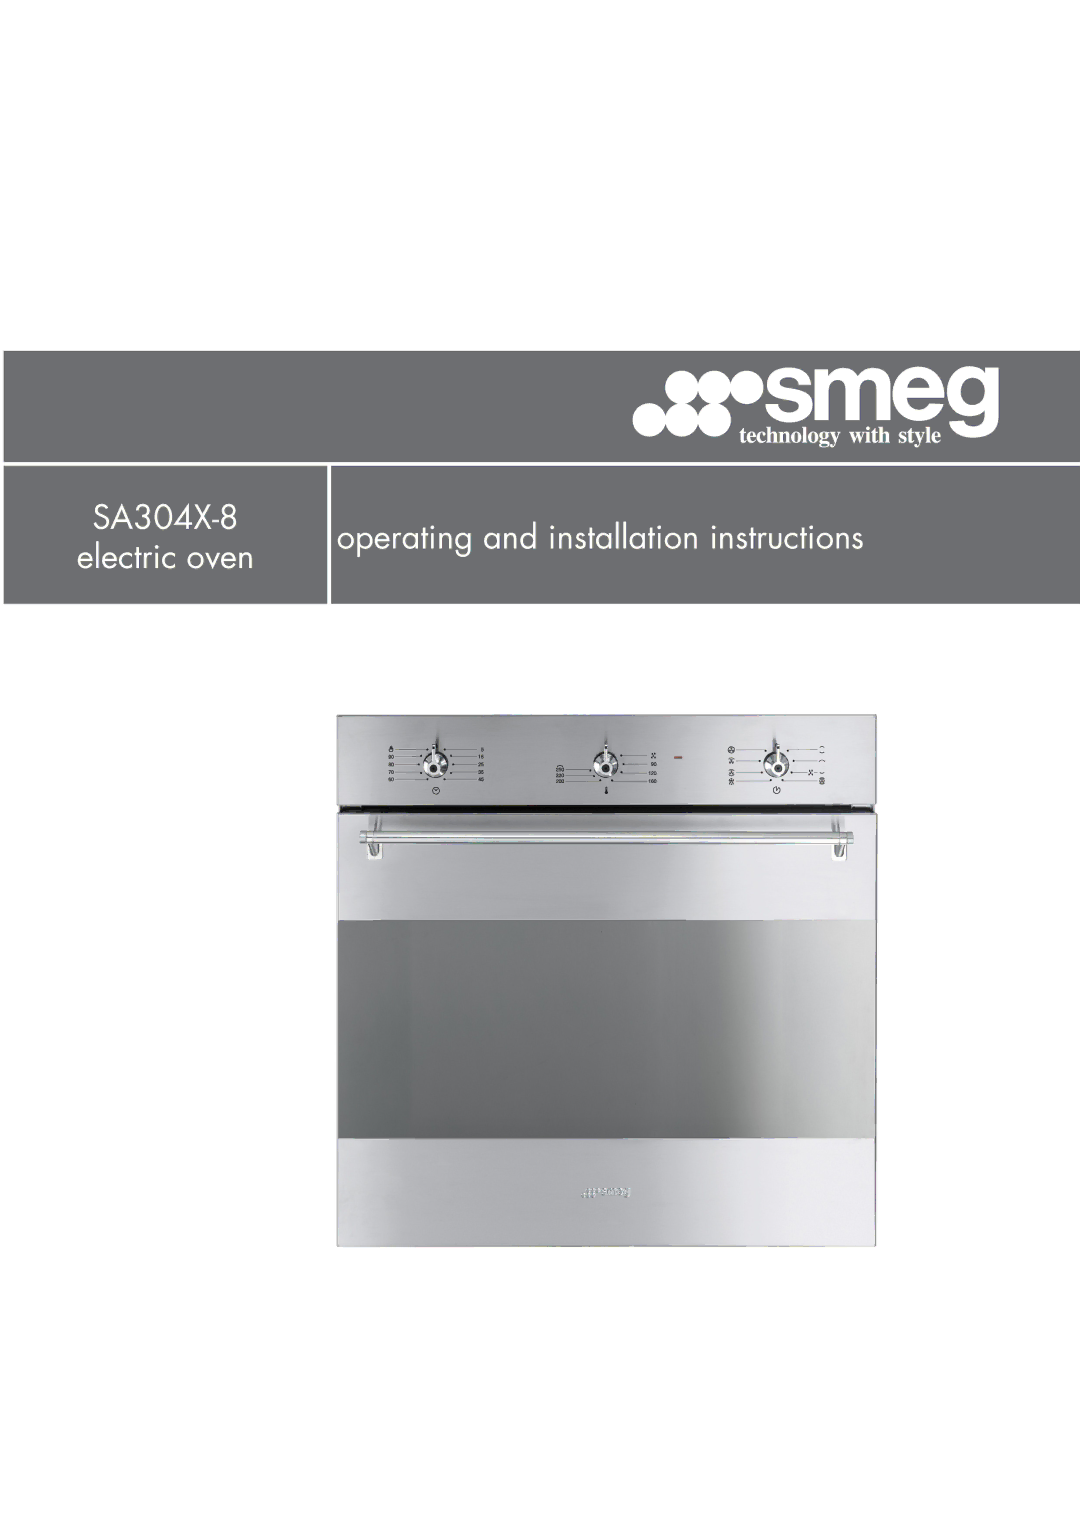
Manuals
/
GE
/
Kitchen Appliance
/
Oven
GE
manual SA304X-8 electric oven, operating and installation instructions
Models:
SA304X-8
1
2
54
54
Download
54 pages
56.07 Kb
1
2
3
4
5
6
7
8
<
>
Install
Cable replacement
Maintenance
Pyrolysis is an automatic high-temperaturecleaning procedure which causes dirt to dissolve. Thanks to this process, it is possible to clean the inside of the oven very easily
TIMER KNOB on some models only To set a cooking time, turn the knob clockwise to select the desired value in minutes. At the end, a buzzer will sound and the cooking process will be interrupted
Adjusting the buzzer volume
Setting the time
Do Not Use Steam Jets For Cleaning The Appliance
It goes out when the set temperature is reached; When it flashes at regular intervals, the temperature inside the oven is being kept constantly at the set level
Safety Precautions
Page 2
Image 2
SA304X-8
electric oven
operating and installation instructions
Page 1
Page 3
Page 2
Image 2
Page 1
Page 3
Contents
operating and installation instructions
SA304X-8 electric oven
operating and installation instructions
SA304X-8 electric oven
Contents
DO NOT REMOVE THIS PLATE FOR ANY REASON
General instructions
1. INSTRUCTIONS FOR USE
General instructions
FATS AND OILS MAY CATCH FIRE
2. SAFETY PRECAUTIONS
General instructions
DO NOT USE STEAM JETS FOR CLEANING THE APPLIANCE
General instructions
Instructions for disposal
3. ENVIRONMENTAL RESPONSIBILITY
Multifunction Multifunction Pyrolytic
Instructions for the User
4. GET TO KNOW YOUR OVEN
Pizza plate or cover recess on some models only
Instructions for the User
5. AVAILABLE ACCESSORIES
NOTE: accessories
Some models are not provided with all
Instructions for the User
5.1Using the rack or tray
5.2Using the support rack
5.3Using the handle
Instructions for the User
5.4Using the rotisserie rod on some models only
Instructions for the User
6.1Before using the appliance
6.USING THE OVEN
6.2General Description 6.2.1 Oven runners
Instructions for the User
6.2.2 Cooling system
6.2.3 Oven inside lights
6.3Warnings and general advice for usage
Instructions for the User
OVEN THERMOSTAT KNOB
6.4Description of the controls on the front panel
Instructions for the User
It goes out when the set temperature is reached; When it flashes at regular intervals, the temperature inside the oven is being kept constantly at the set level
Instructions for the User
TIMER KNOB on some models only To set a cooking time, turn the knob clockwise to select the desired value in minutes. At the end, a buzzer will sound and the cooking process will be interrupted
Instructions for the User
FUNCTION KNOB
6.5.2 Using the timer
6.5Electronic programmer on some models only
6.5.1 Setting the time
Instructions for the User
6.5.4 Semi-automaticcooking
Instructions for the User
6.5.3 Stopping the buzzer
6.5.5 Automatic cooking
6.5.6 End of semi-automatic /automatic cooking
6.5.9 Adjusting the buzzer volume
Instructions for the User
6.5.7 Deleting the set data
STATIC
7. COOKING WITH THE OVEN
Instructions for the User
GRILL
CIRCULAR
Instructions for the User
FAN-ASSISTEDGRILL
TURBO
7.1.2 Advice for cooking meat
7.1Cooking advice and instructions
7.1.1 General advice
7.1.3 Advice for cooking desserts and biscuits
7.2To save energy
Instructions for the User
MEAT
7.3Cooking process information table
FIRST COURSES
GRILLED MEATS
Instructions for the User
1ST SURFACE
2ND SURFACE
FOCACCIA
PIZZA
BREAD
DESSERTS
RUNNER POSITION
TEMPERATURE
Instructions for the User
TIME IN MINUTES
On pyrolytic models only
7.4Proving and defrosting functions
Instructions for the User
Function
8.2Ordinary daily cleaning
8. CLEANING AND MAINTENANCE
8.1Cleaning stainless steel
8.4Cleaning the door glazing
8.5Cleaning the inside of the oven
Instructions for the User
Ovens with frames
Instructions for the User
8.5.1 Removing guide frames
Pyrolysis is an automatic high-temperaturecleaning procedure which causes dirt to dissolve. Thanks to this process, it is possible to clean the inside of the oven very easily
Instructions for the User
•Make sure that the oven door is firmly closed
Instructions for the User
8.6.2 Setting the cleaning cycle
To select a cleaning cycle with a delayed start
8.7.1 Before starting the assisted cleaning cycle
Instructions for the User
8.7.2 Setting the assisted cleaning cycle
Instructions for the User
8.7.3 End of the assisted cleaning cycle
Instructions for the User
9. EXTRAORDINARY MAINTENANCE
9.1Replacing the light bulb
9.2.1 With moveable levers
9.2Removing the door
Instructions for the User
9.2.2 With pins
Instructions for the User
9.3Removing the door seal
9.4Removing the internal glass panels
For multifunction models only
Removing the internal glass panel
Cleaning
Instructions for the User
Multifunction models
10.1 Electrical connection
10.INSTALLING THE APPLIANCE
10.2 Cable replacement
Instructions for the User
10.3 Positioning the oven
Instructions for the User
Measurements mm
Instructions for the installer
FIG.1
FIG.
Instructions for the installer
FIG.
FIG.
Page
Page
914773682/ A