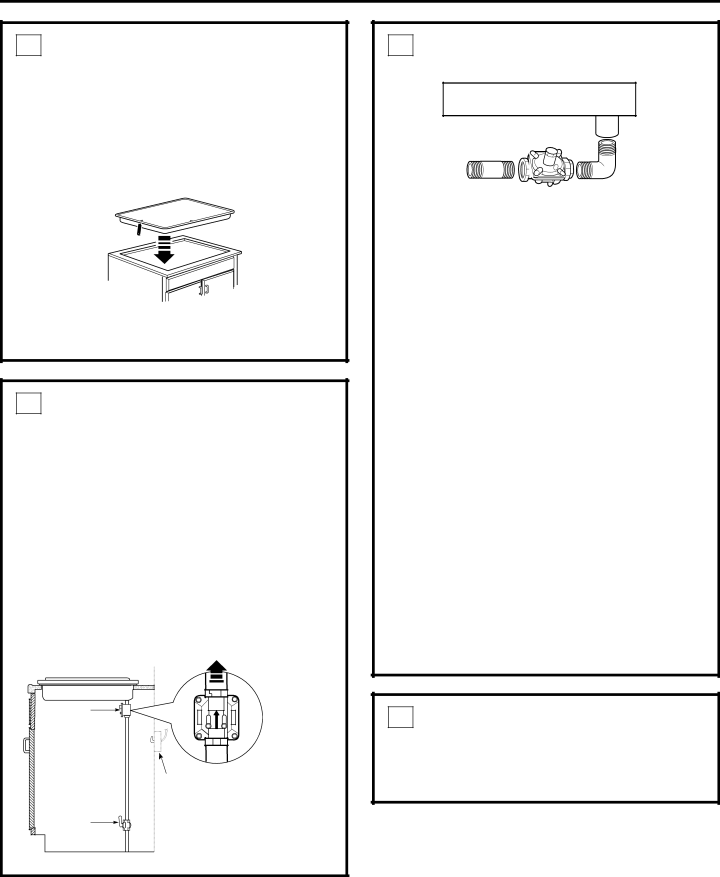
ZGU384NSMSS, ZGU384L, ZGU384LSMSS, ZGU384N specifications
The GE ZGU384N, ZGU384LSMSS, ZGU384L, and ZGU384NSMSS are premium gas cooktop models that exemplify quality, performance, and modern design. Each model is tailored to meet the diverse needs of home chefs, ensuring that cooking becomes an enjoyable and efficient experience.The GE ZGU384N is known for its robust construction and reliability. It features a durable stainless steel surface that resists stains and scratches. The cooktop includes four sealed burners that provide precise heat control, which is crucial for achieving the desired cooking results. Its continuous grates offer a seamless surface for sliding pots and pans, enhancing usability. The model's high-output burner delivers intense heat for boiling water or searing meats quickly, while lower BTU burners are perfect for simmering sauces and maintaining delicate flavors.
The ZGU384LSMSS variant boasts a sleek design with a stainless steel finish that complements a modern kitchen aesthetic. It is equipped with backlit knobs that not only provide visual appeal but also enhance functionality by indicating when the burners are on. This model features advanced technology, including electronic ignition for easy, reliable starts, and an automatic re-ignition system that ensures safety by re-lighting the burner if it goes out.
In contrast, the ZGU384L model stands out with its combination of performance and accessibility. It incorporates innovative flame recognition technology that adjusts the flame intensity based on cooking needs, ensuring efficient fuel consumption. Additionally, the model features a dishwasher-safe grates design, which makes maintenance simpler for busy households.
Lastly, the ZGU384NSMSS brings advanced cooking features to the forefront with its reversible cast iron grates, which provide versatility in cooking styles. This model integrates smart features, allowing users to monitor cooking progress through their smartphones. Equipped with high-efficiency burners, it meets the needs of those who prioritize energy conservation without compromising cooking power.
Overall, the GE ZGU384 series combines cutting-edge features, safety, and usability, making them ideal options for both novice cooks and seasoned chefs alike. Whether it's the minimalist aesthetics, powerful burners, or user-friendly technologies, these cooktops are designed to enhance any culinary adventure.

