PRO I specifications
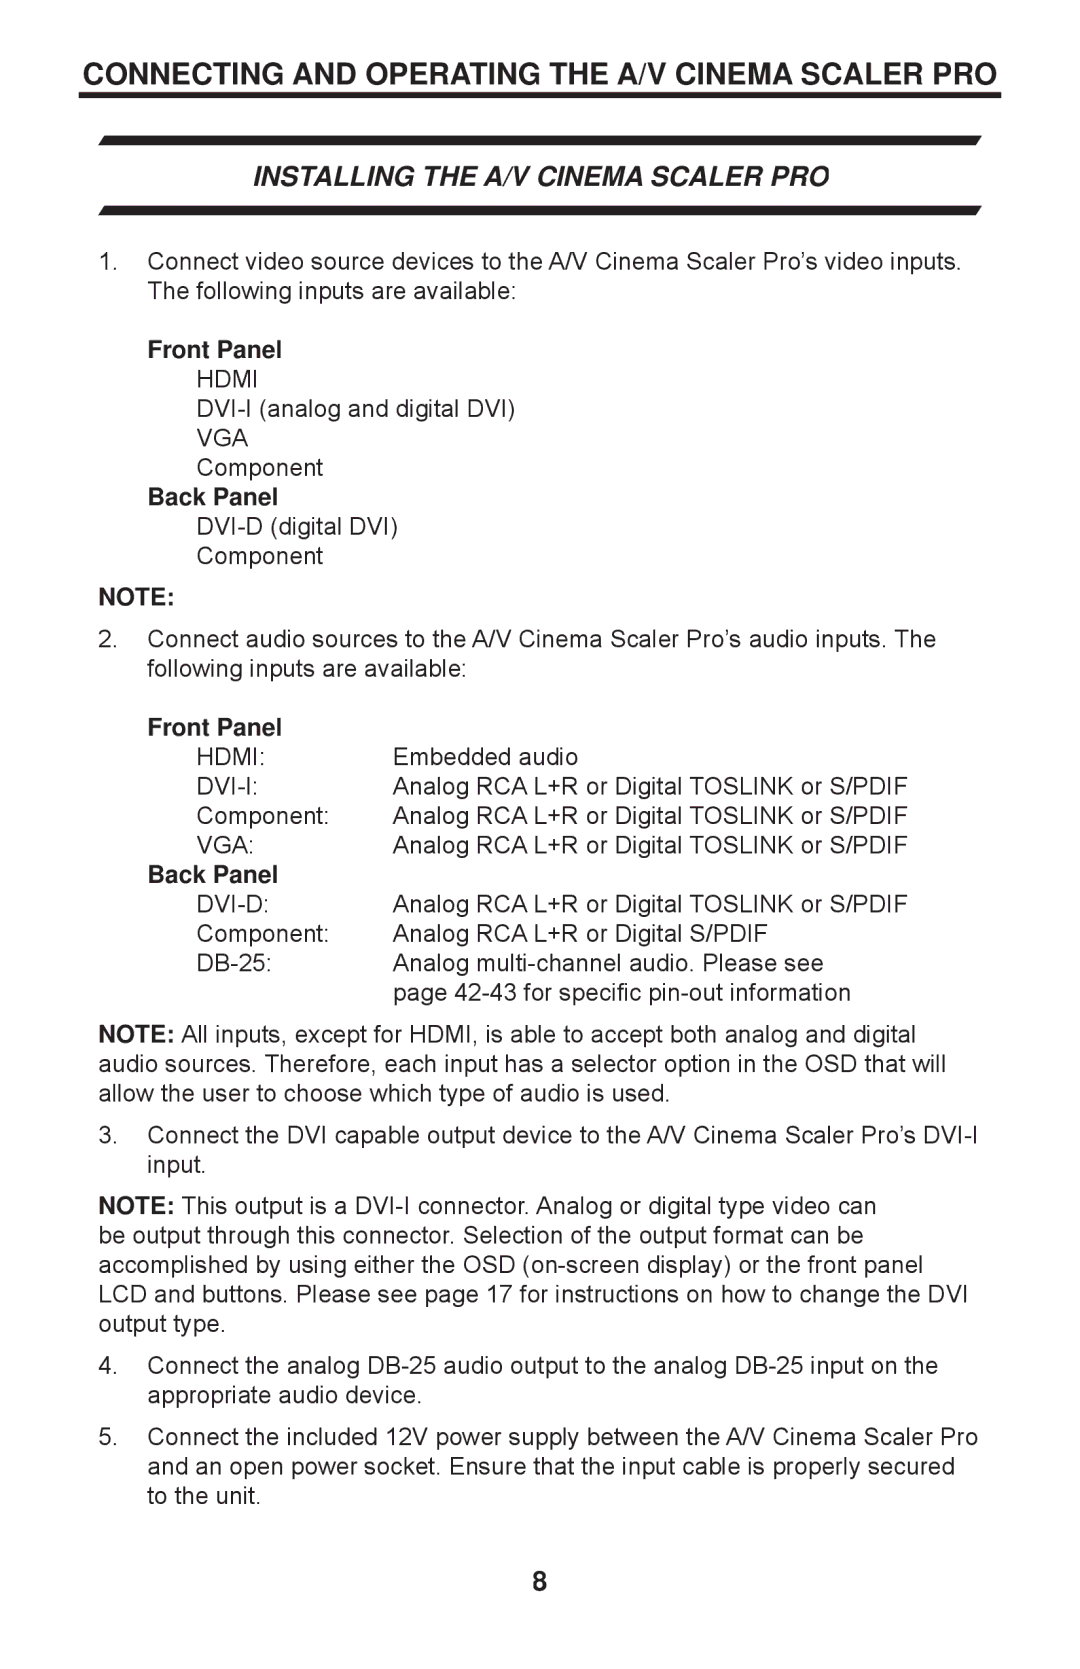
The Gefen PRO I is a cutting-edge device designed for professionals in broadcasting, production, and audiovisual setups. Known for its robust performance and versatility, the Gefen PRO I serves as a vital component in high-definition signal management across various applications.One of the main features of the Gefen PRO I is its ability to support high-resolution video formats up to 4K Ultra HD at 60 Hz, ensuring that users can work with the latest video technologies without compromising on quality. The device also supports a wide range of input and output formats, including HDMI, DVI, and DisplayPort, making it highly adaptable to different setups and requirements.
Another significant characteristic of the Gefen PRO I is its advanced video processing capabilities. With features such as scaling, deinterlacing, and frame rate conversion, the device ensures seamless integration of various video sources and formats. Whether you are working with live streaming, video conferencing, or creating content for broadcast, real-time video processing allows for smooth transitions and enhanced visual quality.
The built-in Ethernet capabilities of the Gefen PRO I facilitate remote management and control, which is a crucial advantage for professionals who often operate in complex environments. With the ability to manage the device over a network, users can conveniently oversee multiple setups and configurations from a centralized location. This feature not only saves time but also improves efficiency during production.
Additionally, the Gefen PRO I is designed with a user-friendly interface, making it accessible to both seasoned professionals and newcomers in the industry. The intuitive controls and customizable settings allow users to tailor the device to their specific needs, enhancing the overall user experience while maintaining high levels of performance.
Reliability is another key aspect of the Gefen PRO I. Built to withstand the rigors of professional environments, the device boasts a durable construction that ensures long-lasting service. This reliability is crucial for users who need to depend on their equipment to deliver exceptional results consistently.
In summary, the Gefen PRO I stands out in the market with its high-resolution support, advanced video processing features, remote management capabilities, user-friendly design, and reliable performance—all essential characteristics for professionals seeking excellence in audiovisual production.
