
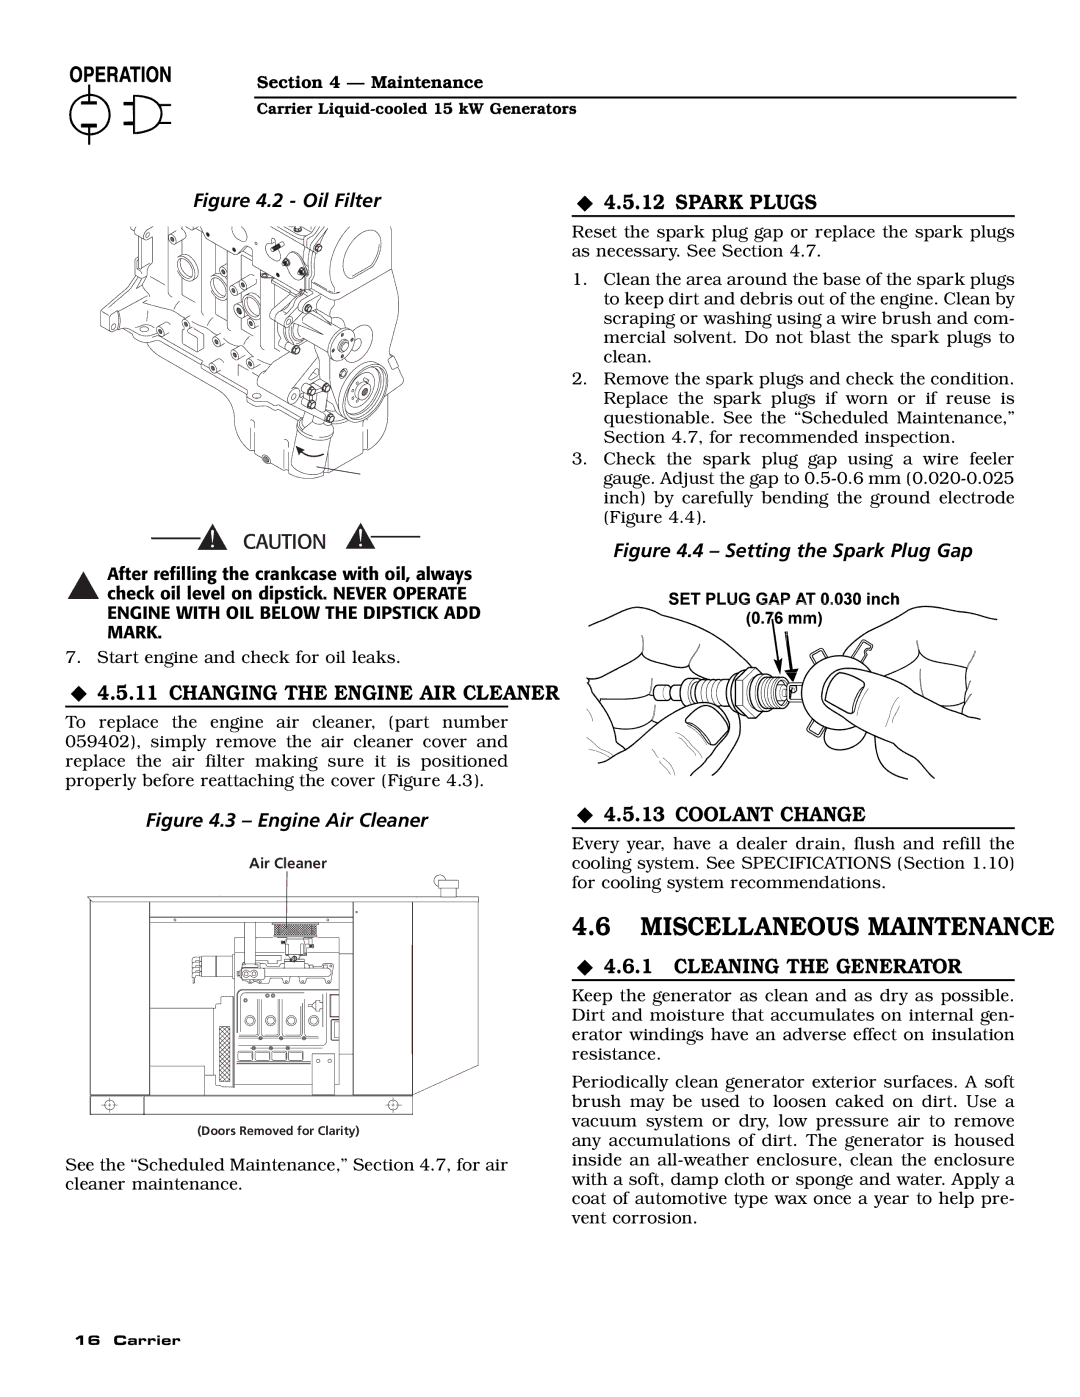
ASPAS1CCL015 specifications
The Generac ASPAS1CCL015 is a cutting-edge automatic standby generator that provides reliable backup power in the event of an electrical outage. Designed with innovative technology and robust features, it ensures that homes and businesses can maintain essential operations without interruptions, enhancing peace of mind and safety during unforeseen power disruptions.One of the standout features of the Generac ASPAS1CCL015 is its powerful engine, designed to produce up to 15 kilowatts of electricity. This makes it suitable for a wide range of applications, from residential homes to small commercial establishments. The generator operates on propane or natural gas, providing flexibility in fuel options based on user preferences or availability in their region.
Incorporating advanced technologies, the ASPAS1CCL015 is equipped with an automatic transfer switch (ATS). This feature allows the generator to automatically detect power outages and start up within seconds, ensuring that homes remain powered without a manual start. The ATS also reassesses whether the utility power has restored, allowing for a smooth transition back to grid power when available.
The unit is designed to be both quiet and efficient, featuring a low-emission engine that meets stringent environmental standards. This is an increasingly important consideration for many users concerned about eco-friendliness. Its noise-reduction technology ensures that operation is not disruptive, allowing users to run the generator during night hours without disturbing the peace.
In terms of user-friendly features, the Generac ASPAS1CCL015 is equipped with an intuitive digital control panel. Users can easily monitor the generator's status, run diagnostic checks, and access maintenance reminders. This enhances the overall user experience and promotes proactive care of the equipment.
Durability is another hallmark of the ASPAS1CCL015. Constructed with corrosion-resistant materials, the generator can withstand various weather conditions, making it a reliable option for outdoor settings. Its compact design allows for easy installation, whether in a garage, basement, or an external concrete pad.
Overall, the Generac ASPAS1CCL015 combines reliability, advanced technology, and user-friendly features to deliver a dependable electricity solution. Its capability to seamlessly transition between power sources, coupled with the sustainable operation, positions it as an excellent choice for those looking to safeguard their homes or businesses against power outages.