English
![]() WARNING: Always switch off the tool before unplugging it to avoid accidental starting when
WARNING: Always switch off the tool before unplugging it to avoid accidental starting when
Dust Port
Your sander has a
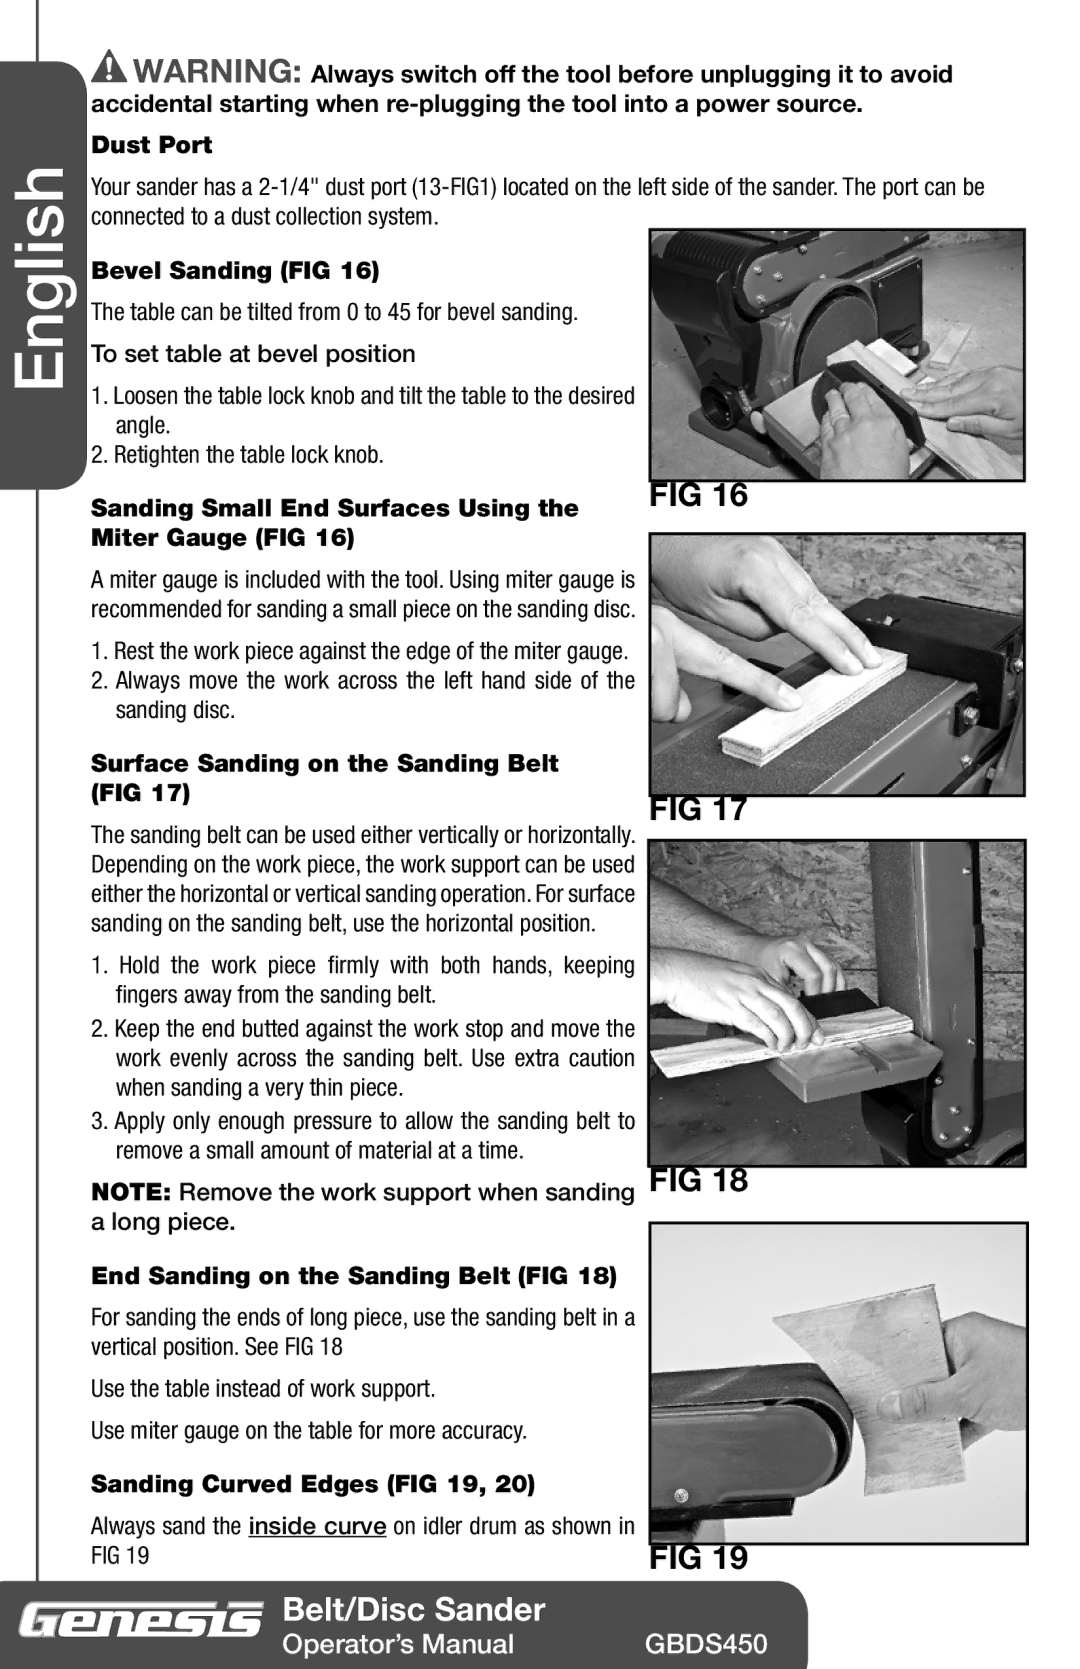
Bevel Sanding (FIG 16) |
| |
The table can be tilted from 0 to 45 for bevel sanding. |
| |
To set table at bevel position |
| |
1. Loosen the table lock knob and tilt the table to the desired |
| |
angle. |
| |
2. Retighten the table lock knob. |
| |
|
| |
Sanding Small End Surfaces Using the | FIG 16 | |
| ||
Miter Gauge (FIG 16) |
| |
| ||
A miter gauge is included with the tool. Using miter gauge is |
| |
recommended for sanding a small piece on the sanding disc. |
| |
1. Rest the work piece against the edge of the miter gauge. |
| |
2. Always move the work across the left hand side of the |
| |
sanding disc. |
| |
Surface Sanding on the Sanding Belt |
| |
(FIG 17) |
| |
FIG 17 | ||
The sanding belt can be used either vertically or horizontally. | ||
Depending on the work piece, the work support can be used |
| |
either the horizontal or vertical sanding operation. For surface |
| |
sanding on the sanding belt, use the horizontal position. |
| |
1. Hold the work piece firmly with both hands, keeping |
| |
fingers away from the sanding belt. |
| |
2. Keep the end butted against the work stop and move the |
| |
work evenly across the sanding belt. Use extra caution |
| |
when sanding a very thin piece. |
| |
3. Apply only enough pressure to allow the sanding belt to |
| |
remove a small amount of material at a time. |
| |
NOTE: Remove the work support when sanding | FIG 18 | |
a long piece. |
| |
| ||
End Sanding on the Sanding Belt (FIG 18) |
| |
For sanding the ends of long piece, use the sanding belt in a |
| |
vertical position. See FIG 18 |
| |
Use the table instead of work support. |
| |
Use miter gauge on the table for more accuracy. |
| |
Sanding Curved Edges (FIG 19, 20) |
| |
Always sand the inside curve on idler drum as shown in |
| |
FIG 19 | FIG 19 |
 Belt/Disc Sander
Operator’s Manual | GBDS450 |
