Initial Setup (Continued)
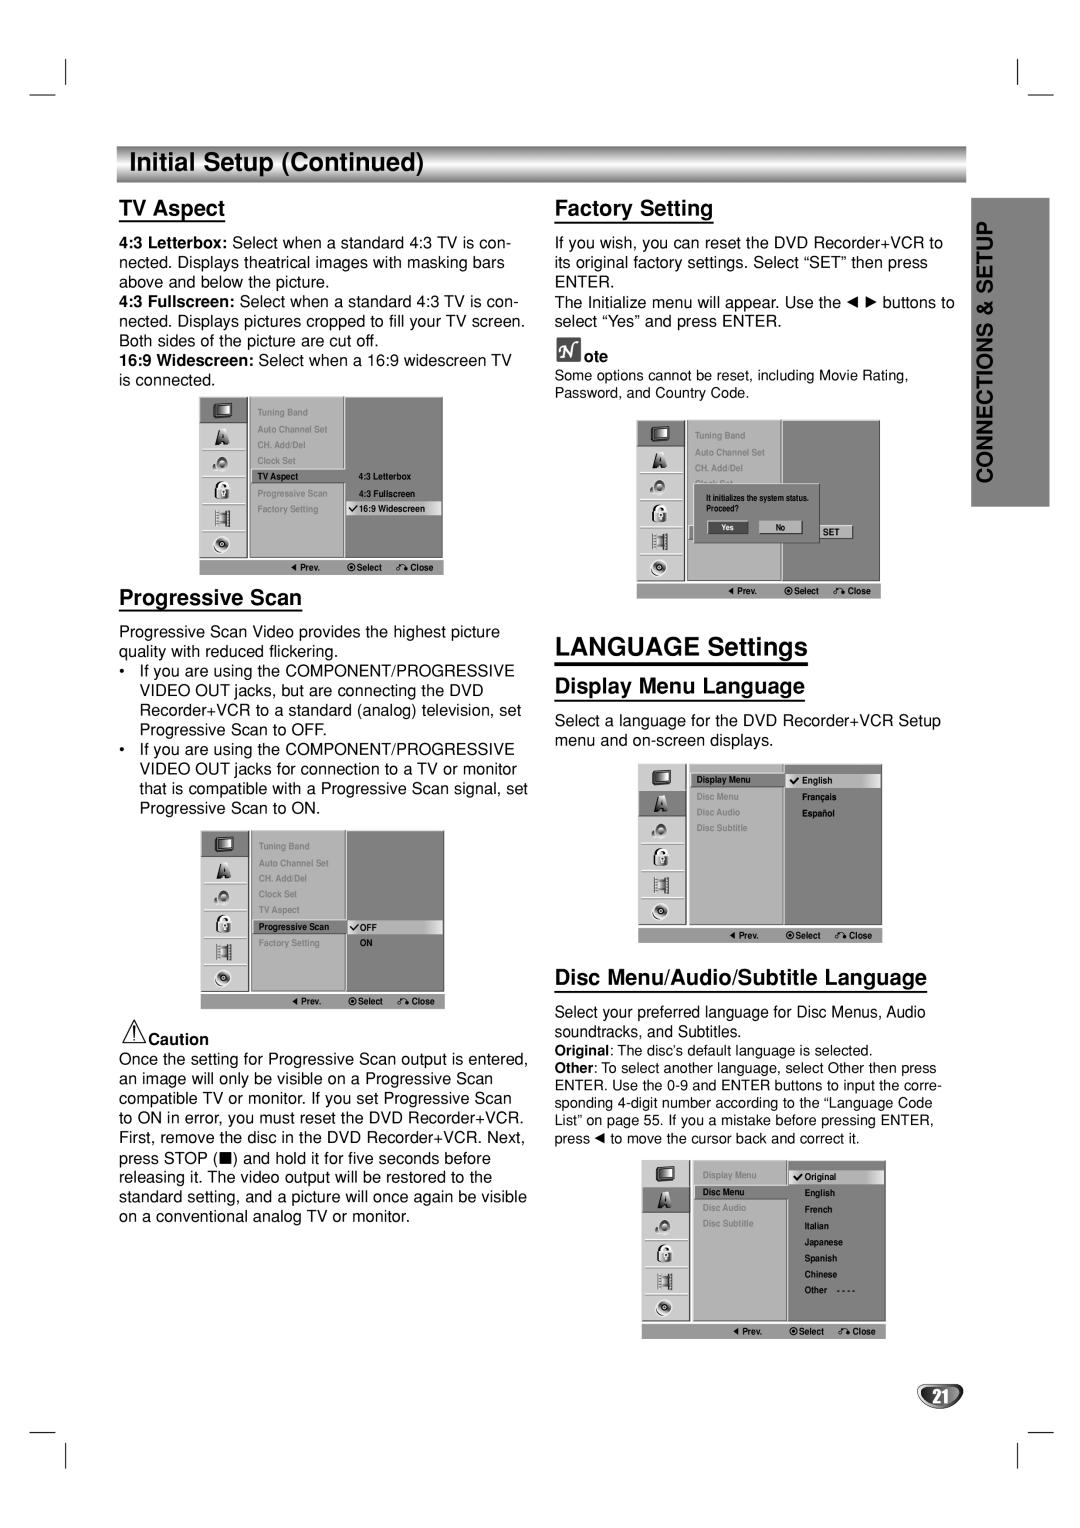
TV Aspect
4:3 Letterbox: Select when a standard 4:3 TV is con- nected. Displays theatrical images with masking bars above and below the picture.
4:3 Fullscreen: Select when a standard 4:3 TV is con- nected. Displays pictures cropped to fill your TV screen. Both sides of the picture are cut off.
16:9 Widescreen: Select when a 16:9 widescreen TV is connected.
|
|
|
|
| Tuning Band |
|
|
|
|
|
|
| Auto Channel Set |
|
|
|
|
|
|
| CH. Add/Del |
|
|
|
|
|
|
| Clock Set |
|
|
|
|
|
|
| TV Aspect | 4:3 Letterbox | |
|
|
|
|
| |||
|
|
|
|
| Progressive Scan | 4:3 Fullscreen | |
|
|
|
|
| Factory Setting | 16:9 Widescreen | |
|
|
|
|
|
|
|
|
|
|
|
|
|
|
|
|
|
|
|
|
|
|
|
|
|
|
|
|
| Prev. | Select | Close |
|
|
|
|
|
|
|
|
Progressive Scan
Progressive Scan Video provides the highest picture quality with reduced flickering.
•If you are using the COMPONENT/PROGRESSIVE VIDEO OUT jacks, but are connecting the DVD Recorder+VCR to a standard (analog) television, set Progressive Scan to OFF.
•If you are using the COMPONENT/PROGRESSIVE VIDEO OUT jacks for connection to a TV or monitor that is compatible with a Progressive Scan signal, set Progressive Scan to ON.
|
|
|
|
| Tuning Band |
|
|
|
|
|
|
| Auto Channel Set |
|
|
|
|
|
|
| CH. Add/Del |
|
|
|
|
|
|
| Clock Set |
|
|
|
|
|
|
| TV Aspect |
|
|
|
|
|
|
|
|
| |
|
|
|
|
| Progressive Scan | OFF |
|
|
|
|
|
| Factory Setting | ON |
|
|
|
|
|
|
|
|
|
|
|
|
|
|
|
|
|
|
|
|
|
|
|
|
|
|
|
|
|
| Prev. | Select | Close |
|
|
|
|
|
|
|
|
![]() Caution
Caution
Once the setting for Progressive Scan output is entered, an image will only be visible on a Progressive Scan compatible TV or monitor. If you set Progressive Scan to ON in error, you must reset the DVD Recorder+VCR. First, remove the disc in the DVD Recorder+VCR. Next, press STOP (x) and hold it for five seconds before releasing it. The video output will be restored to the standard setting, and a picture will once again be visible on a conventional analog TV or monitor.
Factory Setting
If you wish, you can reset the DVD Recorder+VCR to its original factory settings. Select “SET” then press
ENTER.
The Initialize menu will appear. Use the b B buttons to select “Yes” and press ENTER.
 ote
ote
Some options cannot be reset, including Movie Rating, Password, and Country Code.
Tuning Band
Auto Channel Set
CH. Add/Del
Clock Set
|
|
|
| It initializes the system status. |
|
| ||||||
|
|
|
| TV Aspect |
|
|
|
|
| |||
|
|
|
| Proceed? |
|
|
|
|
| |||
|
|
|
| Progressive Scan |
|
|
|
|
| |||
|
|
|
|
| Yes |
|
| No |
|
|
|
|
|
|
|
| Factory Setting |
|
|
|
| SET |
| ||
|
|
|
|
|
|
|
|
|
|
| ||
|
|
|
|
|
|
|
|
|
|
|
|
|
|
|
|
|
|
|
|
|
|
|
|
|
|
|
|
|
|
| Prev. | Select | Close | |||||
|
|
|
|
|
|
|
|
|
|
|
|
|
LANGUAGE Settings
Display Menu Language
Select a language for the DVD Recorder+VCR Setup menu and
Display Menu | English |
Disc Menu |
|
Disc Audio |
|
| |
Disc Subtitle |
|
|
|
![]() Prev.
Prev. ![]() Select
Select ![]() Close
Close
Disc Menu/Audio/Subtitle Language
Select your preferred language for Disc Menus, Audio soundtracks, and Subtitles.
Original: The disc’s default language is selected.
Other: To select another language, select Other then press ENTER. Use the
|
|
|
|
| Display Menu | Original |
|
|
|
|
|
| Disc Menu | English |
|
|
|
|
|
|
| ||
|
|
|
|
| Disc Audio | French |
|
|
|
|
|
| Disc Subtitle | Italian |
|
|
|
|
|
|
| Japanese |
|
|
|
|
|
|
|
| |
|
|
|
|
|
| Spanish |
|
|
|
|
|
|
| Chinese |
|
|
|
|
|
|
|
| |
|
|
|
|
|
| Other - - - - | |
|
|
|
|
|
|
|
|
|
|
|
|
|
|
|
|
|
|
|
|
| Prev. | Select | Close |
|
|
|
|
|
|
|
|
CONNECTIONS & SETUP
21
