Troubleshooting
Gun Operation Troubleshooting
Problem | Cause | Solution |
|
|
|
Fluid leakage from the fluid packing | The needle packings or shaft are worn. | Replace the packings or shaft; see page |
area |
| 26. |
|
|
|
Air leakage from the front of the gun | The air valve is not seating properly. | Clean and service the air valve; see page |
|
| 30. |
|
|
|
| The air valve | Lubricate the |
|
|
|
Fluid leakage from the front of the gun | The needle is worn or damaged. | Replace the needle; see page 26. |
|
|
|
| The fluid seat is worn. | Replace the fluid nozzle and/or electrode |
|
| needle; see pages 22 to 23. |
|
|
|
| The resistor stud is loose. | Tighten the resistor stud; see page 22. |
|
|
|
| The fluid nozzle is loose. | Tighten the fluid nozzle; see page 22. |
|
|
|
| The resistor stud | Replace the |
|
|
|
“Orange Peel” finish | The air pressure is insufficient for good | Increase the air cap air pressure by open- |
| atomization. | ing the atomizing air valve more or in- |
|
| creasing the gun air inlet pressure; use |
|
| the least air pressure needed for good |
|
| results. |
|
|
|
The fluid is poorly mixed or filtered.
Remix or refilter the fluid.
An improper thinner is being used.
Use the proper thinner.
Excessive spray fog
The air pressure is too high.
Reduce the air cap air pressure by closing the atomizing air valve more or decreas- ing the gun air inlet pressure; use the least air pressure needed for good results. Do not reduce below minimum pressure needed for full voltage. See page 13.
| The fluid is thinned too much. | Properly thin the fluid. | |
No fluid sprays from the gun | The fluid supply is low. |
| Check the fluid supply; add fluid if |
|
|
| necessary. |
| The air cap is damaged. |
| Replace the air cap; see page 22. |
| The fluid nozzle is dirty or clogged. | Clean the fluid nozzle; see page 15. | |
| The fluid nozzle is damaged. | Replace the fluid nozzle; see page 22. | |
| The fluid adjustment valve is damaged. | Replace the | |
The equipment is covered with fluid | The exhaust air flow is insufficient or not | Check for the proper CFM; check the | |
| directed properly. |
| baffles and direction of the air flow. |
| The distance between the gun and work- | Adjust the spraying distance to 8 to 12 | |
| piece is incorrect. |
| inches (203 to 305 mm). |
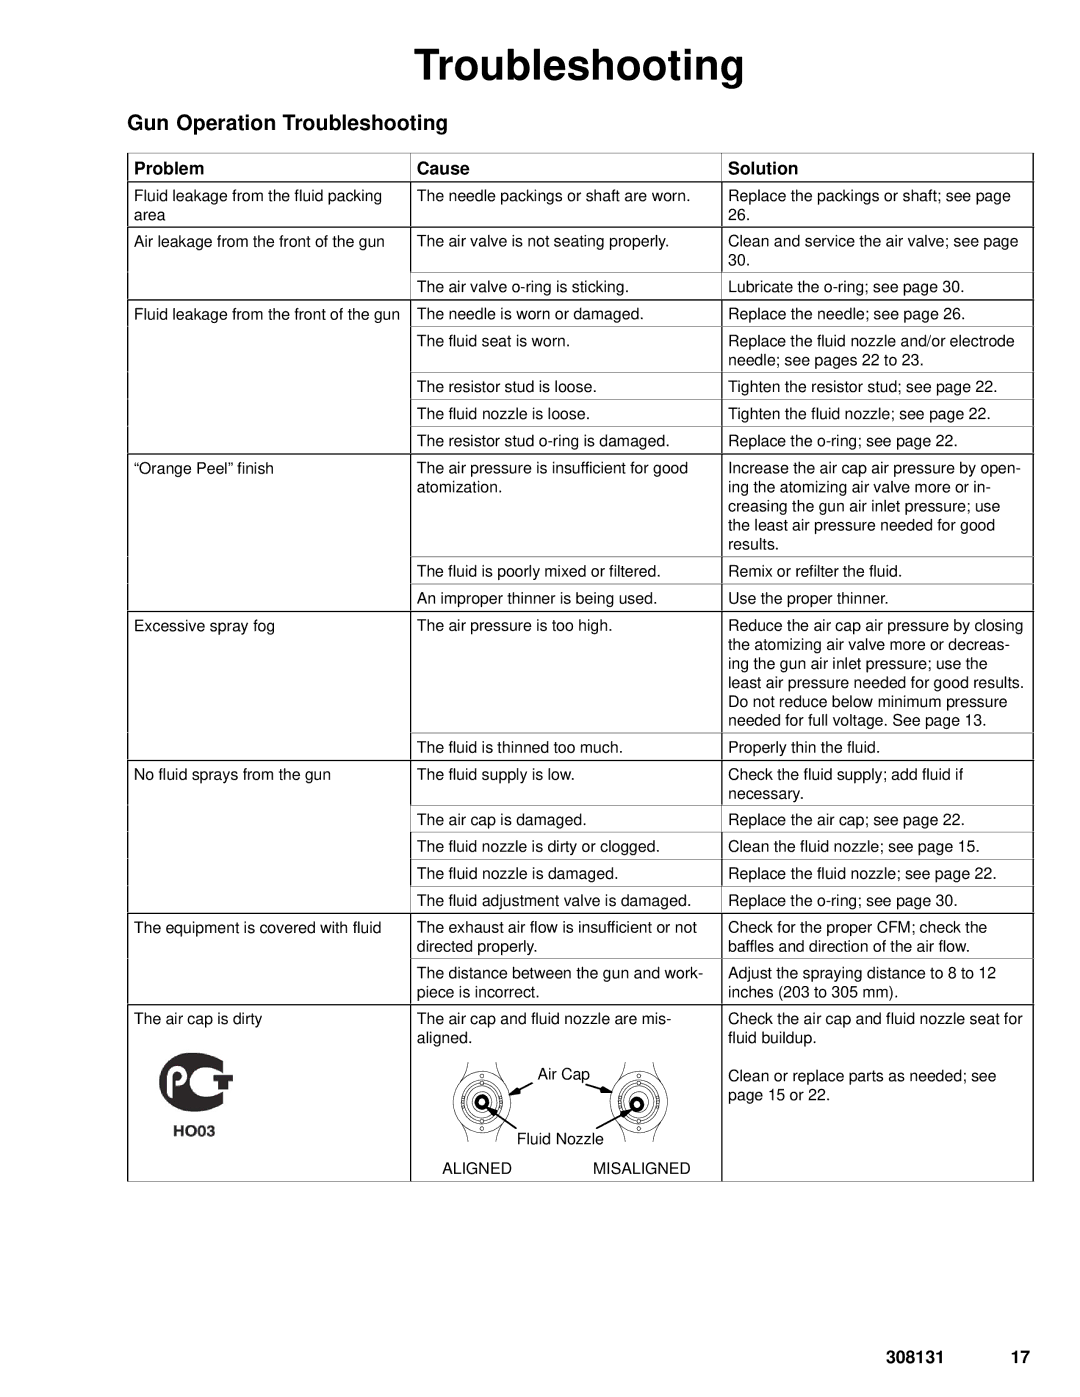
The air cap is dirty | The air cap and fluid nozzle are mis- | Check the air cap and fluid nozzle seat for | |
| aligned. |
| fluid buildup. |
| Air Cap |
| Clean or replace parts as needed; see |
|
|
| page 15 or 22. |
| Fluid Nozzle |
| |
| ALIGNED | MISALIGNED |
|