
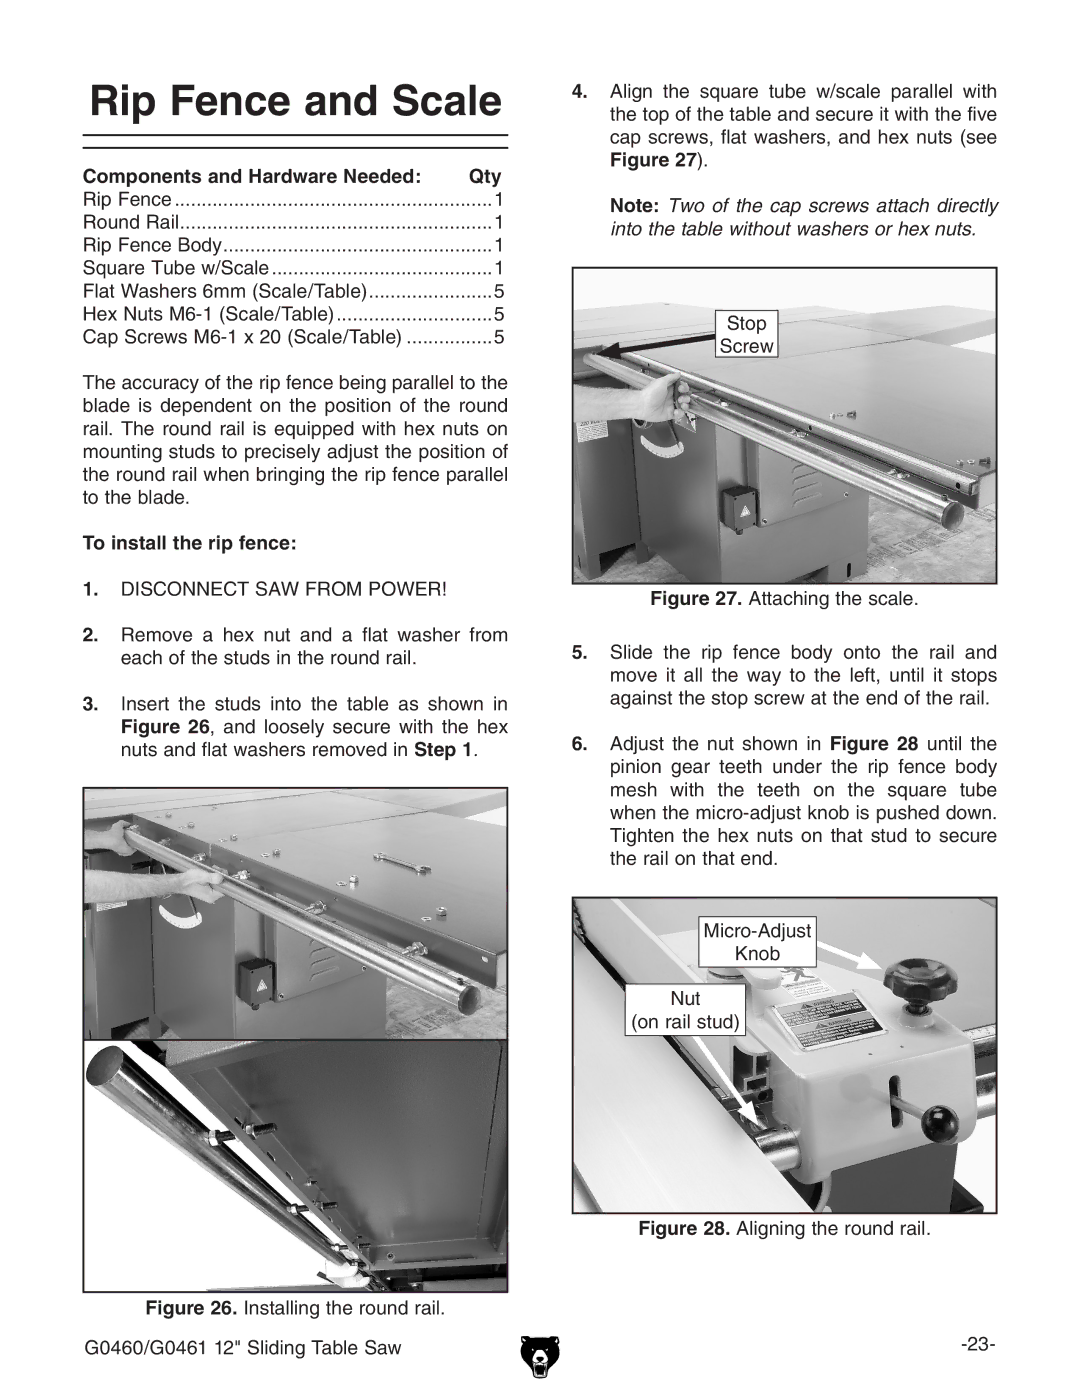
G0461, G0460 specifications
The Grizzly G0460 and G0461 are renowned woodworking machines in the arena of jointers and planers, designed specifically to meet the needs of both amateur woodworkers and professional craftsmen. These machines are celebrated for their engineering excellence, offering robust features and advanced technologies that facilitate precision in woodworking projects.The Grizzly G0460 is a 6-inch jointer that is engineered for efficiency and accuracy, boasting a powerful 1 HP motor. This model is particularly suitable for achieving flat surfaces on wooden boards, with its precision-machined cast iron table providing an exceptionally smooth finish. The G0460's adjustable infeed and outfeed tables ensure optimal alignment, enabling users to handle both narrow and wide stock with ease. The jointer also features a convenient fence system that can be locked at a 90-degree angle or angled up to 45 degrees for bevel cuts, making it a versatile addition to any workshop.
In contrast, the Grizzly G0461 is an 8-inch version of its counterpart, offering increased capacity and capabilities for larger projects. With a similar 1 HP motor, the G0461 allows users to joint wider boards, making it ideal for serious woodworkers who demand higher performance levels. The machine's heavy-duty construction features a cast iron base and table, which not only add stability but also minimize vibrations during operation for enhanced accuracy.
Both models utilize helical cutter heads, which significantly improve the cutting experience. This technology employs multiple small, indexed carbide inserts that provide a smoother cut, reduce noise, and prolong the life of the cutter. The ease of changing the inserts enhances usability, making maintenance less cumbersome for users.
Moreover, safety features such as the blade guard are incorporated into both models, ensuring operator protection. The adjustable depth of cut allows for customized finishes, giving users control over the smoothing process.
In summary, the Grizzly G0460 and G0461 are exceptional tools that combine power, precision, and innovative design. Their capabilities cater to a wide range of woodworking applications, making them reliable choices for anyone serious about crafting fine wood items. Users will appreciate the blend of performance, ease of use, and durability that these machines bring to their woodworking endeavors. Whether tackling small projects or large production runs, the G0460 and G0461 stand as testament to Grizzly's commitment to quality in the woodworking machinery market.