Installing Drill Chuck
The drill chuck fits on the arbor with a taper fit.
To install the drill chuck:
1.UNPLUG THE MILL/DRILL!
2.Prepare the mating surfaces on the arbor taper and the chuck by cleaning them thor- oughly.
3.Retract the chuck jaws all the way inside of the chuck.
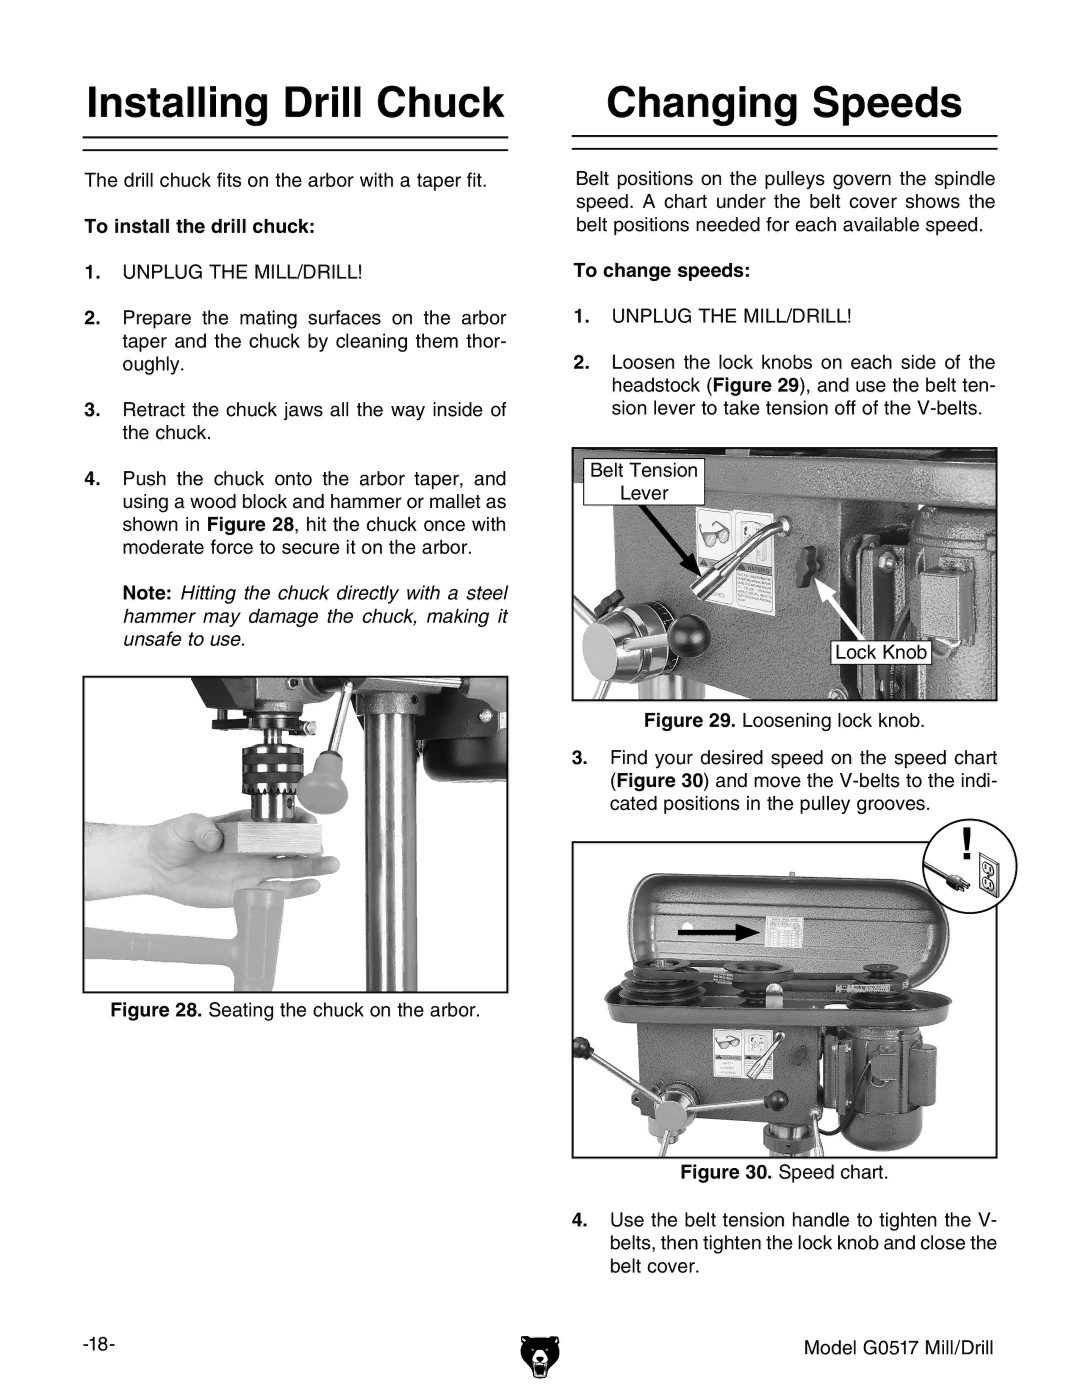
4.Push the chuck onto the arbor taper, and using a wood block and hammer or mallet as shown in Figure 28, hit the chuck once with moderate force to secure it on the arbor.
Note: Hitting the chuck directly with a steel hammer may damage the chuck, making it unsafe to use.
Figure 28. Seating the chuck on the arbor.
Changing Speeds
Belt positions on the pulleys govern the spindle speed. A chart under the belt cover shows the belt positions needed for each available speed.
To change speeds:
1.UNPLUG THE MILL/DRILL!
2.Loosen the lock knobs on each side of the headstock (Figure 29), and use the belt ten- sion lever to take tension off of the
Belt Tension
Lever
Lock Knob
