Attaching Sandpaper
The Model G0547 Combo Sander accepts 6" diameter cloth or
The PSA sanding disc sticks directly to the sur- face of the aluminum disc and can be replaced without removing either the table or the dust port.
To attach sandpaper:
1.Disconnect the machine from the power source!
2.Remove the disc table and the lower guard.
3.Remove the worn out sandpaper.
4.Peel back the protective layer on
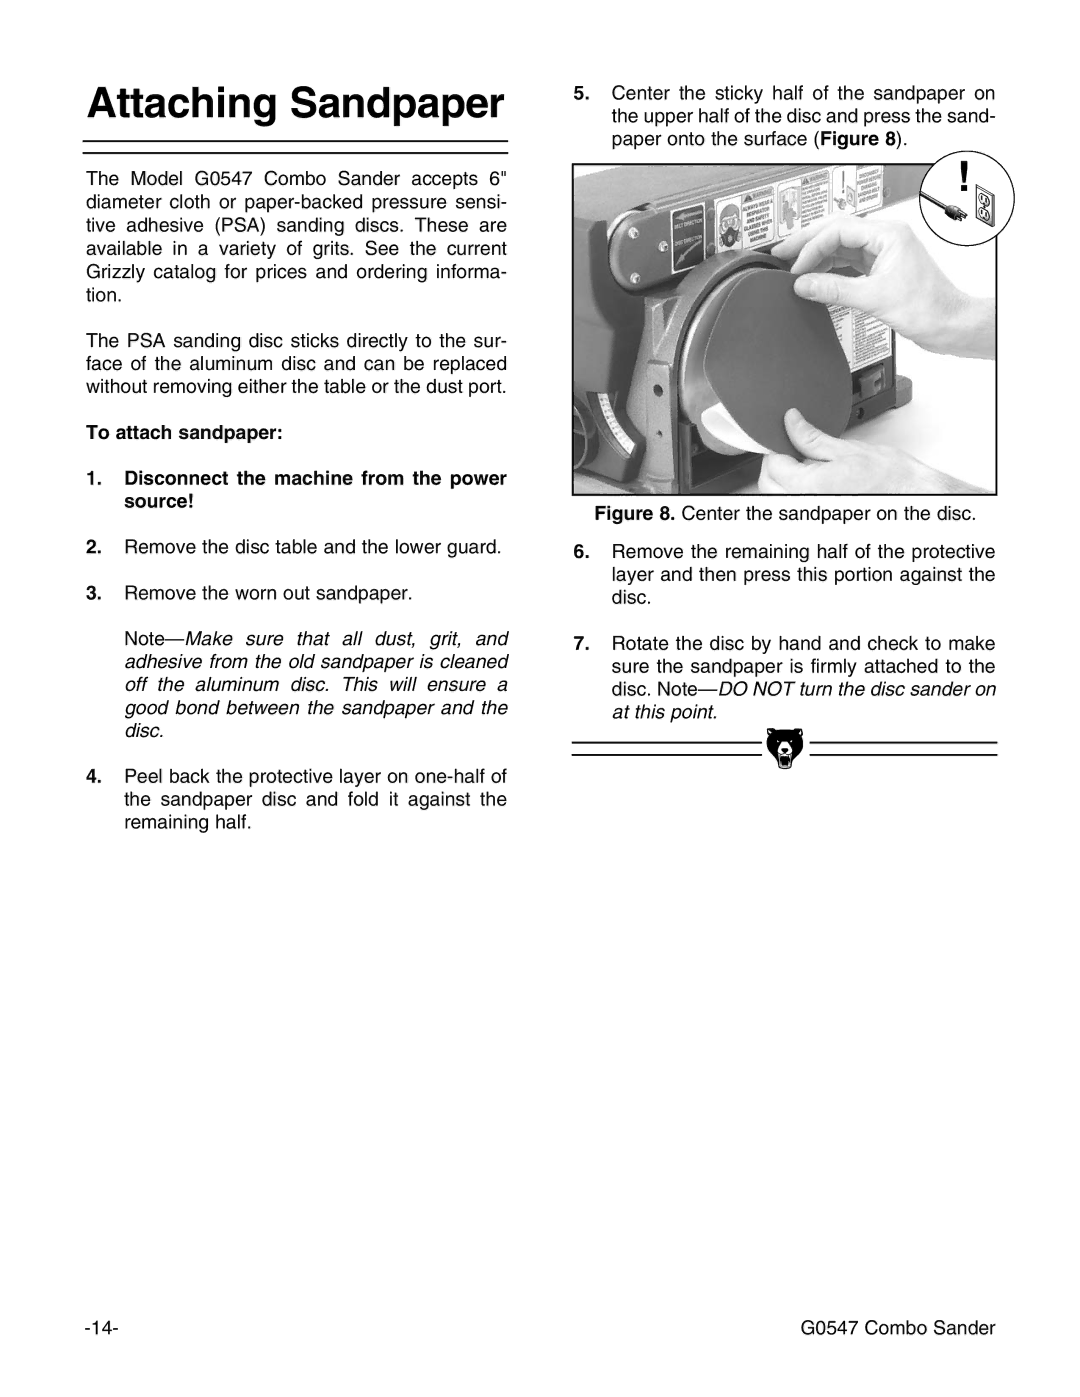
5.Center the sticky half of the sandpaper on the upper half of the disc and press the sand- paper onto the surface (Figure 8).
!
Figure 8. Center the sandpaper on the disc.
6.Remove the remaining half of the protective layer and then press this portion against the disc.
7.Rotate the disc by hand and check to make sure the sandpaper is firmly attached to the disc. Note—DO NOT turn the disc sander on at this point.
G0547 Combo Sander |