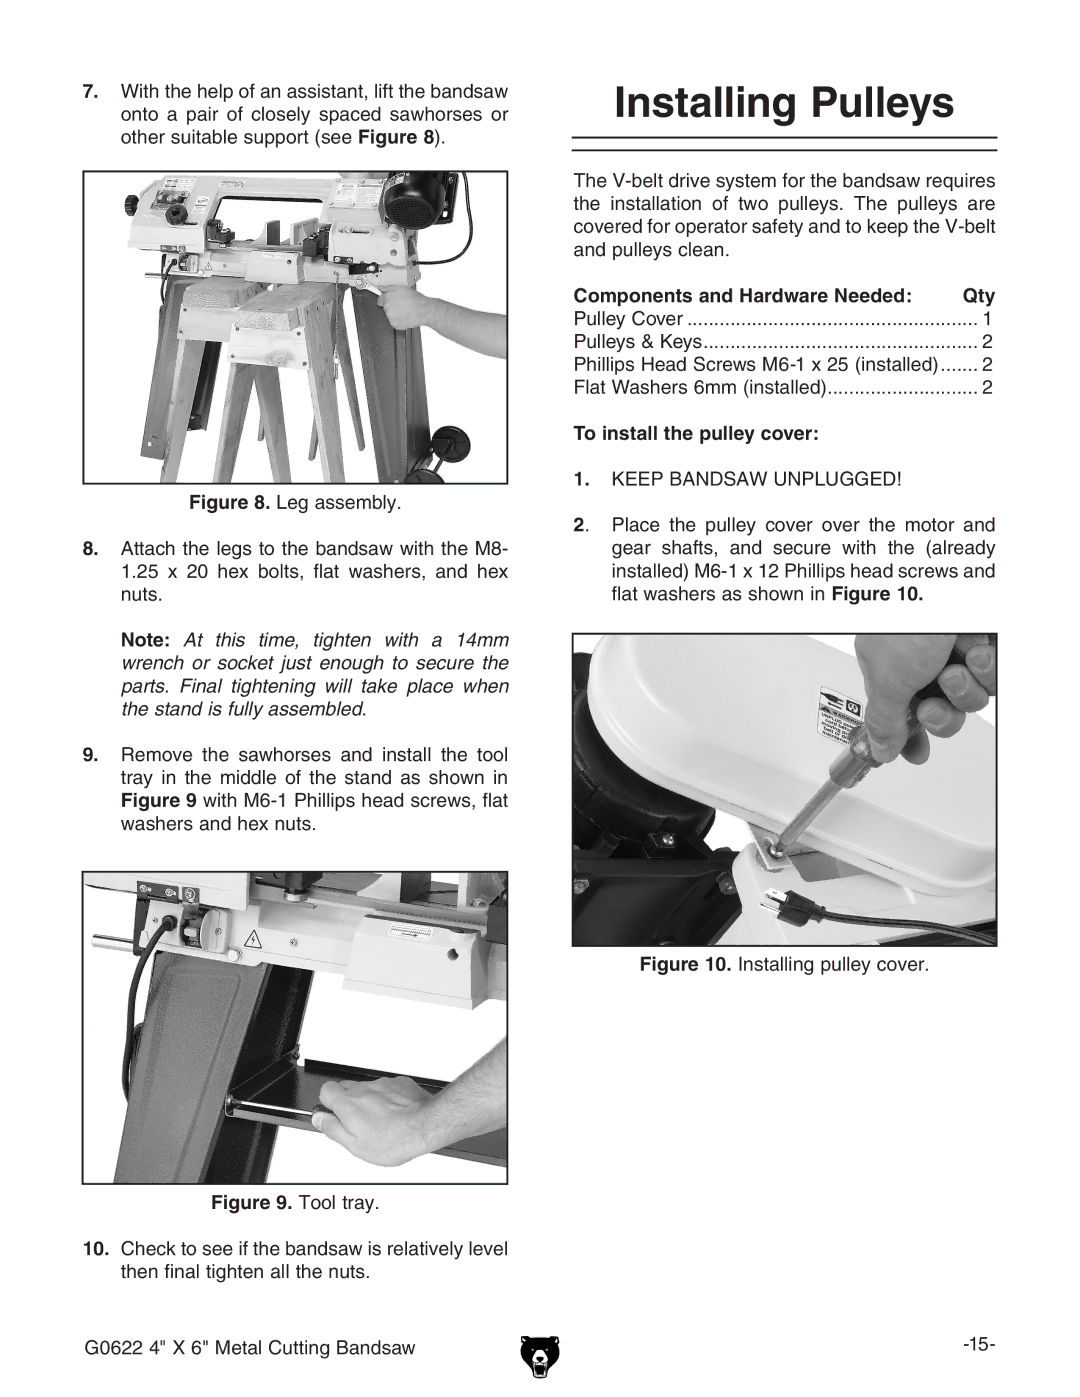
7.With the help of an assistant, lift the bandsaw onto a pair of closely spaced sawhorses or other suitable support (see Figure 8).
Figure 8. Leg assembly.
8.Attach the legs to the bandsaw with the M8- 1.25 x 20 hex bolts, flat washers, and hex nuts.
Note: At this time, tighten with a 14mm wrench or socket just enough to secure the parts. Final tightening will take place when the stand is fully assembled.
9.Remove the sawhorses and install the tool tray in the middle of the stand as shown in Figure 9 with M6-1 Phillips head screws, flat washers and hex nuts.
Figure 9. Tool tray.
10.Check to see if the bandsaw is relatively level then final tighten all the nuts.
G0622 4" X 6" Metal Cutting Bandsaw
Installing Pulleys
The
Components and Hardware Needed: | Qty |
Pulley Cover | 1 |
Pulleys & Keys | 2 |
Phillips Head Screws | 2 |
Flat Washers 6mm (installed) | 2 |
To install the pulley cover: |
|
1.KEEP BANDSAW UNPLUGGED!
2. Place the pulley cover over the motor and gear shafts, and secure with the (already installed)
