Drive Belt
The cutterhead is driven by a belt that is located on the
Tools Needed | Qty |
Hex Wrench 4mm | 1 |
Hex Wrench 5mm | 1 |
Hex Wrench 6mm | 1 |
To replace the belt: |
|
1.DISCONNECT PLANER FROM POWER!
2.Remove the elevation crank and the four button head cap screws that secure the top cover. Remove the top plate (Figure 35).
Elevation Crank
Top Plate
Thickness Stop Knob![]()
Figure 35. Top and side cover removal.
3.Remove the thickness stop knob by pulling outward on it, then lift and pull the right side cover off.
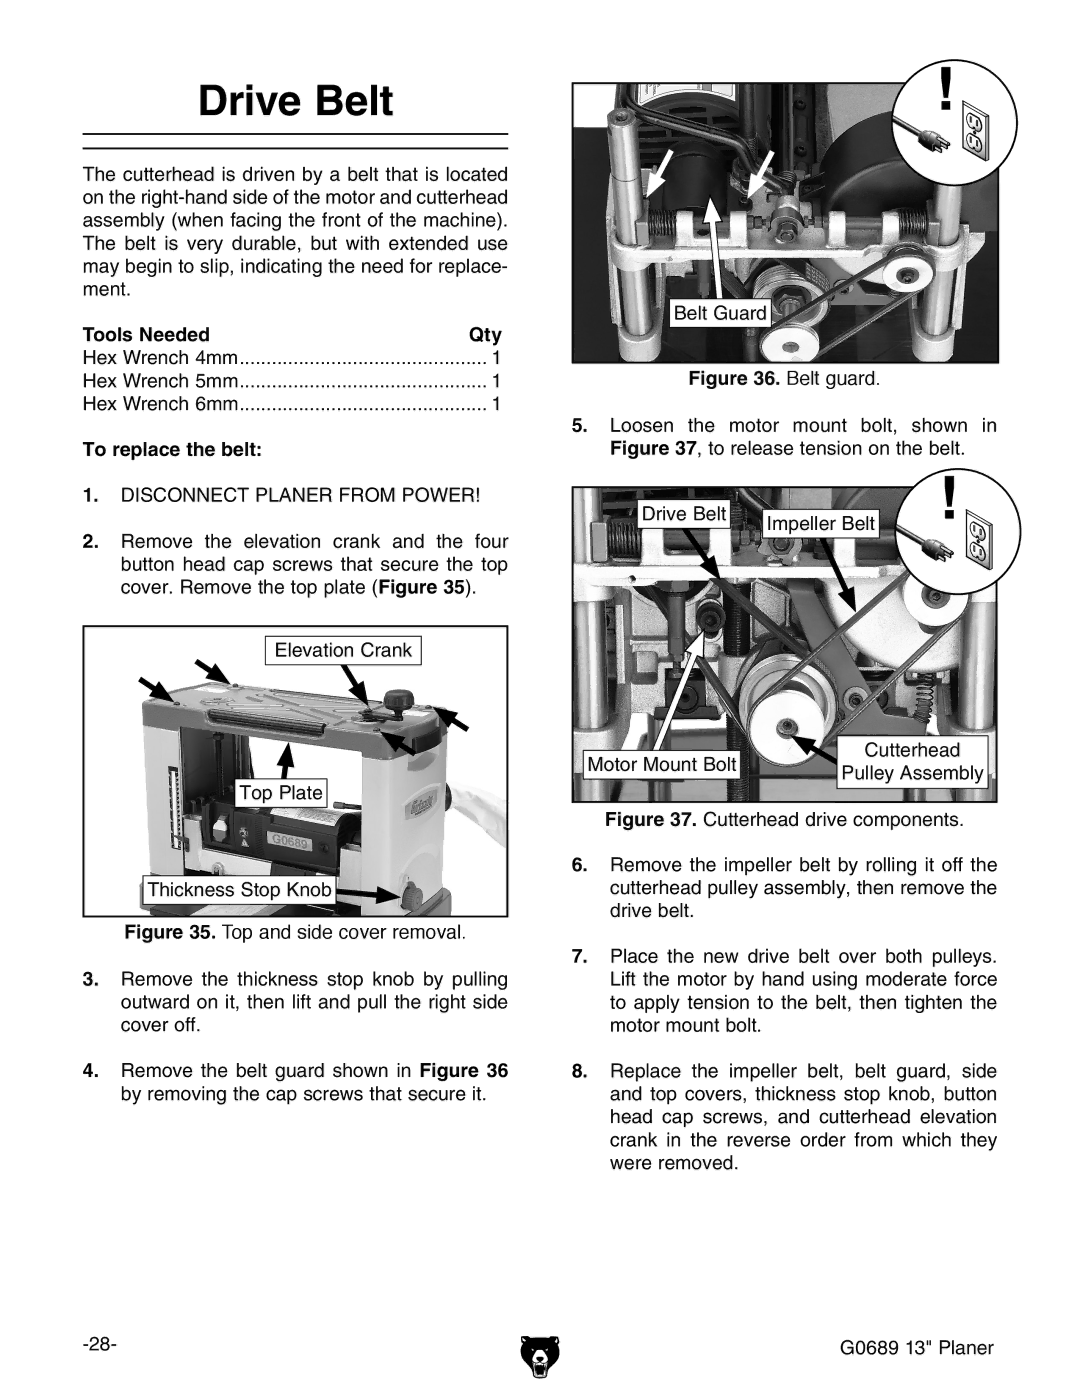
4.Remove the belt guard shown in Figure 36 by removing the cap screws that secure it.
Belt Guard
Figure 36. Belt guard.
5.Loosen the motor mount bolt, shown in Figure 37, to release tension on the belt.
Drive Belt | Impeller Belt | |
| ||
Motor Mount Bolt | Cutterhead | |
Pulley Assembly | ||
|
Figure 37. Cutterhead drive components.
6.Remove the impeller belt by rolling it off the cutterhead pulley assembly, then remove the drive belt.
7.Place the new drive belt over both pulleys. Lift the motor by hand using moderate force to apply tension to the belt, then tighten the motor mount bolt.
8.Replace the impeller belt, belt guard, side and top covers, thickness stop knob, button head cap screws, and cutterhead elevation crank in the reverse order from which they were removed.
G0689 13" Planer |
