Test Run
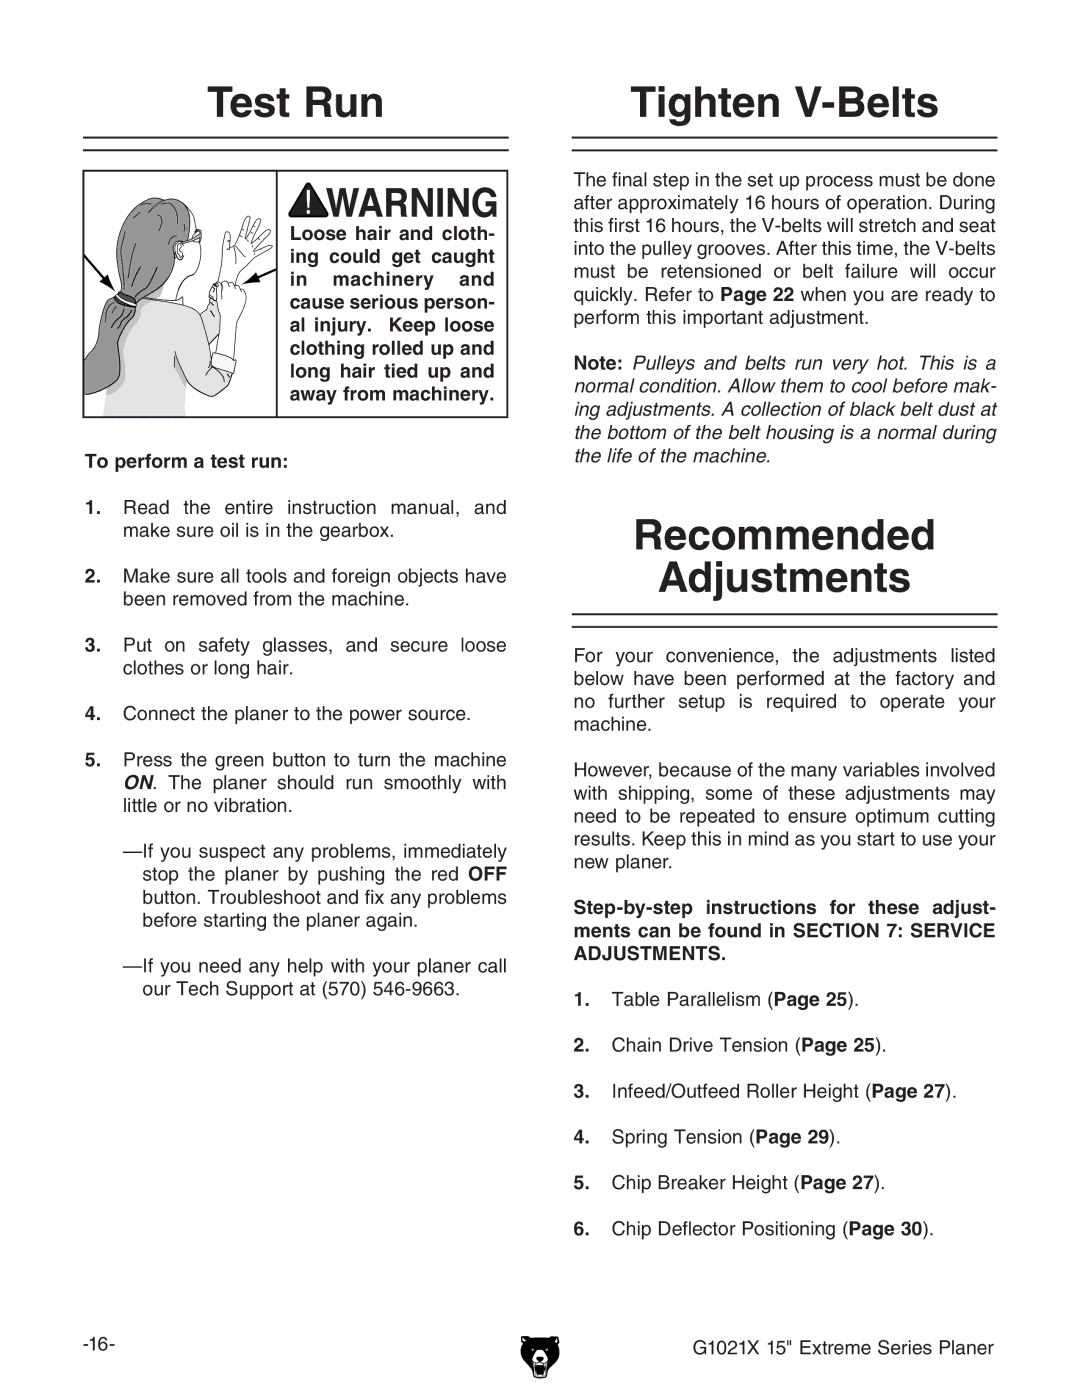
Loose hair and cloth- ing could get caught in machinery and cause serious person- al injury. Keep loose clothing rolled up and long hair tied up and away from machinery.
To perform a test run:
1.Read the entire instruction manual, and make sure oil is in the gearbox.
2.Make sure all tools and foreign objects have been removed from the machine.
3.Put on safety glasses, and secure loose clothes or long hair.
4.Connect the planer to the power source.
5.Press the green button to turn the machine ON. The planer should run smoothly with little or no vibration.
Tighten V-Belts
The final step in the set up process must be done after approximately 16 hours of operation. During this first 16 hours, the
Note: Pulleys and belts run very hot. This is a normal condition. Allow them to cool before mak- ing adjustments. A collection of black belt dust at the bottom of the belt housing is a normal during the life of the machine.
Recommended
Adjustments
For your convenience, the adjustments listed below have been performed at the factory and no further setup is required to operate your machine.
However, because of the many variables involved with shipping, some of these adjustments may need to be repeated to ensure optimum cutting results. Keep this in mind as you start to use your new planer.
1.Table Parallelism (Page 25).
2.Chain Drive Tension (Page 25).
3.Infeed/Outfeed Roller Height (Page 27).
4.Spring Tension (Page 29).
5.Chip Breaker Height (Page 27).
6.Chip Deflector Positioning (Page 30).
G1021X 15" Extreme Series Planer |