To secure the router table to a workbench:
The bottom of each leg has two holes (Figure 16) used for mounting the router table to the work- bench. Secure the router table to the workbench with wood screws and washers.
Figure 16. Router table mounting holes.
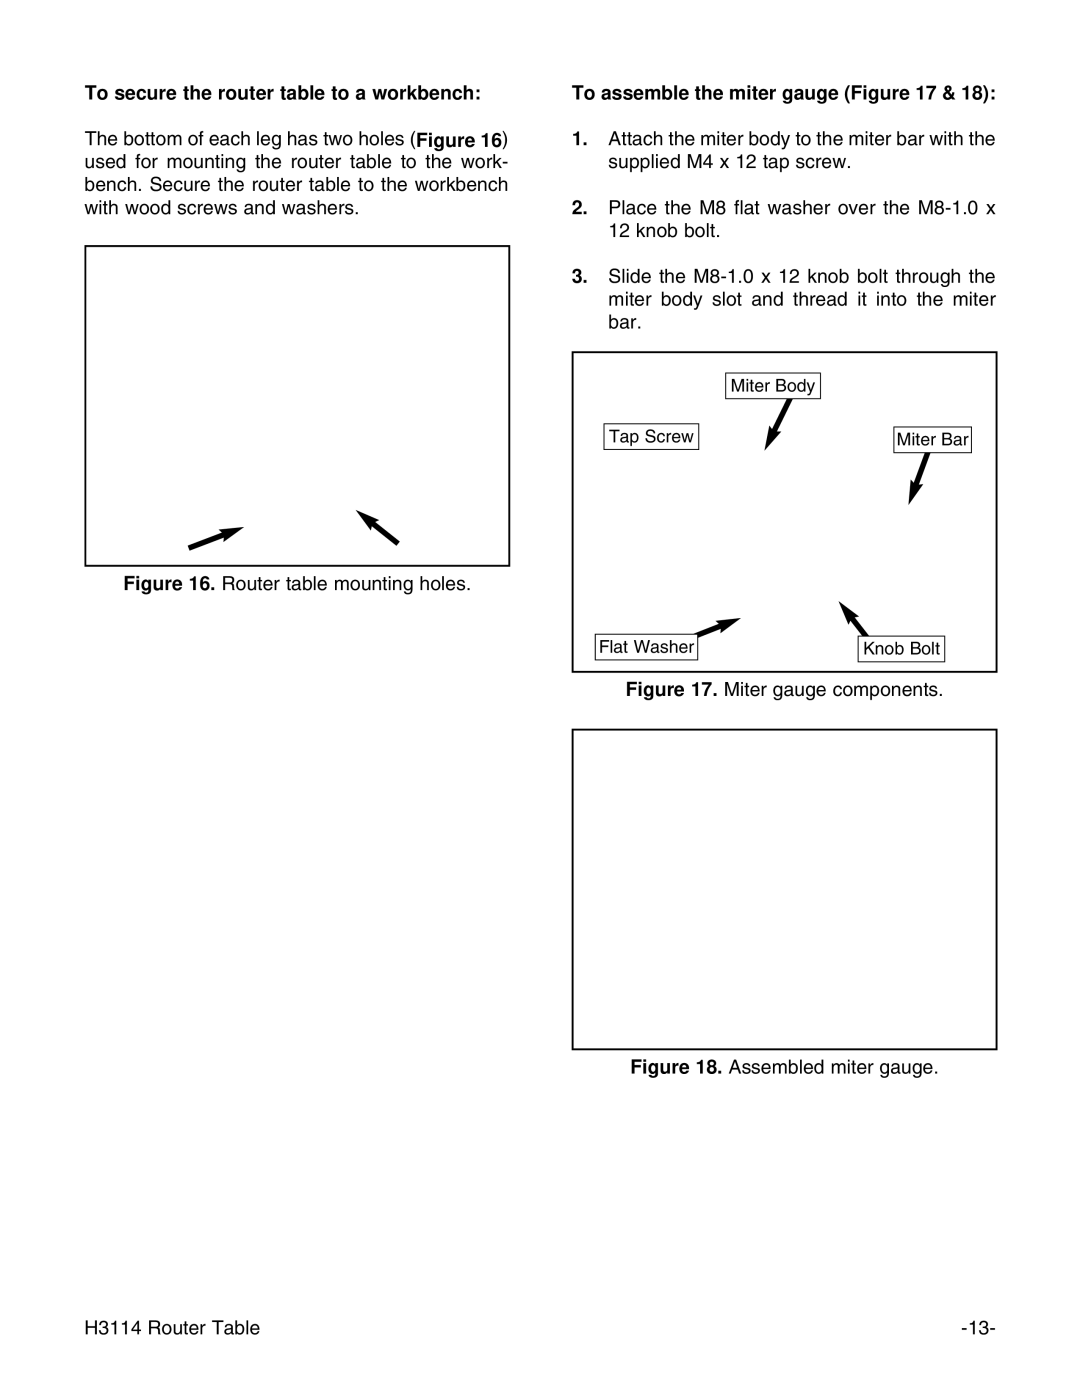
To assemble the miter gauge (Figure 17 & 18):
1.Attach the miter body to the miter bar with the supplied M4 x 12 tap screw.
2.Place the M8 flat washer over the
3.Slide the
| Miter Body |
Tap Screw | Miter Bar |
Flat Washer | Knob Bolt |
Figure 17. Miter gauge components.
Figure 18. Assembled miter gauge.
H3114 Router Table |