Guide Post
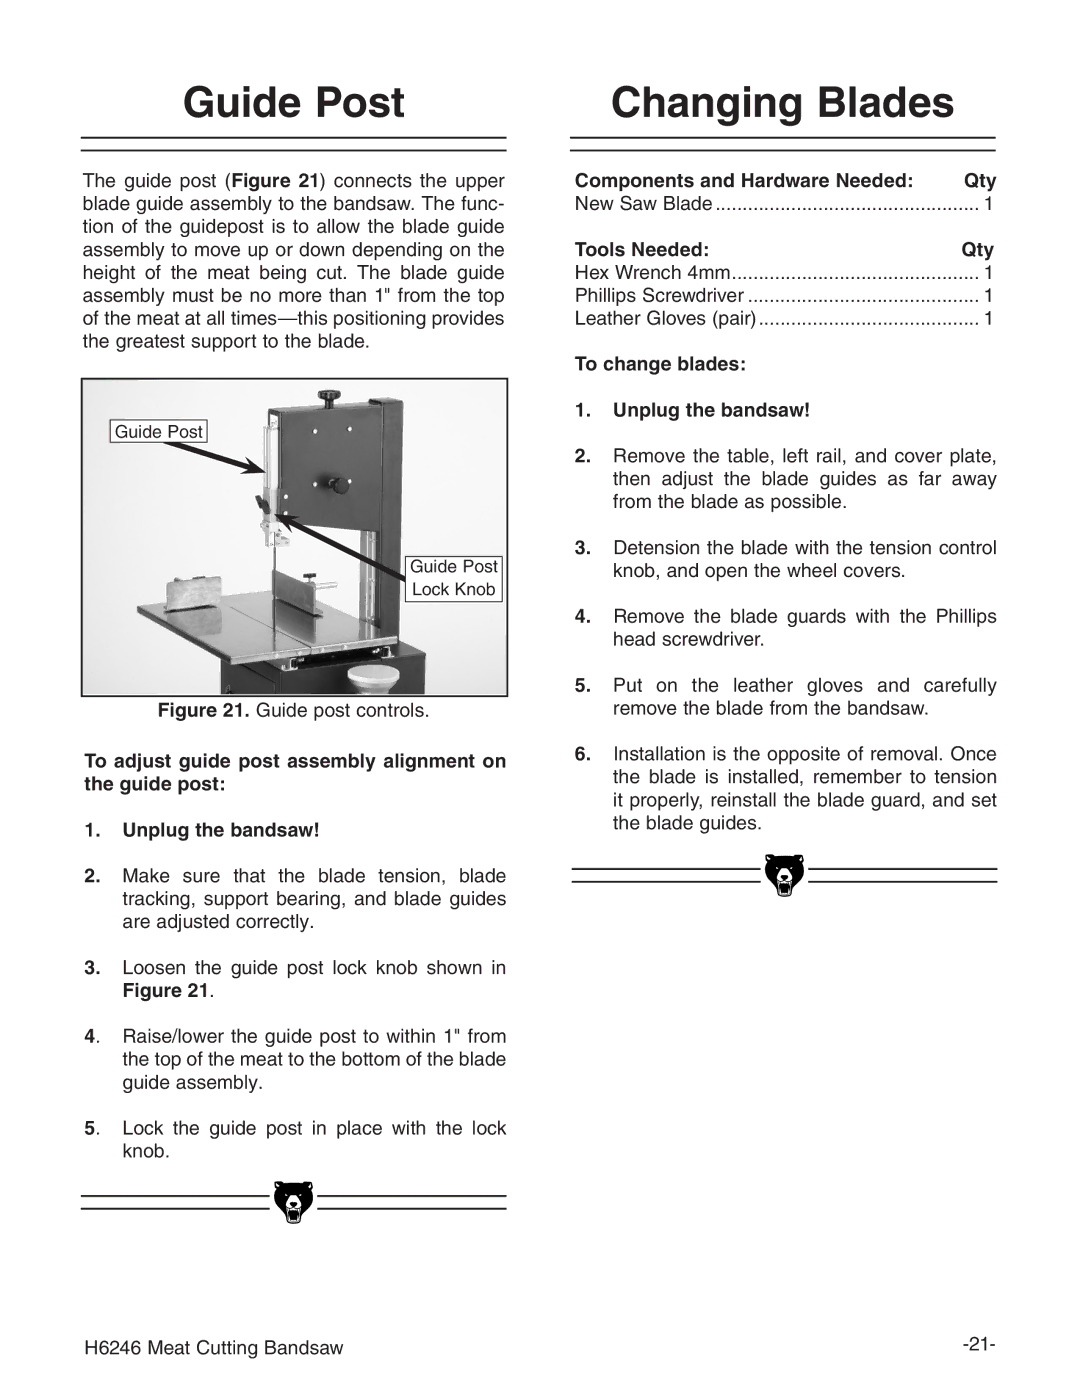
The guide post (Figure 21) connects the upper blade guide assembly to the bandsaw. The func- tion of the guidepost is to allow the blade guide assembly to move up or down depending on the height of the meat being cut. The blade guide assembly must be no more than 1" from the top of the meat at all
Guide Post |
Guide Post |
Lock Knob |
Figure 21. Guide post controls.
To adjust guide post assembly alignment on the guide post:
1.Unplug the bandsaw!
2.Make sure that the blade tension, blade tracking, support bearing, and blade guides are adjusted correctly.
3.Loosen the guide post lock knob shown in Figure 21.
4. Raise/lower the guide post to within 1" from the top of the meat to the bottom of the blade guide assembly.
5. Lock the guide post in place with the lock knob.
Changing Blades
Components and Hardware Needed: | Qty |
New Saw Blade | 1 |
Tools Needed: | Qty |
Hex Wrench 4mm | 1 |
Phillips Screwdriver | 1 |
Leather Gloves (pair) | 1 |
To change blades: |
|
1.Unplug the bandsaw!
2.Remove the table, left rail, and cover plate, then adjust the blade guides as far away from the blade as possible.
3.Detension the blade with the tension control knob, and open the wheel covers.
4.Remove the blade guards with the Phillips head screwdriver.
5.Put on the leather gloves and carefully remove the blade from the bandsaw.
6.Installation is the opposite of removal. Once the blade is installed, remember to tension it properly, reinstall the blade guard, and set the blade guides.
H6246 Meat Cutting Bandsaw |