10.Make countersinks in these holes from the top of the mounting board so that the fasten- ers will be slightly below the top surface of the board. This will prevent the workpiece catching on the fasteners during operation.
11.Turn the router upside down with the mark you made in Step 5 facing you.
12.Position the mounting board, top surface up, so that the mark you made on it in Step 3 is facing you and the mounting holes in the board are aligned with those in the router.
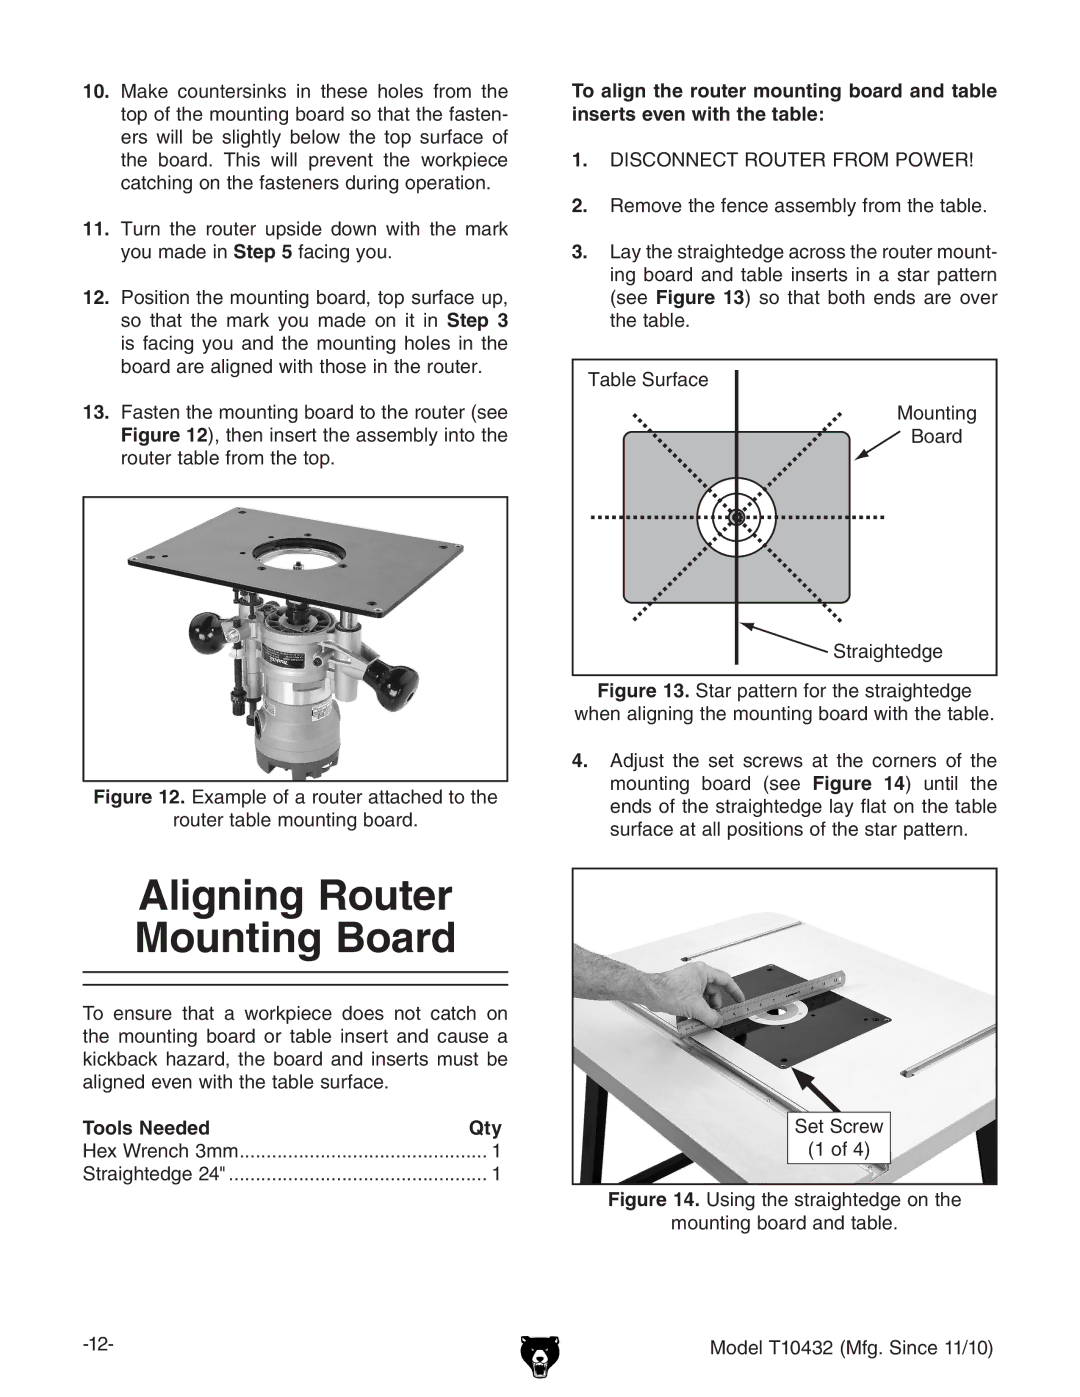
13.Fasten the mounting board to the router (see Figure 12), then insert the assembly into the router table from the top.
Figure 12. Example of a router attached to the
router table mounting board.
Aligning Router Mounting Board
To ensure that a workpiece does not catch on the mounting board or table insert and cause a kickback hazard, the board and inserts must be aligned even with the table surface.
Tools Needed | Qty |
Hex Wrench 3mm. | ............................................. 1 |
Straightedge 24" | 1 |
To align the router mounting board and table inserts even with the table:
1.DISCONNECT ROUTER FROM POWER!
2.Remove the fence assembly from the table.
3.Lay the straightedge across the router mount- ing board and table inserts in a star pattern (see Figure 13) so that both ends are over the table.
Table Surface
Mounting
![]() Board
Board
![]() Straightedge
Straightedge
Figure 13. Star pattern for the straightedge
when aligning the mounting board with the table.
4.Adjust the set screws at the corners of the mounting board (see Figure 14) until the ends of the straightedge lay flat on the table surface at all positions of the star pattern.
Set Screw
(1 of 4)
