To reduce the likelihood of kickback when free- hand routing, use the starting pin or block (see Figures
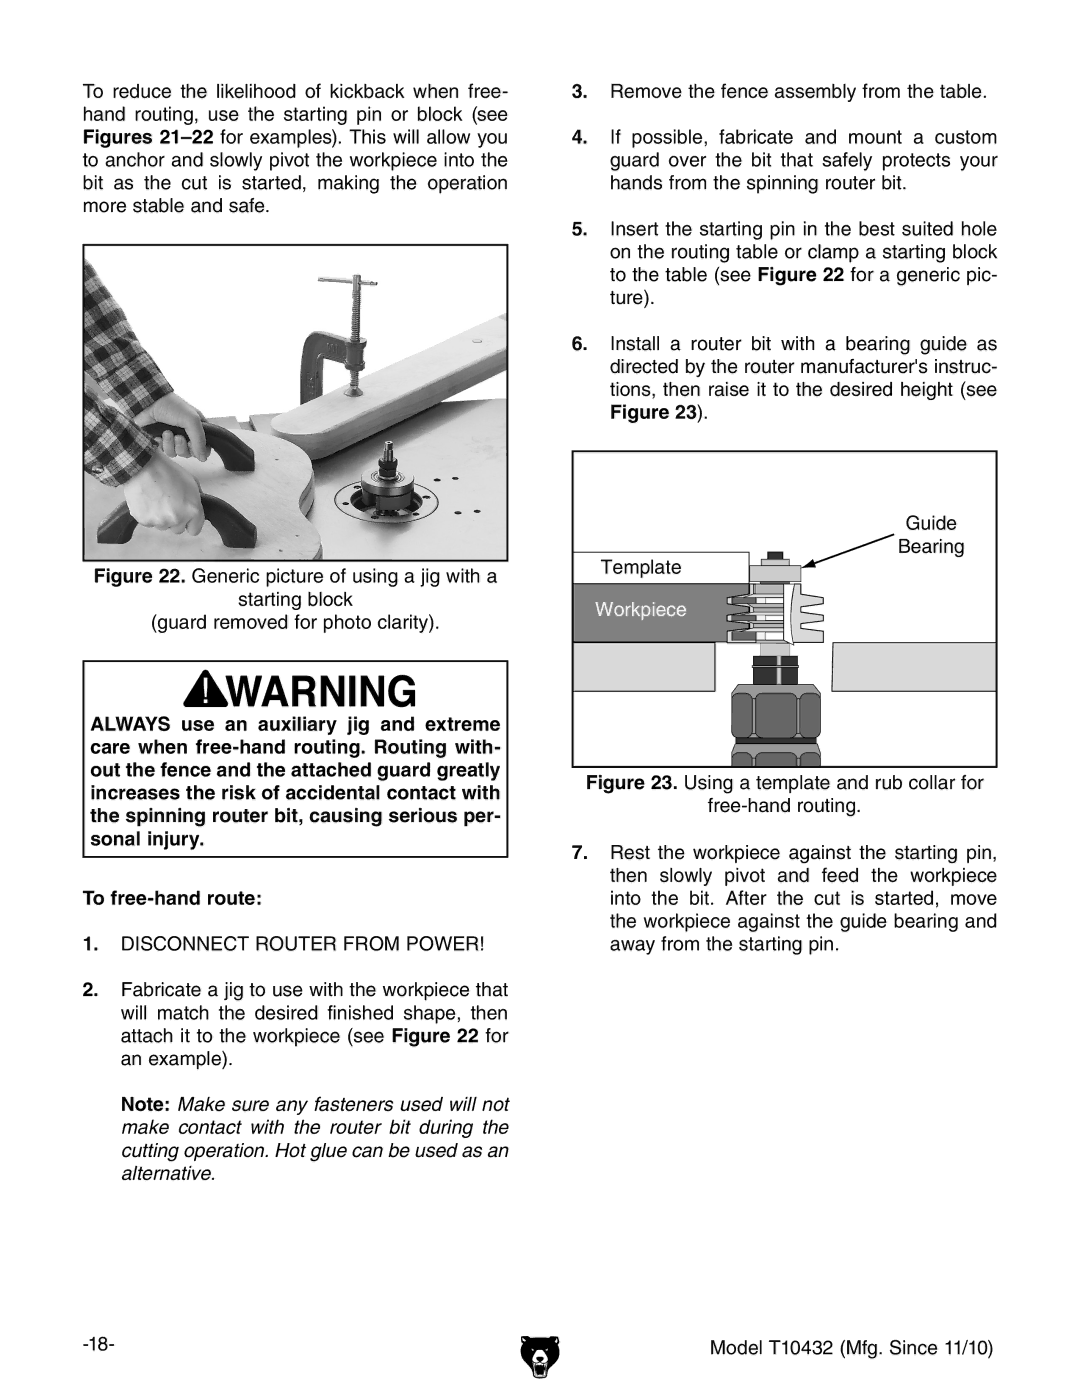
Figure 22. Generic picture of using a jig with a
starting block
(guard removed for photo clarity).
ALWAYS use an auxiliary jig and extreme care when
To
1.DISCONNECT ROUTER FROM POWER!
2.Fabricate a jig to use with the workpiece that will match the desired finished shape, then attach it to the workpiece (see Figure 22 for an example).
Note: Make sure any fasteners used will not make contact with the router bit during the cutting operation. Hot glue can be used as an alternative.
3.Remove the fence assembly from the table.
4.If possible, fabricate and mount a custom guard over the bit that safely protects your hands from the spinning router bit.
5.Insert the starting pin in the best suited hole on the routing table or clamp a starting block to the table (see Figure 22 for a generic pic- ture).
6.Install a router bit with a bearing guide as directed by the router manufacturer's instruc- tions, then raise it to the desired height (see
Figure 23).
Guide |
Bearing |
Template |
Workpiece |
Figure 23. Using a template and rub collar for
free-hand routing.
7.Rest the workpiece against the starting pin, then slowly pivot and feed the workpiece into the bit. After the cut is started, move the workpiece against the guide bearing and away from the starting pin.
Model T10432 (Mfg. Since 11/10) |