SECTION 3: SET UP
InventoryAssembly
Your spray gun was carefully packaged for safe transportation. Remove the packaging materials from around the tool and inspect it. If you discover the spray gun is dam- aged, please immediately call Customer Service at (570)
Save the containers and all packing mate- rials for possible inspection by the car- rier or its agent. Otherwise, filing a freight claim can be difficult.
When you are completely satisfied with the condition of your shipment, inventory the contents.
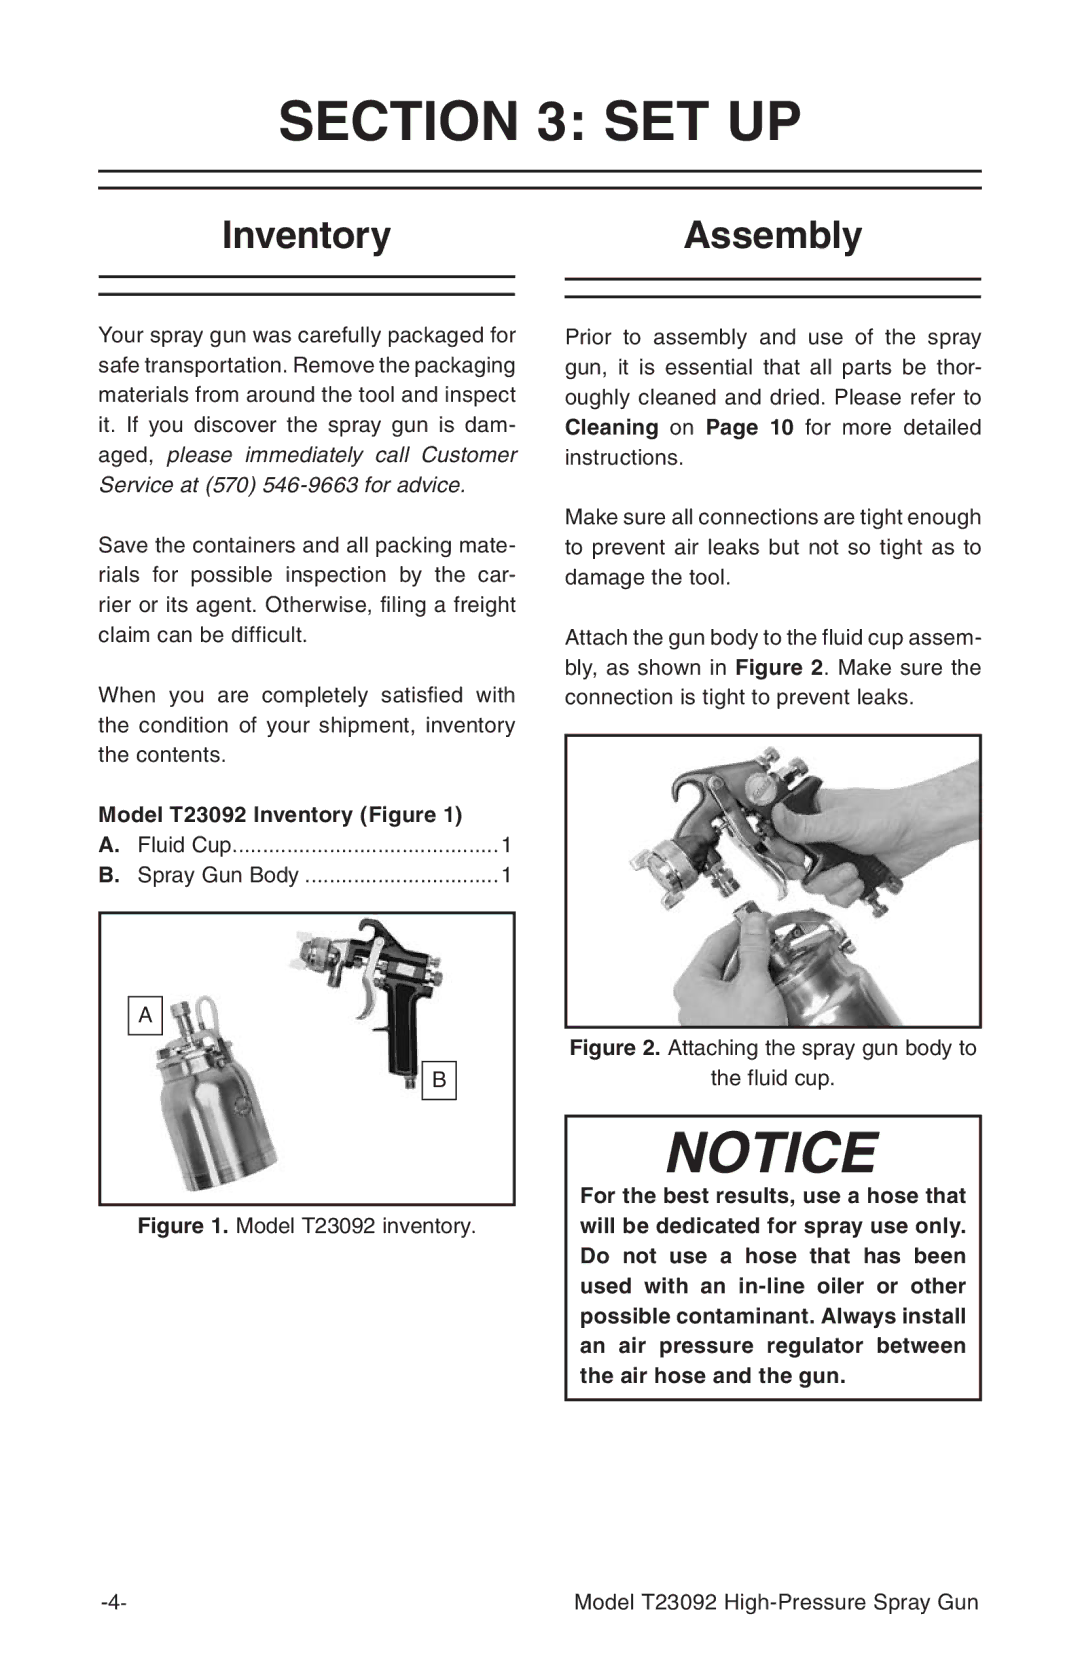
Model T23092 Inventory (Figure 1) |
| |
A. | Fluid Cup | 1 |
B. | Spray Gun Body | 1 |
A
B
Figure 1. Model T23092 inventory.
Prior to assembly and use of the spray gun, it is essential that all parts be thor- oughly cleaned and dried. Please refer to Cleaning on Page 10 for more detailed instructions.
Make sure all connections are tight enough to prevent air leaks but not so tight as to damage the tool.
Attach the gun body to the fluid cup assem- bly, as shown in Figure 2. Make sure the connection is tight to prevent leaks.
Figure 2. Attaching the spray gun body to
the fluid cup.
For the best results, use a hose that will be dedicated for spray use only. Do not use a hose that has been used with an
Model T23092 |