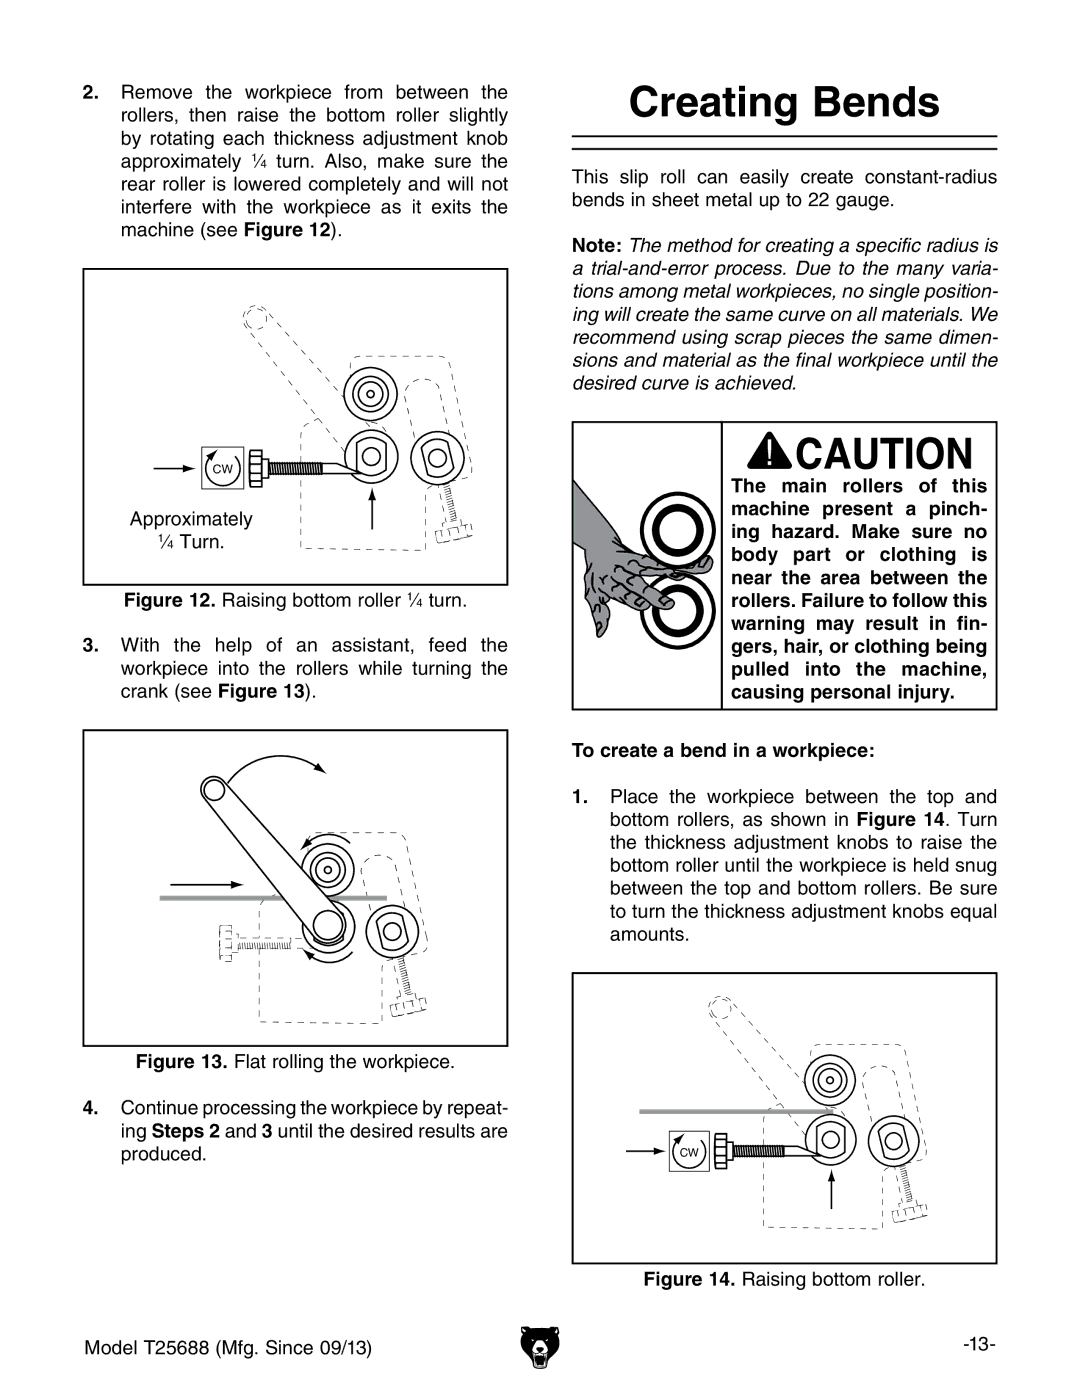
2.Remove the workpiece from between the rollers, then raise the bottom roller slightly by rotating each thickness adjustment knob approximately 1⁄4 turn. Also, make sure the rear roller is lowered completely and will not interfere with the workpiece as it exits the machine (see Figure 12).
CW
Approximately
1⁄4 Turn.
Figure 12. Raising bottom roller 1⁄4 turn.
3.With the help of an assistant, feed the workpiece into the rollers while turning the crank (see Figure 13).
Creating Bends
This slip roll can easily create
Note: The method for creating a specific radius is
a
The main rollers of this machine present a pinch- ing hazard. Make sure no body part or clothing is near the area between the rollers. Failure to follow this warning may result in fin- gers, hair, or clothing being pulled into the machine, causing personal injury.
To create a bend in a workpiece:
1.Place the workpiece between the top and bottom rollers, as shown in Figure 14. Turn the thickness adjustment knobs to raise the bottom roller until the workpiece is held snug between the top and bottom rollers. Be sure to turn the thickness adjustment knobs equal amounts.
Figure 13. Flat rolling the workpiece.
4.Continue processing the workpiece by repeat- ing Steps 2 and 3 until the desired results are produced.
Model T25688 (Mfg. Since 09/13)
CW