Grizzly T25688 owner manual Figures

Models: T25688

1 28
Download 28 pages 51.1 Kb
Page 18
Image 18

2.Turn the crank clockwise to feed the workpiece until it is approximately half way through the rollers.

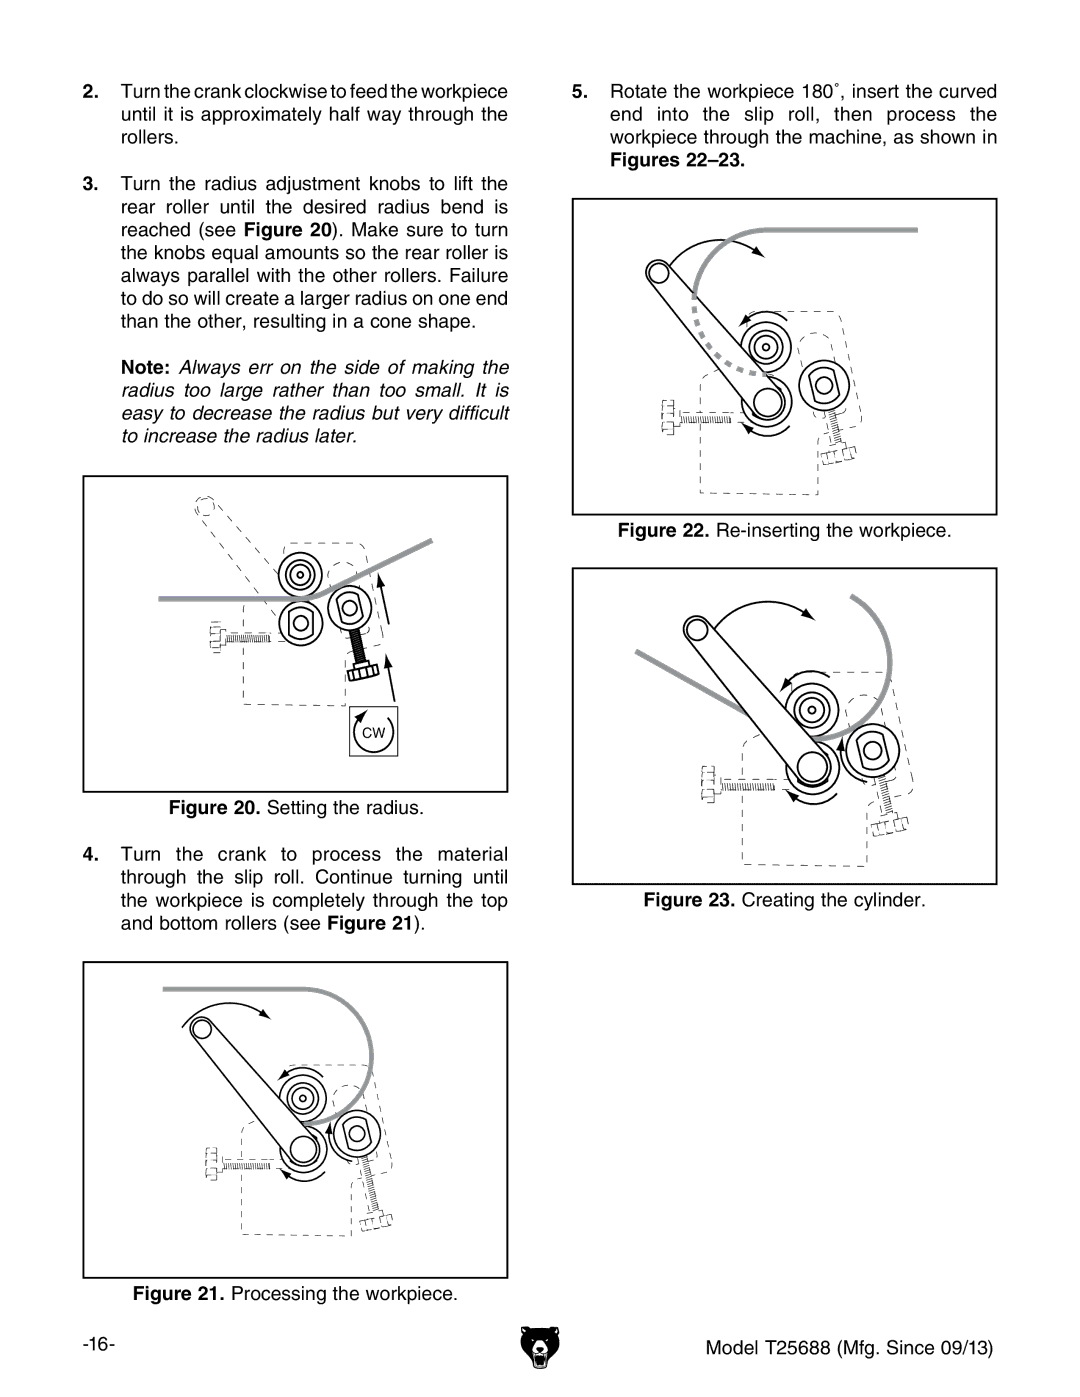
3.Turn the radius adjustment knobs to lift the rear roller until the desired radius bend is reached (see Figure 20). Make sure to turn the knobs equal amounts so the rear roller is always parallel with the other rollers. Failure to do so will create a larger radius on one end than the other, resulting in a cone shape.

Note: Always err on the side of making the radius too large rather than too small. It is easy to decrease the radius but very difficult to increase the radius later.

CW

Figure 20. Setting the radius.

4.Turn the crank to process the material through the slip roll. Continue turning until the workpiece is completely through the top and bottom rollers (see Figure 21).

Figure 21. Processing the workpiece.

-16-

5.Rotate the workpiece 180˚, insert the curved end into the slip roll, then process the workpiece through the machine, as shown in

Figures 22–23.

Figure 22. Re-inserting the workpiece.

Figure 23. Creating the cylinder.

Model T25688 (Mfg. Since 09/13)

Page 18
Image 18
Grizzly T25688 owner manual Figures