Thank you for buying this TEFAL appliance, which is intended for domestic use only. Read the instructions in this leaflet carefully and keep them within reach. They apply to every version depending on the accessories that come with your appliance (NB: parts (A – 1) and (A/D – 8) are only included with certain models).
TEFAL has an ongoing policy of research and development and may modify these products without prior notice.
The drawings shown on page 2/3 illustrate the instructions.
Assembly
Before first use:
•Remove any packaging, stickers or accessories inside and outside the appliance.
*A/D: N.B. For models with a splatter guard
(1) and support legs (8): these parts come packed between the reflector (6) and the base of the appliance (7). Make sure that you remove them before connecting the appliance to the electricity supply.
•G: Firmly insert both lid supports (9) at the rear of the appliance (only for the Sensano model).
•A/D: Assemble the support legs (8) (depending on model) with the help of the assembly leaflet delivered inside the bag of the accessories.
•A/D: Clean the grid (3) and the protection
lid (2) (depending on model) : follow the instructions in the paragraph "After use".
A/D: Place the reflector (6) in the base of the
appliance (7): the curved part of the reflector (6a) must be positioned towards the front.
B/E: Place the heating element (4) on the reflector (6) then press firmly on the control panel (5) to position it in the housing provided for this purpose, so that the safety
ENG system is activated.
C/F: If the heating element is incorrectly positioned, the safety system will prevent the appliance from working.
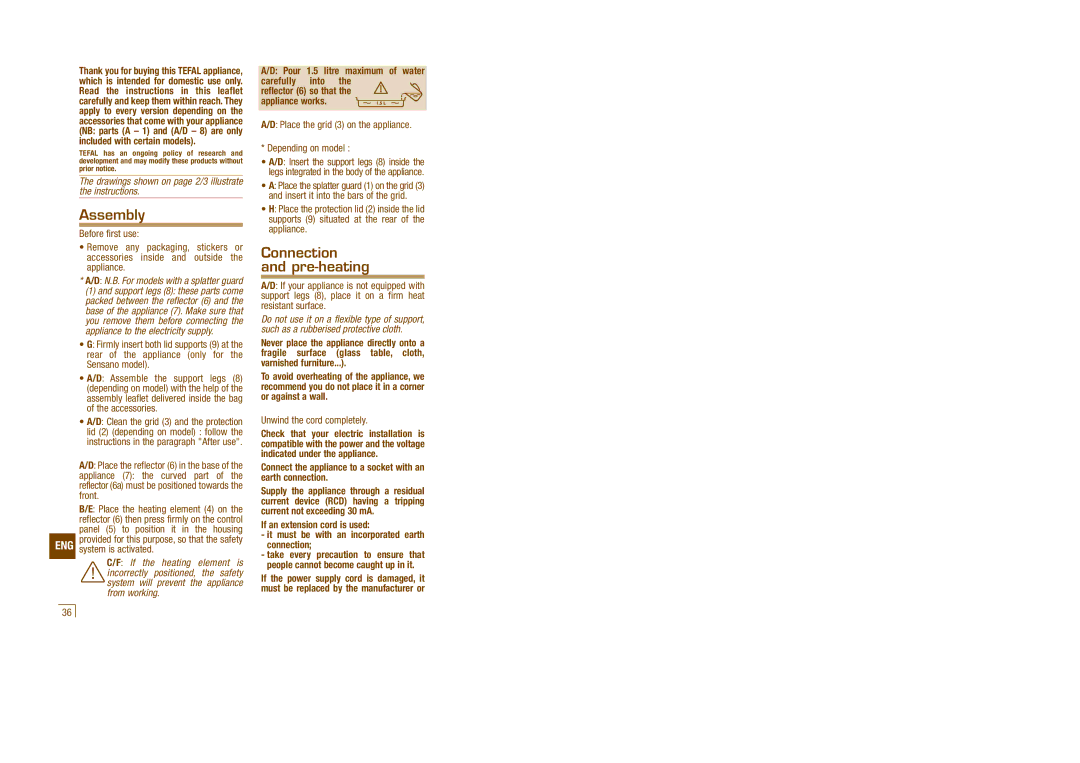
A/D: Pour 1.5 litre maximum of water carefully into the
reflector (6) so that the appliance works.
A/D: Place the grid (3) on the appliance.
* Depending on model :
•A/D: Insert the support legs (8) inside the legs integrated in the body of the appliance.
•A: Place the splatter guard (1) on the grid (3) and insert it into the bars of the grid.
•H: Place the protection lid (2) inside the lid supports (9) situated at the rear of the appliance.
Connection and pre-heating
A/D: If your appliance is not equipped with support legs (8), place it on a firm heat resistant surface.
Do not use it on a flexible type of support, such as a rubberised protective cloth.
Never place the appliance directly onto a fragile surface (glass table, cloth, varnished furniture...).
To avoid overheating of the appliance, we recommend you do not place it in a corner or against a wall.
Unwind the cord completely.
Check that your electric installation is compatible with the power and the voltage indicated under the appliance.
Connect the appliance to a socket with an earth connection.
Supply the appliance through a residual current device (RCD) having a tripping current not exceeding 30 mA.
If an extension cord is used:
-it must be with an incorporated earth connection;
-take every precaution to ensure that people cannot become caught up in it.
If the power supply cord is damaged, it must be replaced by the manufacturer or
36