800 specifications
The Grundig 800 is a prime example of cutting-edge technology and classic design working in perfect harmony. This high-end audio product embodies superior sound quality, making it a sought-after choice for enthusiasts and casual listeners alike.One of the standout features of the Grundig 800 is its advanced sound reproduction system. Equipped with powerful speakers and an efficient amplifier, it delivers crisp highs, rich mids, and deep lows. The sound stage created by the Grundig 800 allows listeners to experience their favorite music in a way that feels immersive and dynamic, as if they were part of the live performance.
In terms of connectivity, the Grundig 800 doesn't disappoint. It comes with various input options including Bluetooth, USB, and auxiliary ports, making it compatible with a wide range of devices. This versatility means users can easily connect their smartphones, tablets, or laptops to enjoy their favorite playlists or radio stations without any hassle.
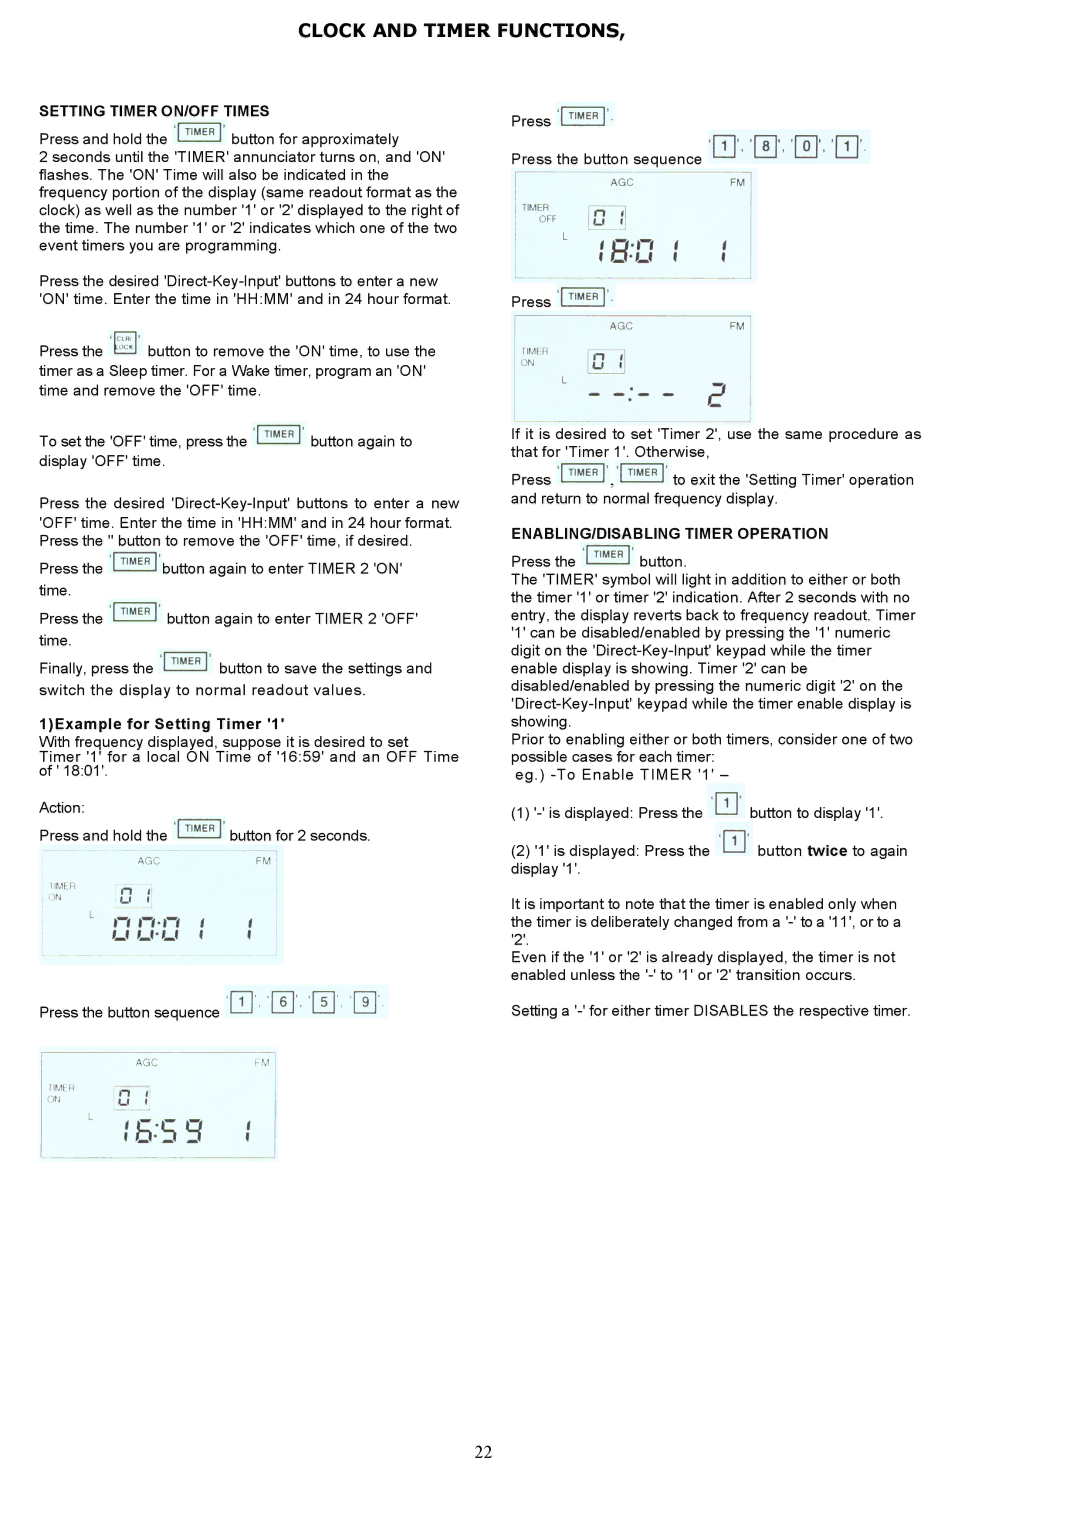
The design of the Grundig 800 is equally impressive. Its sleek and modern aesthetics are complemented by a user-friendly interface. The clear display and intuitive controls ensure that users can navigate through options with ease. The use of high-quality materials gives the unit a premium feel and longevity, ensuring that it remains a staple in any audio setup for years to come.
Additionally, the Grundig 800 incorporates several cutting-edge technologies that enhance its performance. Features such as Digital Signal Processing (DSP) allow for optimized sound adjustments tailored to different environments, ensuring that audio playback is always at its best, regardless of the room’s acoustics. Furthermore, energy-efficient components contribute to a lower carbon footprint while maintaining high performance.
The Grundig 800 also places an emphasis on user experience with its smart features. Integration with voice assistants allows for hands-free control, making it simple to adjust settings or play music without needing to physically interact with the device. This convenience is a significant draw for modern users who lead busy lives.
In conclusion, the Grundig 800 stands out as a remarkable audio solution that combines exceptional sound quality, versatile connectivity, and intelligent features into a sleek and stylish package. Whether for home use, parties, or simply enjoying a quiet night in, the Grundig 800 represents the perfect blend of function, form, and cutting-edge technology.

