Special
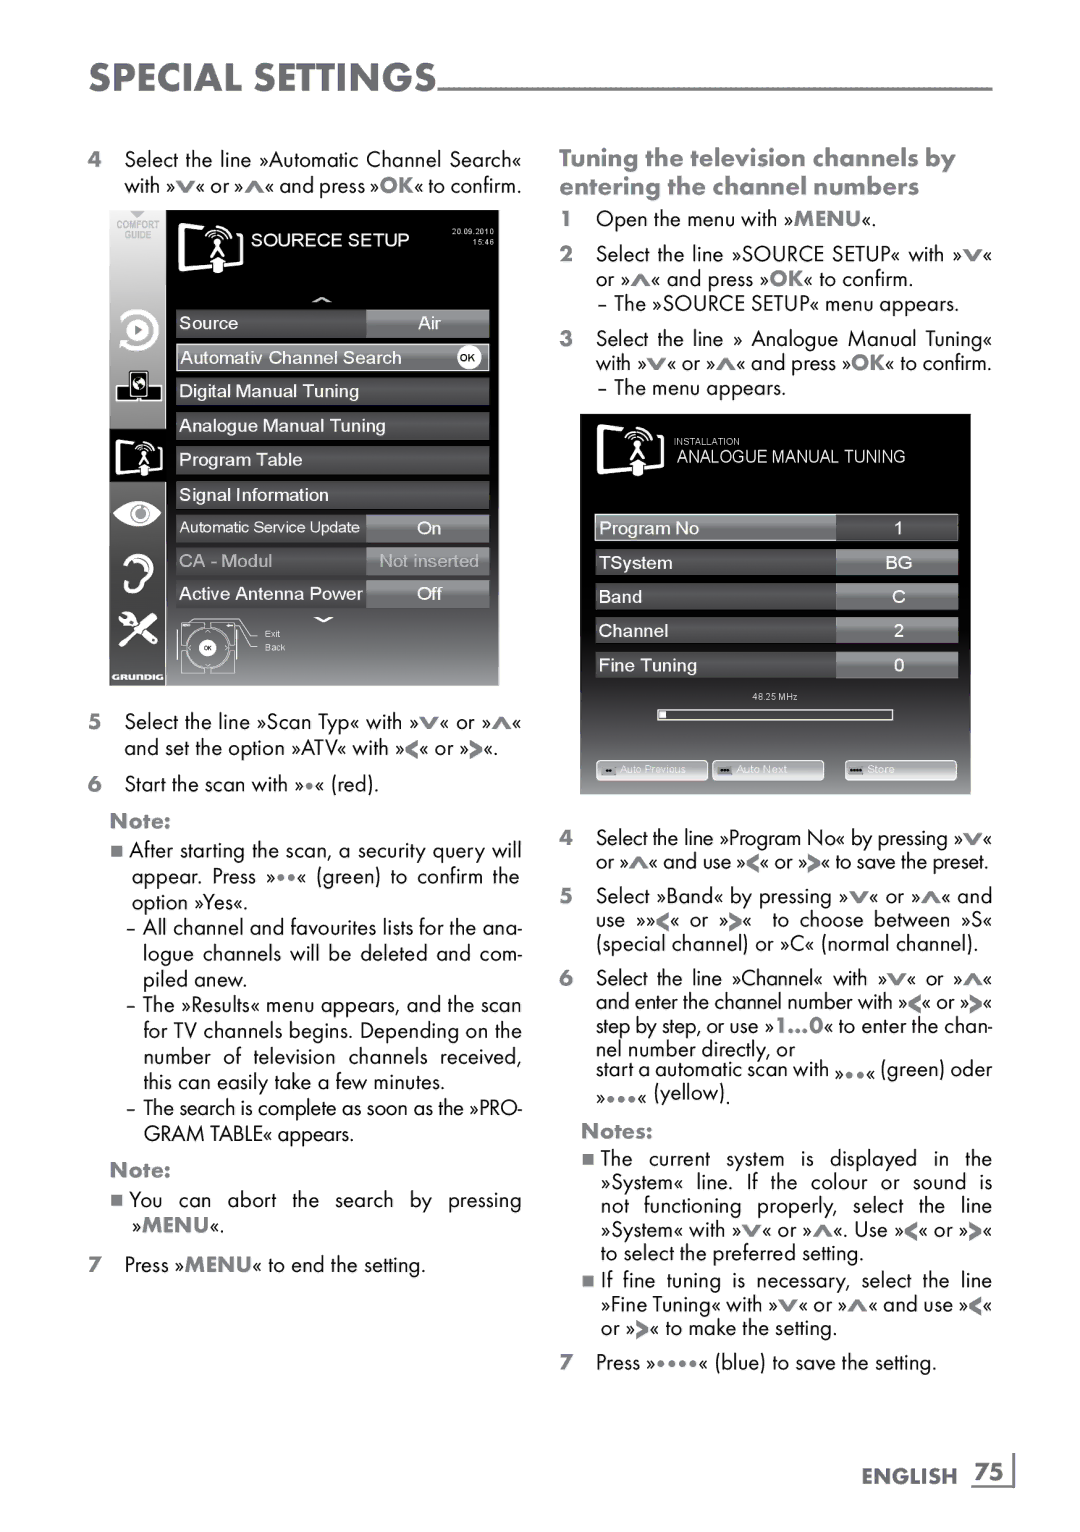
4Select the line »Automatic Channel Search« with »V« or »Λ« and press »OK« to confirm.
SOURECE SETUP | 20.09.2010 | |
15:46 | ||
Source |
| Air |
Automativ Channel Search | OK | |
Digital Manual Tuning |
|
|
Analogue Manual Tuning |
| |
Program Table |
|
|
Signal Information |
|
|
Automatic Service Update |
| On |
CA - Modul | Not inserted | |
Active Antenna Power |
| Off |
Exit |
|
|
Back |
|
|
5Select the line »Scan Typ« with »V« or »Λ« and set the option »ATV« with »<« or »>«.
6Start the scan with »« (red).
Note:
7After starting the scan, a security query will appear. Press »« (green) to confirm the option »Yes«.
–All channel and favourites lists for the ana- logue channels will be deleted and com- piled anew.
–The »Results« menu appears, and the scan for TV channels begins. Depending on the number of television channels received, this can easily take a few minutes.
–The search is complete as soon as the »PRO- GRAM TABLE« appears.
Note:
7You can abort the search by pressing »MENU«.
7Press »MENU« to end the setting.
Tuning the television channels by entering the channel numbers
1Open the menu with »MENU«.
2Select the line »SOURCE SETUP« with »V« or »Λ« and press »OK« to confirm.
– The »SOURCE SETUP« menu appears.
3Select the line » Analogue Manual Tuning« with »V« or »Λ« and press »OK« to confirm.
– The menu appears.
INSTALLATION
ANALOGUE MANUAL TUNING
Program No |
| 1 |
TSystem |
| BG |
Band |
| C |
Channel |
| 2 |
Fine Tuning |
| 0 |
| 48.25 MHz |
|
Auto Previous | Auto Next | Store |
4Select the line »Program No« by pressing »V« or »Λ« and use »<« or »>« to save the preset.
5Select »Band« by pressing »V« or »Λ« and use »»<« or »>« to choose between »S« (special channel) or »C« (normal channel).
6Select the line »Channel« with »V« or »Λ« and enter the channel number with »<« or »>« step by step, or use »1…0« to enter the chan- nel number directly, or
start a automatic scan with »« (green) oder »« (yellow).
Notes:
7The current system is displayed in the »System« line. If the colour or sound is not functioning properly, select the line »System« with »V« or »Λ«. Use »<« or »>«
to select the preferred setting .
7If fine tuning is necessary, select the line »Fine Tuning« with »V« or »Λ« and use »<« or »>« to make the setting.