First time installation
Note: Be sure to turn on the main power at the rear of your receiver before using the receiver.
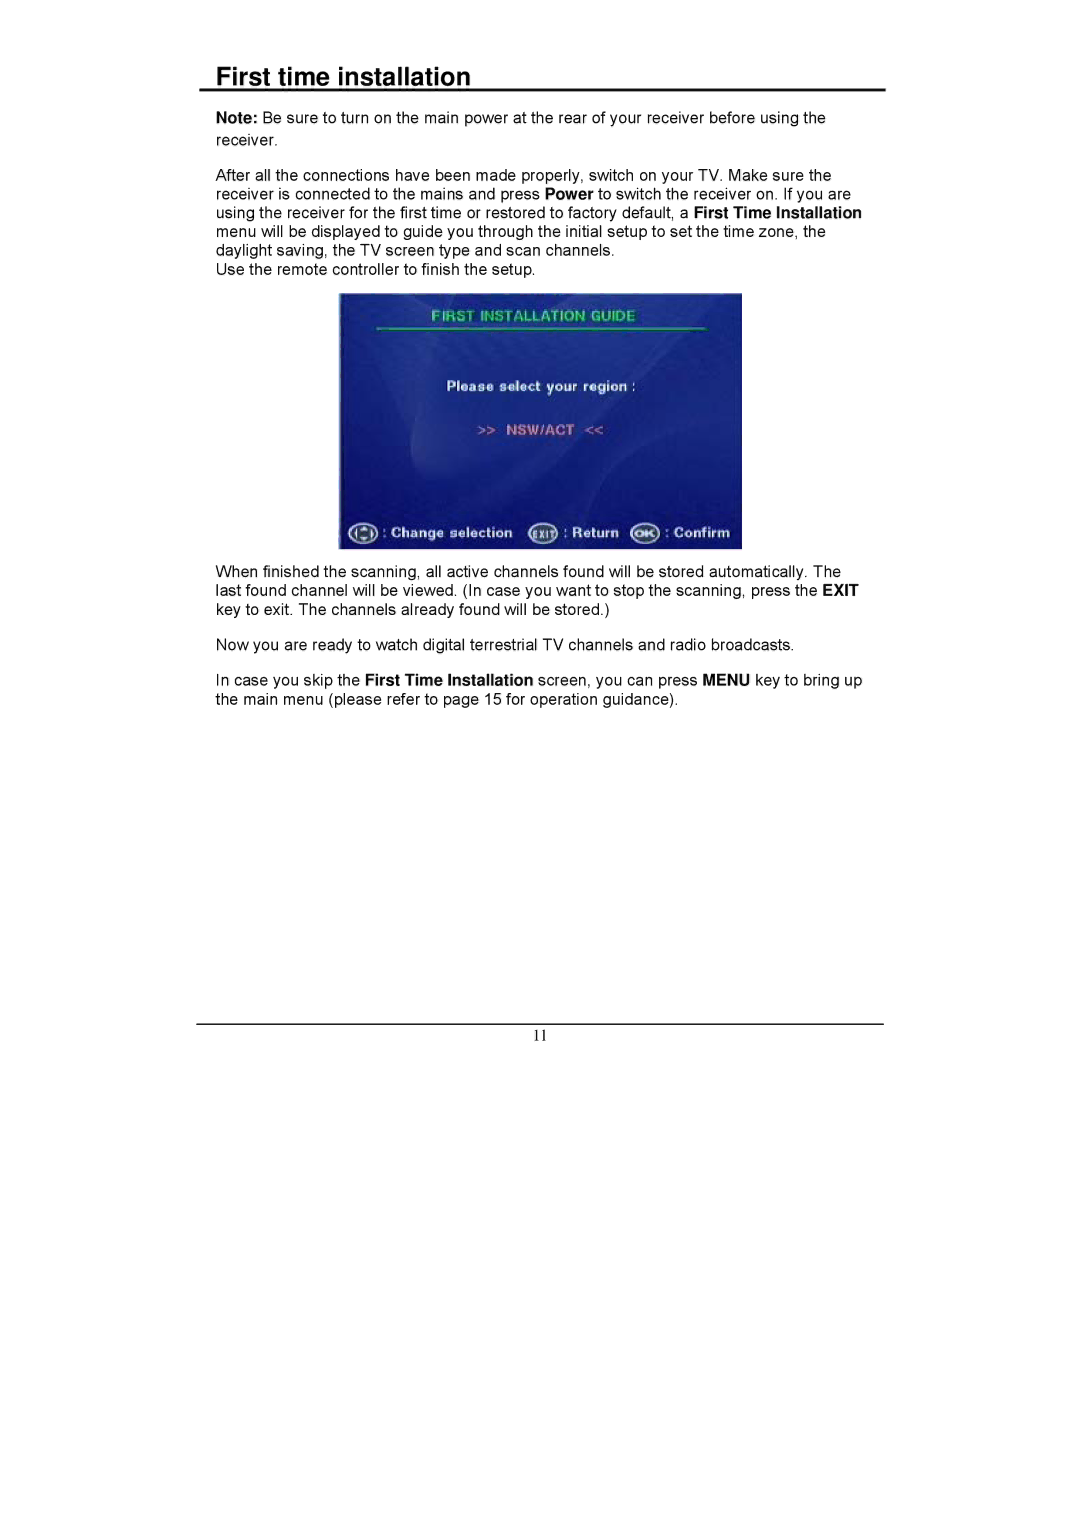
After all the connections have been made properly, switch on your TV. Make sure the receiver is connected to the mains and press Power to switch the receiver on. If you are using the receiver for the first time or restored to factory default, a First Time Installation menu will be displayed to guide you through the initial setup to set the time zone, the daylight saving, the TV screen type and scan channels.
Use the remote controller to finish the setup.
When finished the scanning, all active channels found will be stored automatically. The last found channel will be viewed. (In case you want to stop the scanning, press the EXIT key to exit. The channels already found will be stored.)
Now you are ready to watch digital terrestrial TV channels and radio broadcasts.
In case you skip the First Time Installation screen, you can press MENU key to bring up the main menu (please refer to page 15 for operation guidance).
11
