Picture
Brightness
Contrast
Colour
Sharpness
Noise Reduction Off
●F Back
●i Exit
Picture
Brightness
Contrast
Colour
Sharpness
Noise Reduction Off
●F Back
●i Exit
SETTINGS ______________________________________________
Picture settings
1Press »i« to open the »MAIN MENU«.
–The »MAIN MENU« appears.
2Select »Picture« with »P+« or
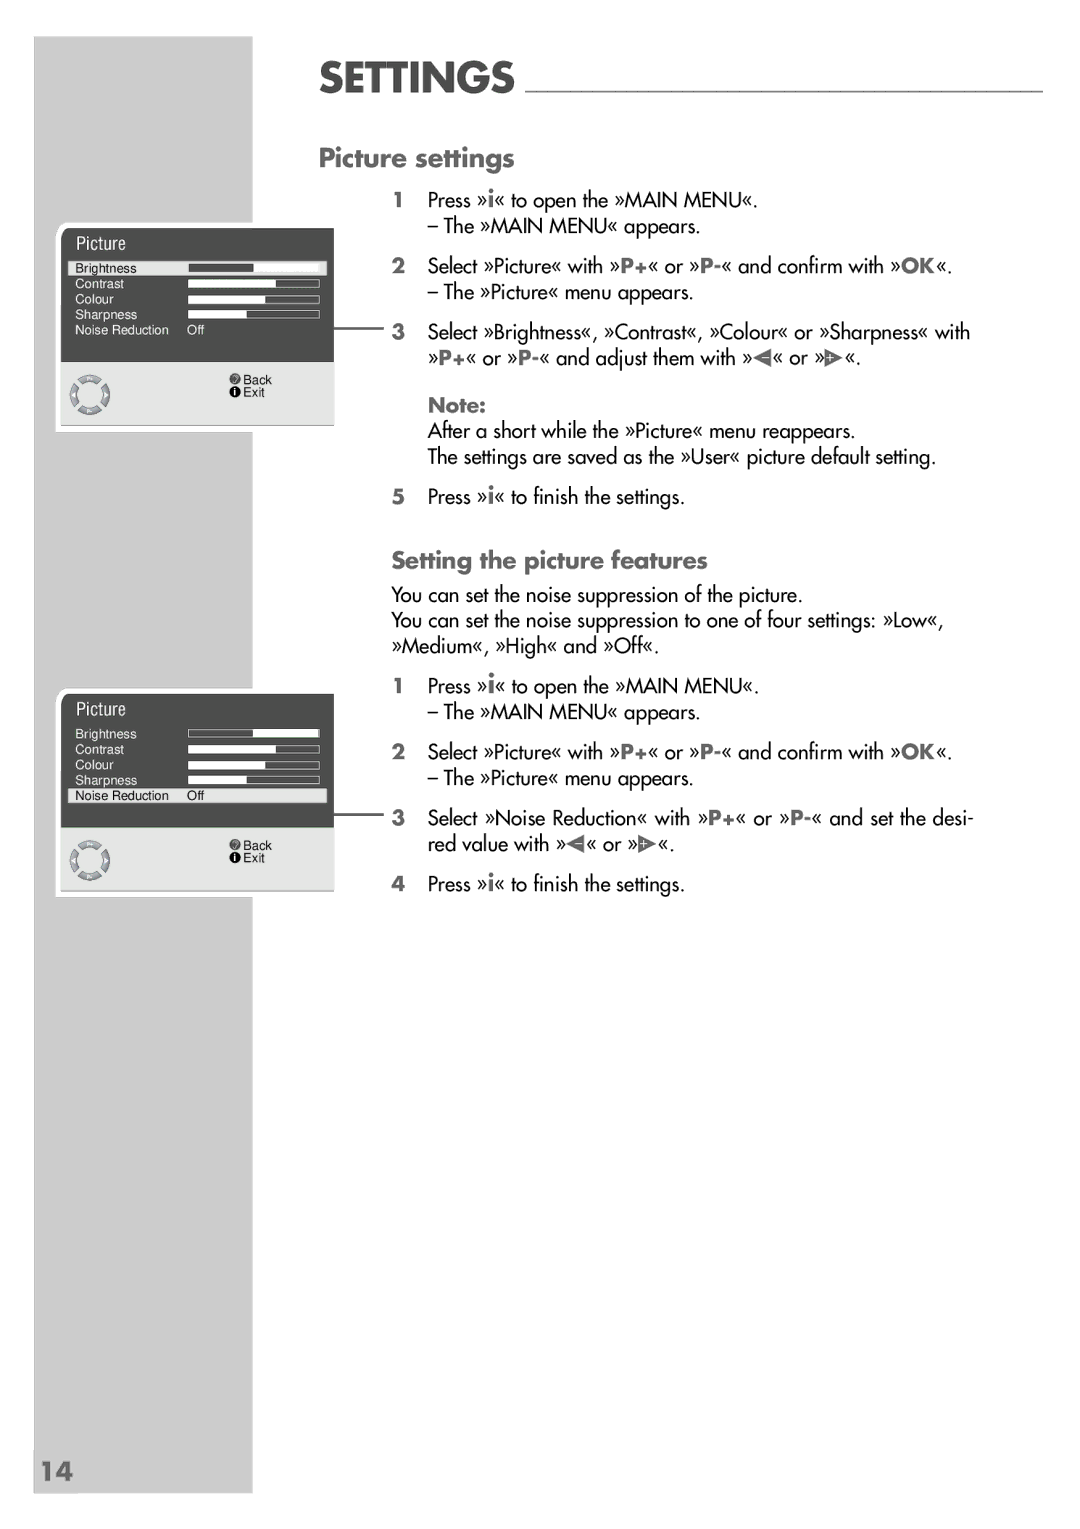
–The »Picture« menu appears.
3Select »Brightness«, »Contrast«, »Colour« or »Sharpness« with »P+« or
Note:
After a short while the »Picture« menu reappears.
The settings are saved as the »User« picture default setting.
5Press »i« to finish the settings.
Setting the picture features
You can set the noise suppression of the picture.
You can set the noise suppression to one of four settings: »Low«, »Medium«, »High« and »Off«.
1Press »i« to open the »MAIN MENU«.
–The »MAIN MENU« appears.
2Select »Picture« with »P+« or
–The »Picture« menu appears.
3Select »Noise Reduction« with »P+« or
4Press »i« to finish the settings.
14
