SETTINGS____________________________________________________________________________
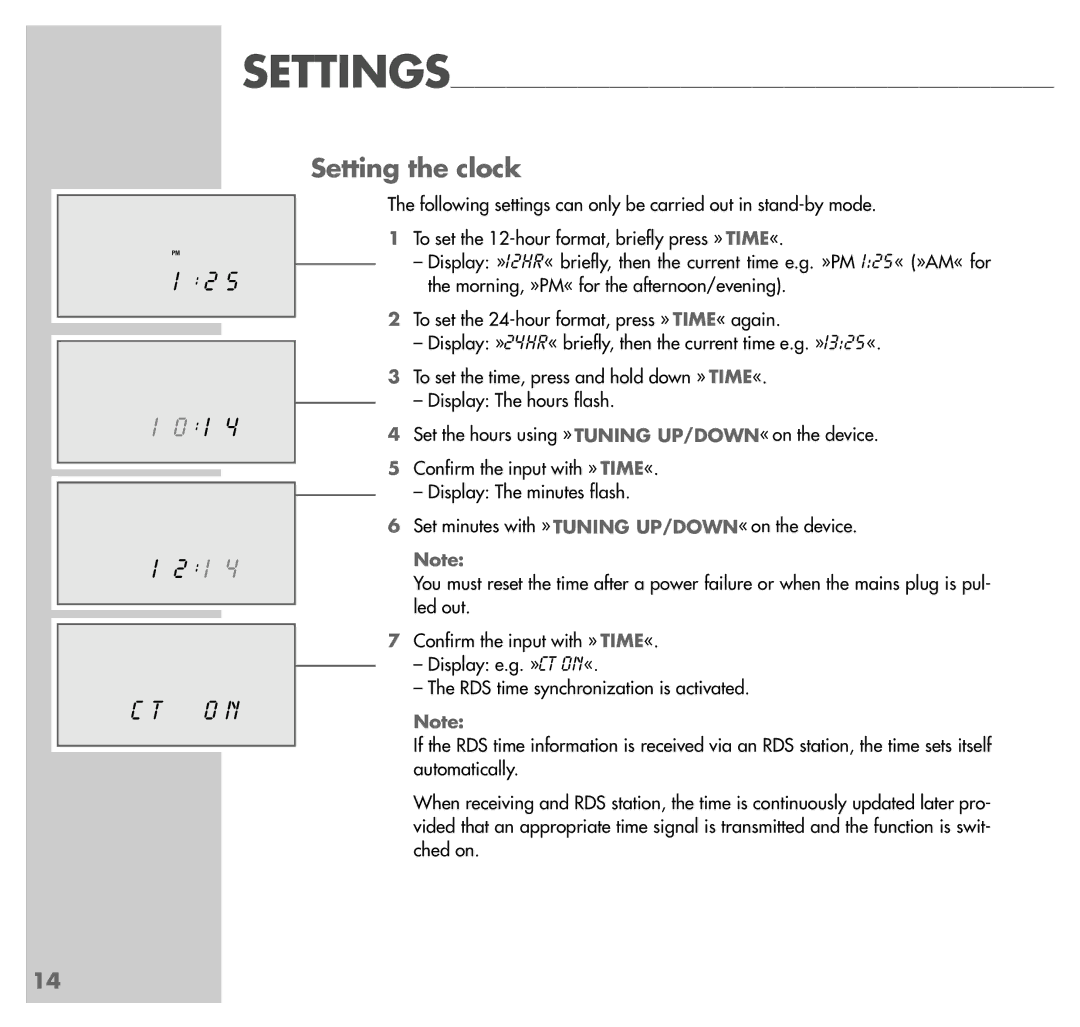
PM
1 : 2 5
10 : 1 4
12 : 1 4
C T O N
Setting the clock
The following settings can only be carried out in
1To set the
–Display: »12HR« briefly, then the current time e.g. »PM 1:25« (»AM« for the morning, »PM« for the afternoon/evening).
2To set the
–Display: »24HR« briefly, then the current time e.g. »13:25«.
3To set the time, press and hold down » TIME«.
–Display: The hours flash.
4Set the hours using » TUNING UP/DOWN« on the device.
5Confirm the input with » TIME«.
–Display: The minutes flash.
6Set minutes with » TUNING UP/DOWN« on the device.
Note:
You must reset the time after a power failure or when the mains plug is pul- led out.
7Confirm the input with » TIME«.
–Display: e.g. »CT ON«.
–The RDS time synchronization is activated.
Note:
If the RDS time information is received via an RDS station, the time sets itself automatically.
When receiving and RDS station, the time is continuously updated later pro- vided that an appropriate time signal is transmitted and the function is swit- ched on.
14