 Operation
Clock set
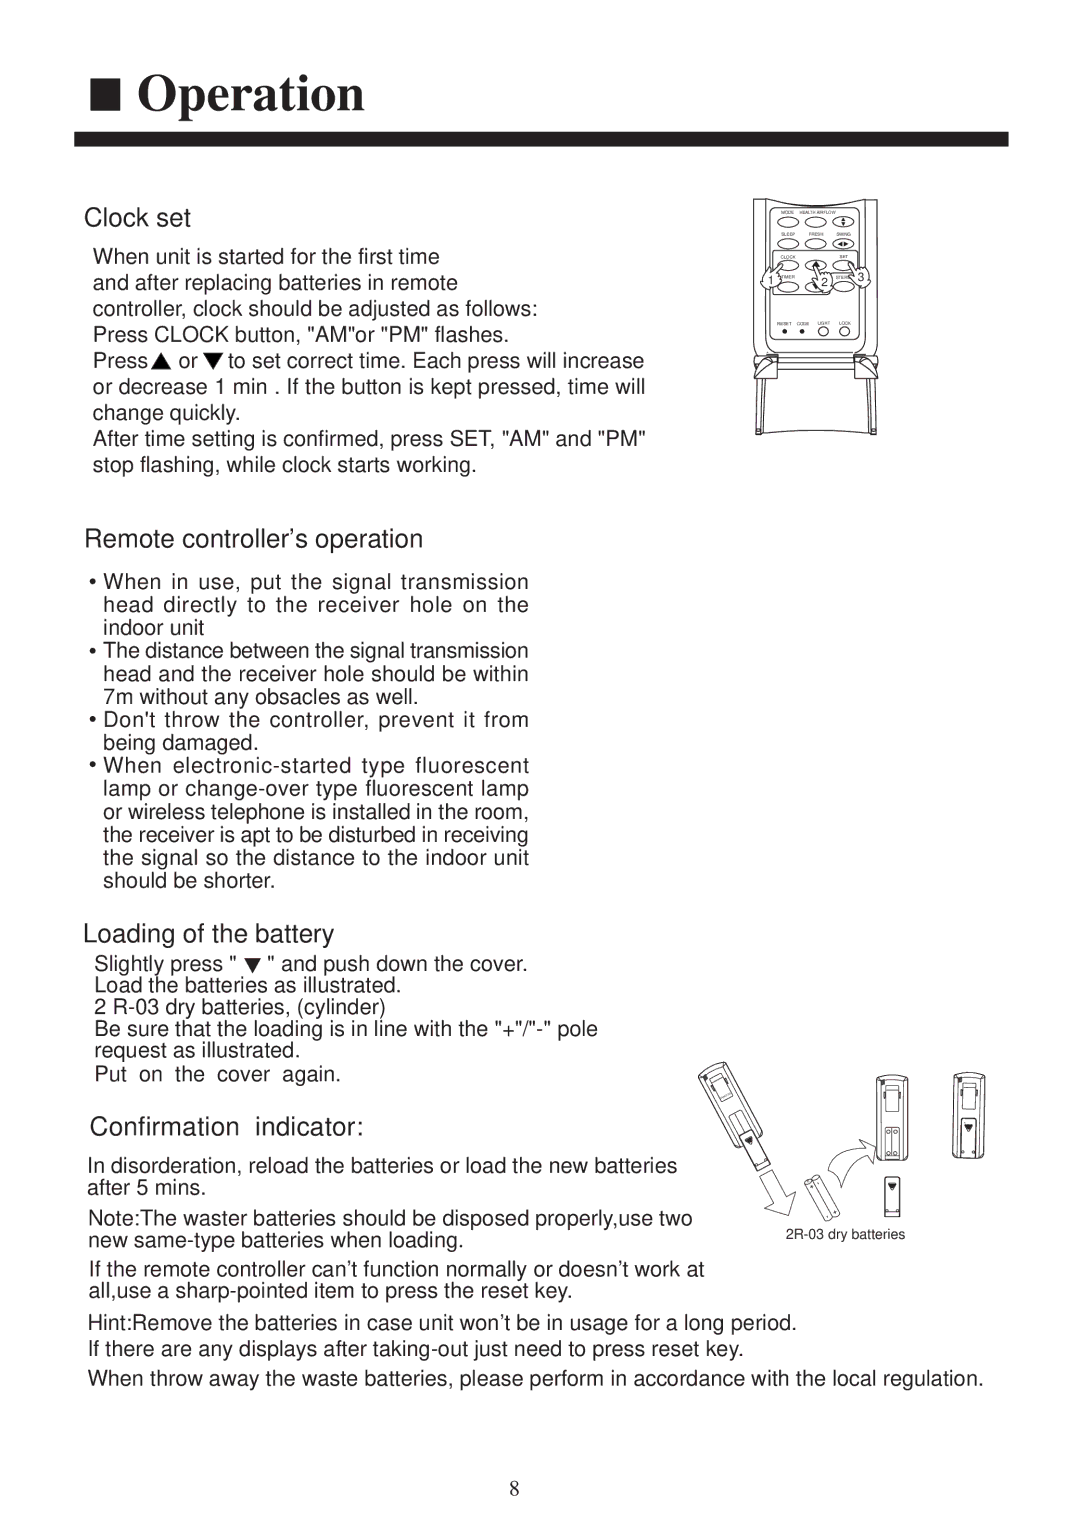
When unit is started for the first time and after replacing batteries in remote controller, clock should be adjusted as follows: Press CLOCK button, "AM"or "PM" flashes.
Press![]() or
or ![]() to set correct time. Each press will increase or decrease 1 min . If the button is kept pressed, time will change quickly.
to set correct time. Each press will increase or decrease 1 min . If the button is kept pressed, time will change quickly.
After time setting is confirmed, press SET, "AM" and "PM" stop flashing, while clock starts working.
MODE | HEALTH AIRFLOW |
|
SLEEP | FRESH | SWING |
CLOCK |
| SET |
1 TIMER | 2 | STERILIZE3 |
RESET | CODE LIGHT | LOCK |
Remote controller's operation
![]() When in use, put the signal transmission head directly to the receiver hole on the indoor unit
When in use, put the signal transmission head directly to the receiver hole on the indoor unit
![]() The distance between the signal transmission head and the receiver hole should be within 7m without any obsacles as well.
The distance between the signal transmission head and the receiver hole should be within 7m without any obsacles as well.
![]() Don't throw the controller, prevent it from being damaged.
Don't throw the controller, prevent it from being damaged.
![]() When
When
Loading of the battery
Slightly press " ![]() " and push down the cover. Load the batteries as illustrated.
" and push down the cover. Load the batteries as illustrated.
2
Be sure that the loading is in line with the
Put on the cover again.
Confirmation indicator:
In disorderation, reload the batteries or load the new batteries after 5 mins.
Note:The waster batteries should be disposed properly,use two new
If the remote controller can’t function normally or doesn’t work at all,use a
Hint:Remove the batteries in case unit won’t be in usage for a long period. If there are any displays after
When throw away the waste batteries, please perform in accordance with the local regulation.
8
