English
8.Turn shutoff valve “H” to “ON” position. Flush water into a bucket to get rid of particles that may clog the inlet valve.
9.Turn
Drain hose
10.Cut a
11.Connect drain hose to waste tee or waste disposer following one of the following methods:
a waste disposer
no waste disposer
an air gap | 11a. |
| |
|
|
no air gap* | 11c. |
|
|
an air gap | 11b. |
|
|
no air gap* | 11d. |
|
|
*An air gap is recommended
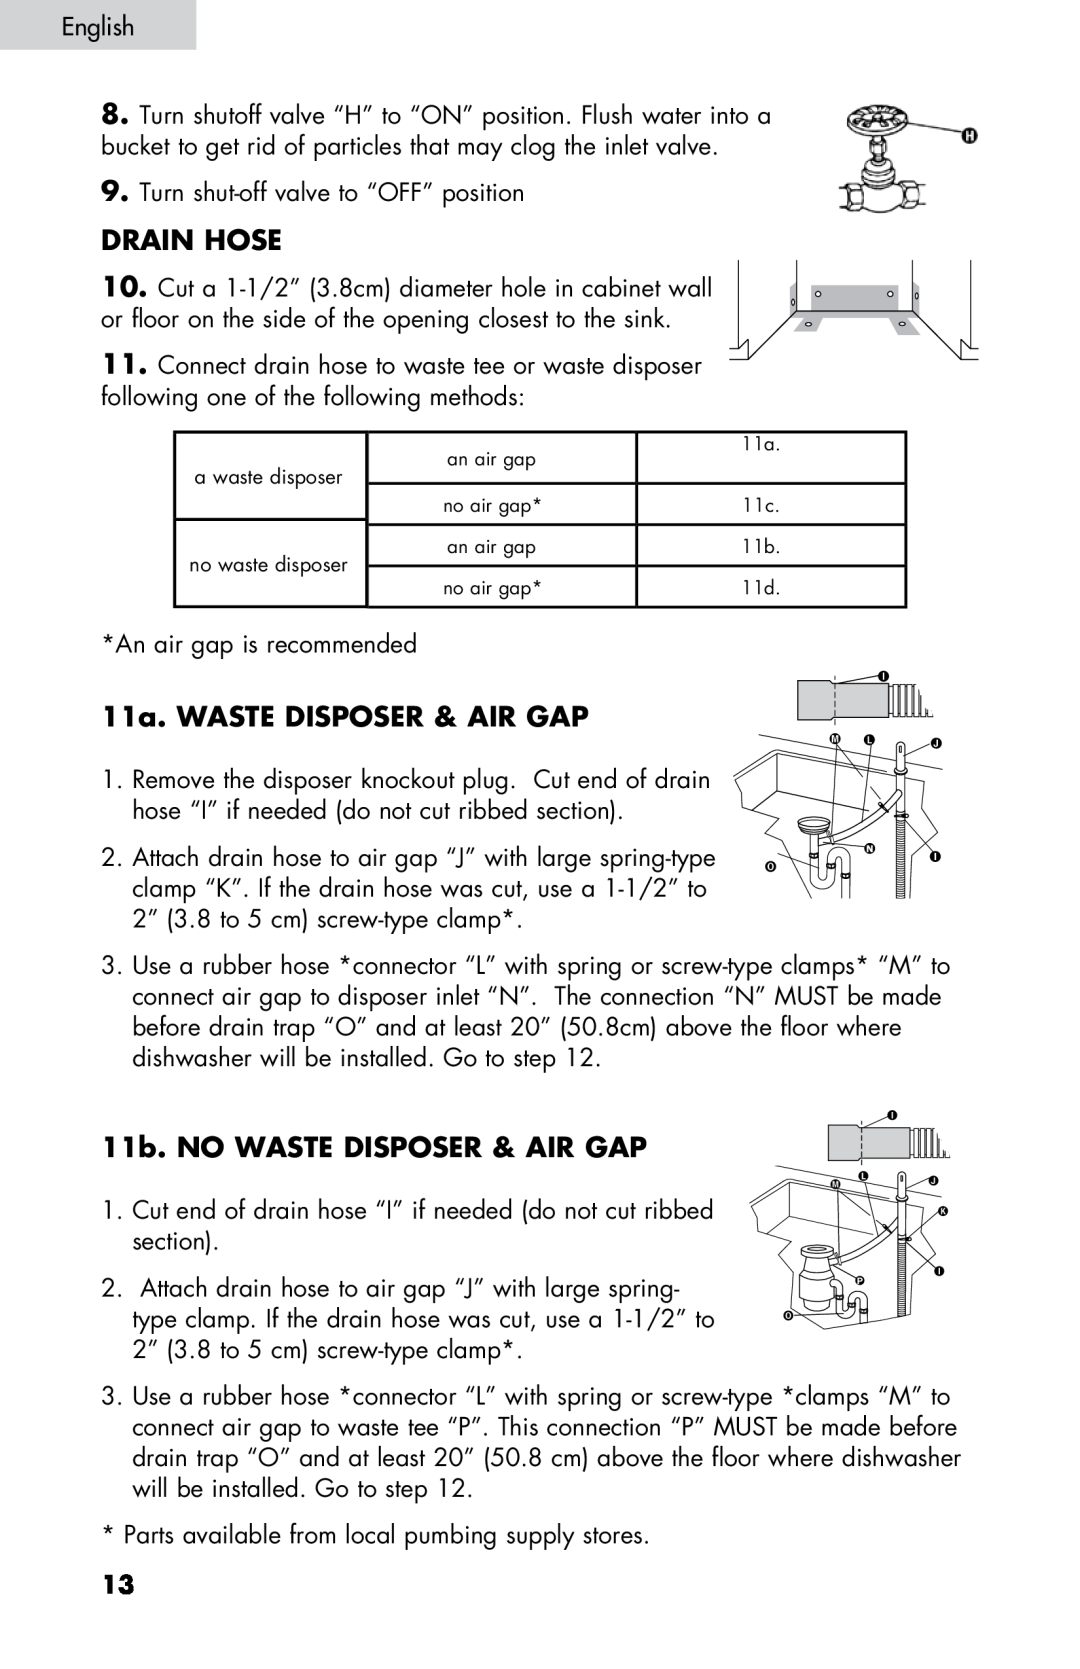
11a. Waste disposer & air gap
1. Remove the disposer knockout plug. Cut end of drain hose “I” if needed (do not cut ribbed section).
2. Attach drain hose to air gap “J” with large
3.Use a rubber hose *connector “L” with spring or
11b. No waste disposer & air gap
1.Cut end of drain hose “I” if needed (do not cut ribbed section).
2.Attach drain hose to air gap “J” with large spring- type clamp. If the drain hose was cut, use a
P
3.Use a rubber hose *connector “L” with spring or
* Parts available from local pumbing supply stores.
13