Operation
Function menu
 Wide
Wide
Choose wide when you want to adjust the picture horizontally, in a linear proportion to fill the entire screen.
 Cinema
For letterbox pictures, bars may appear on the top and bottom on some programs.
You can also press ARC button on the remote control to select the desired picture format: Normal, Zoom, Wide or
Cinema.
Blue Screen
1.Press MENU button and then use ![]() /
/ ![]() button to select Function menu.
button to select Function menu.
2.Press ![]() / ENTER button and then use
/ ENTER button and then use ![]() /
/ ![]() button to select Blue Screen.
button to select Blue Screen.
3.Press ![]() /
/ ![]() button to select On or Off.
button to select On or Off.
DPMS
PC Power Management. To set On, the set will be in standby mode automatically if no signal in 2 minutes; if signal input, the set will be on again automatically. Note: DPMS is useful only in VGA source.
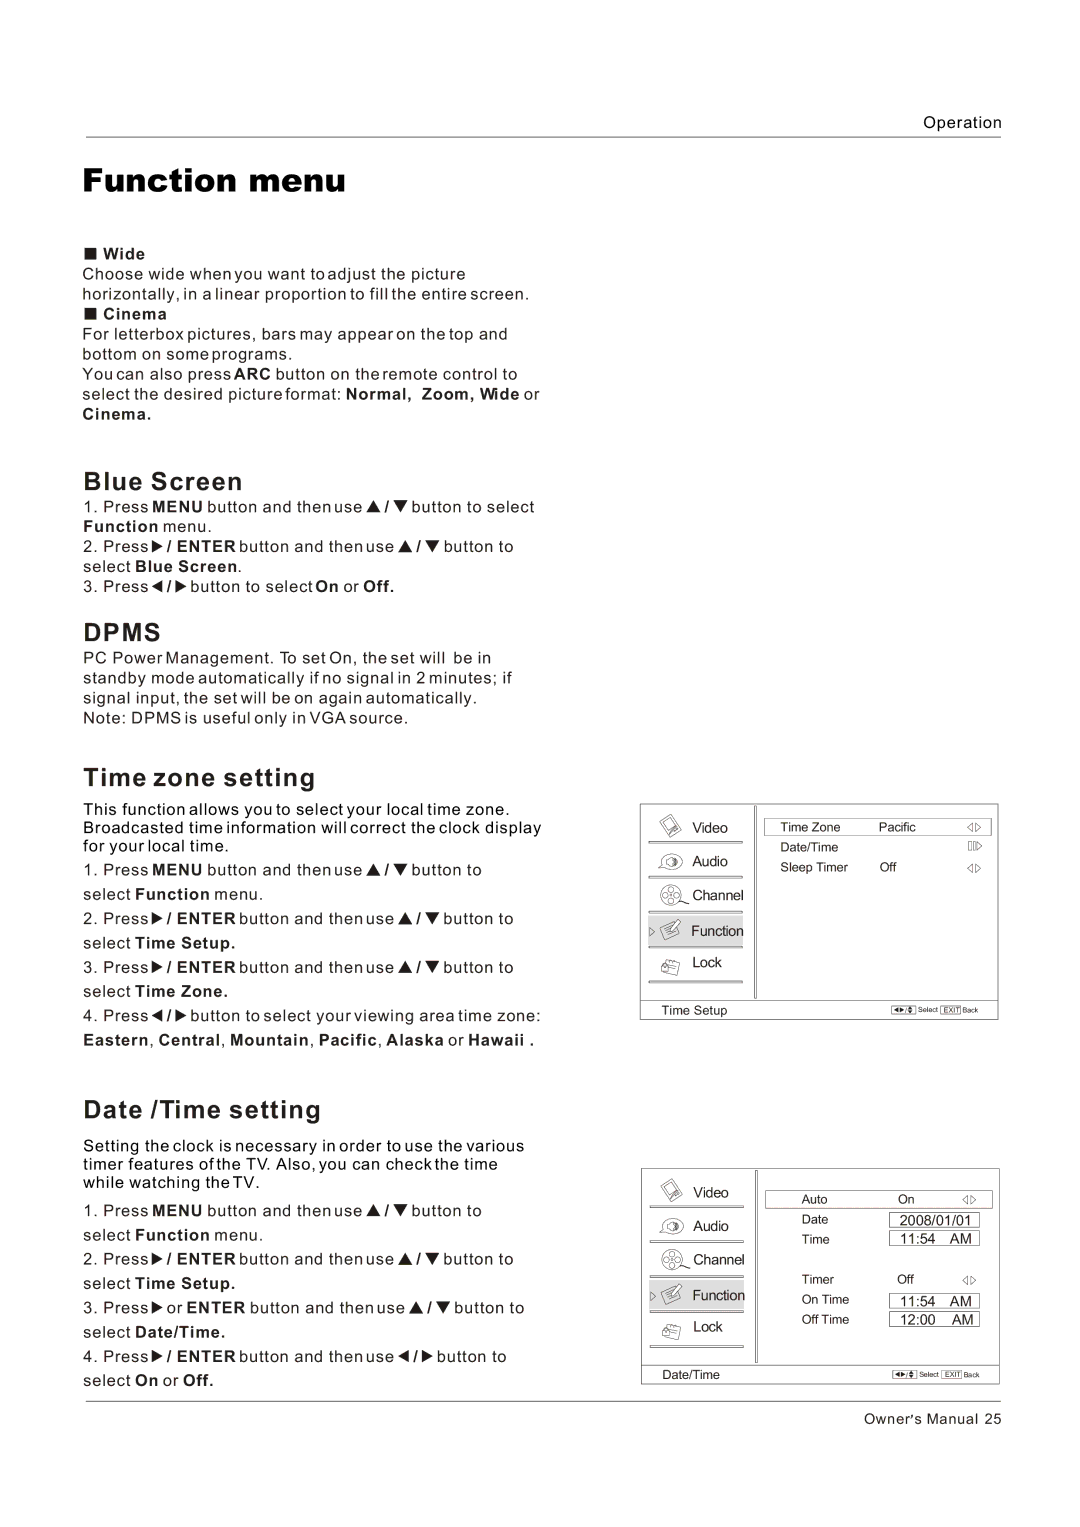
Time zone setting
This function allows you to select your local time zone. Broadcasted time information will correct the clock display for your local time.
1.Press MENU button and then use ![]() /
/ ![]() button to select Function menu.
button to select Function menu.
2.Press ![]() / ENTER button and then use
/ ENTER button and then use ![]() /
/ ![]() button to select Time Setup.
button to select Time Setup.
3.Press ![]() / ENTER button and then use
/ ENTER button and then use ![]() /
/ ![]() button to select Time Zone.
button to select Time Zone.
4.Press ![]() /
/ ![]() button to select your viewing area time zone:
button to select your viewing area time zone:
Eastern, Central, Mountain, Pacific, Alaska or Hawaii .
Date /Time setting
Setting the clock is necessary in order to use the various timer features of the TV. Also, you can check the time while watching the TV.
1.Press MENU button and then use ![]() /
/ ![]() button to select Function menu.
button to select Function menu.
2.Press ![]() / ENTER button and then use
/ ENTER button and then use ![]() /
/ ![]() button to select Time Setup.
button to select Time Setup.
3.Press ![]() or ENTER button and then use
or ENTER button and then use ![]() /
/ ![]() button to select Date/Time.
button to select Date/Time.
4.Press ![]() / ENTER button and then use
/ ENTER button and then use ![]() /
/ ![]() button to select On or Off.
button to select On or Off.
Video | Time Zone | Pacific |
|
|
| Date/Time |
|
|
|
Audio | Sleep Timer | Off |
|
|
|
|
| ||
Channel |
|
|
|
|
Function |
|
|
|
|
Lock |
|
|
|
|
Time Setup |
| / | Select | EXIT Back |
Video | Auto | On |
|
|
|
|
| ||
Audio | Date | 2008/01/01 | ||
| 11:54 | AM | ||
| Time | |||
Channel |
|
|
|
|
| Timer | Off |
|
|
Function | On Time | 11:54 | AM | |
| ||||
Lock | Off Time | 12:00 | AM | |
|
|
|
| |
Date/Time |
| / | Select | EXIT Back |
Owner![]() s Manual 25
s Manual 25