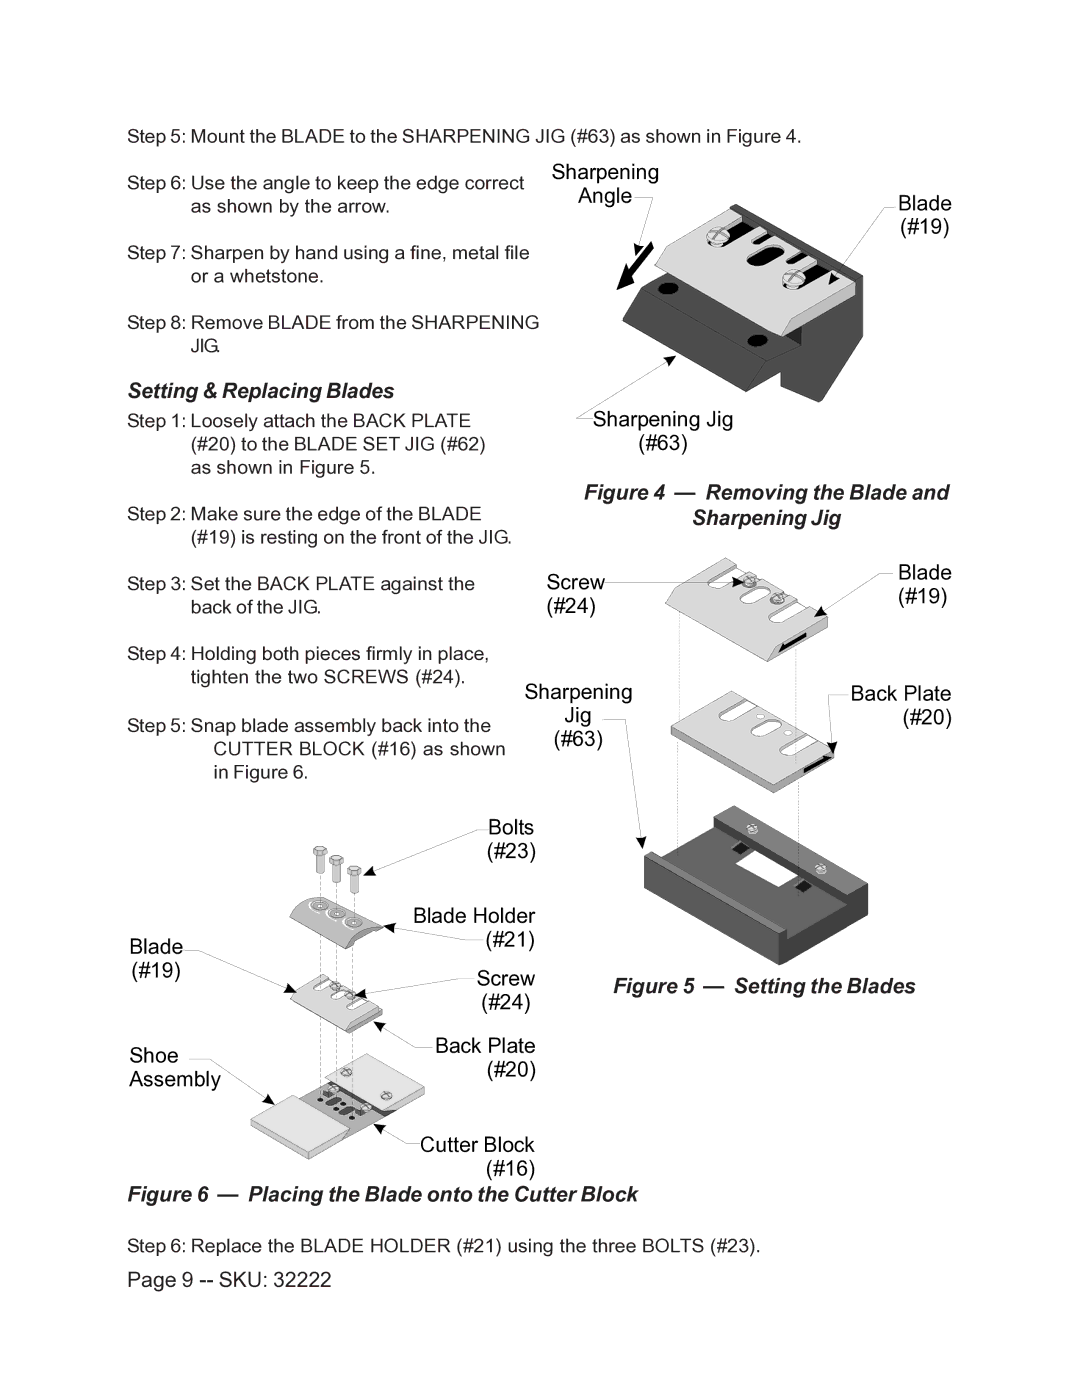
Step 5: Mount the BLADE to the SHARPENING JIG (#63) as shown in Figure 4.
Step 6: Use the angle to keep the edge correct as shown by the arrow.
Step 7: Sharpen by hand using a fine, metal file or a whetstone.
Step 8: Remove BLADE from the SHARPENING JIG.
Setting & Replacing Blades
Step 1: Loosely attach the BACK PLATE (#20) to the BLADE SET JIG (#62) as shown in Figure 5.
Sharpening
Angle
Sharpening Jig
(#63)
Blade (#19)
Figure 4 — Removing the Blade and
Step 2: Make sure the edge of the BLADESharpening Jig (#19) is resting on the front of the JIG.
Step 3: Set the BACK PLATE against the back of the JIG.
Step 4: Holding both pieces firmly in place, tighten the two SCREWS (#24).
Step 5: Snap blade assembly back into the CUTTER BLOCK (#16) as shown in Figure 6.
Screw (#24)
Sharpening
Jig
(#63)
Blade (#19)
Back Plate (#20)
Blade (#19)
Shoe Assembly
Bolts |
| |
(#23) |
| |
Blade Holder |
| |
(#21) |
| |
Screw | Figure 5 — Setting the Blades | |
(#24) | ||
| ||
Back Plate |
| |
(#20) |
| |
Cutter Block |
| |
(#16) |
|
Figure 6 — Placing the Blade onto the Cutter Block
Step 6: Replace the BLADE HOLDER (#21) using the three BOLTS (#23).